Session #1 - Growing
Participants: Ana-Matisse Donefer-Hickie
Venue: 2211 Broadway Apt. 8K
Questions and Food for Thought
- Think carefully about the ingredients. Are these comparable to modern ingredients? How are they similar or different? What about their purity? Were they exotic or common?
- What about your modern heating apparatus and cookware, how might this impact authenticity? Could your pots, pans, ladles, ovens, and heating elements change the outcome of a recipe?
- What tacit information has been left out of your recipe? What did you do in your reconstruction that was not discussed by the original author?
- Who wrote your recipe? Why did he or she write it down and/or publish it?
Recipe:
From: Merrifield, Mary P. Original Treatises Dating from the XIIth to XVIIIth Centuries on the Arts of Painting, 2 vols (London: John Murray, 1849), p. 124
“How to make thegreen from brass which is called Greek or common green - If you wish to make the copper-green which is called Greek, take a new jar, or any other concave vase, and put into it the strongest or most acid vinegar, so as not to fill it , and put strips of very clean copper or brass over the vinegar, so that they may not touch the vinegar or each other, being suspended to a stick placed across the vase. Then cover the vase and seal it, and put it into a warm place, or in dung, or under ground, and leave it so for six months, and then open the vase and scrape and shake out what you find in it, and on the strips of metal, into a clean vase, and put it in the sun to dry.”
Ingredients
- “Vinegar” - “strongest or most acid”
- Unpasteurized, probably
- How was vinegar made in the 19th C?
- Some was produced with
- What base? Apple cider, white, balsamic, red wine, etc.
- Mappae Clavicula specifies “sharp” - what does this mean?
- How strong was the strongest vinegar?
- Modern vinegars often have sulfites, how will this affect the results?
- Methods for making vinegar - orleans method, submergeing method etc. - which one would have been used?
- Vinegar in the 19th C (after 1823) made with a trickling method in which a large barrel is divided into three parts, with perforations in the divisions. The top was filled with alcohol of some kind, the middle with inert material containing bacteria. The alcohol would trickle through, activating the bacteria and turning into vinegar stored in the bottom of the barrel.
- Would it be vinegar usually used for food or a different sort of vinegar especially for craft processes?
- I decided to use Eden organics red wine vinegar because I know there would have been red wine to make vinegar with (19th C and earlier), it was unpasteurised, had no sulfites, and was a little bit stronger than the apple cider vinegar I had and I am taking the Mappae Clavicula’s “sharpness” to mean acidity.
- Copper
- Composition of copper? Purity of material?
- From the lab, exact composition unknown.
- 2 Vases - two glass jars with twist on lids
- String, for suspending.
- Ground/Dung/Warm Place - planter wrapped in towels and placed in warm, humid environment.
- Sunlight
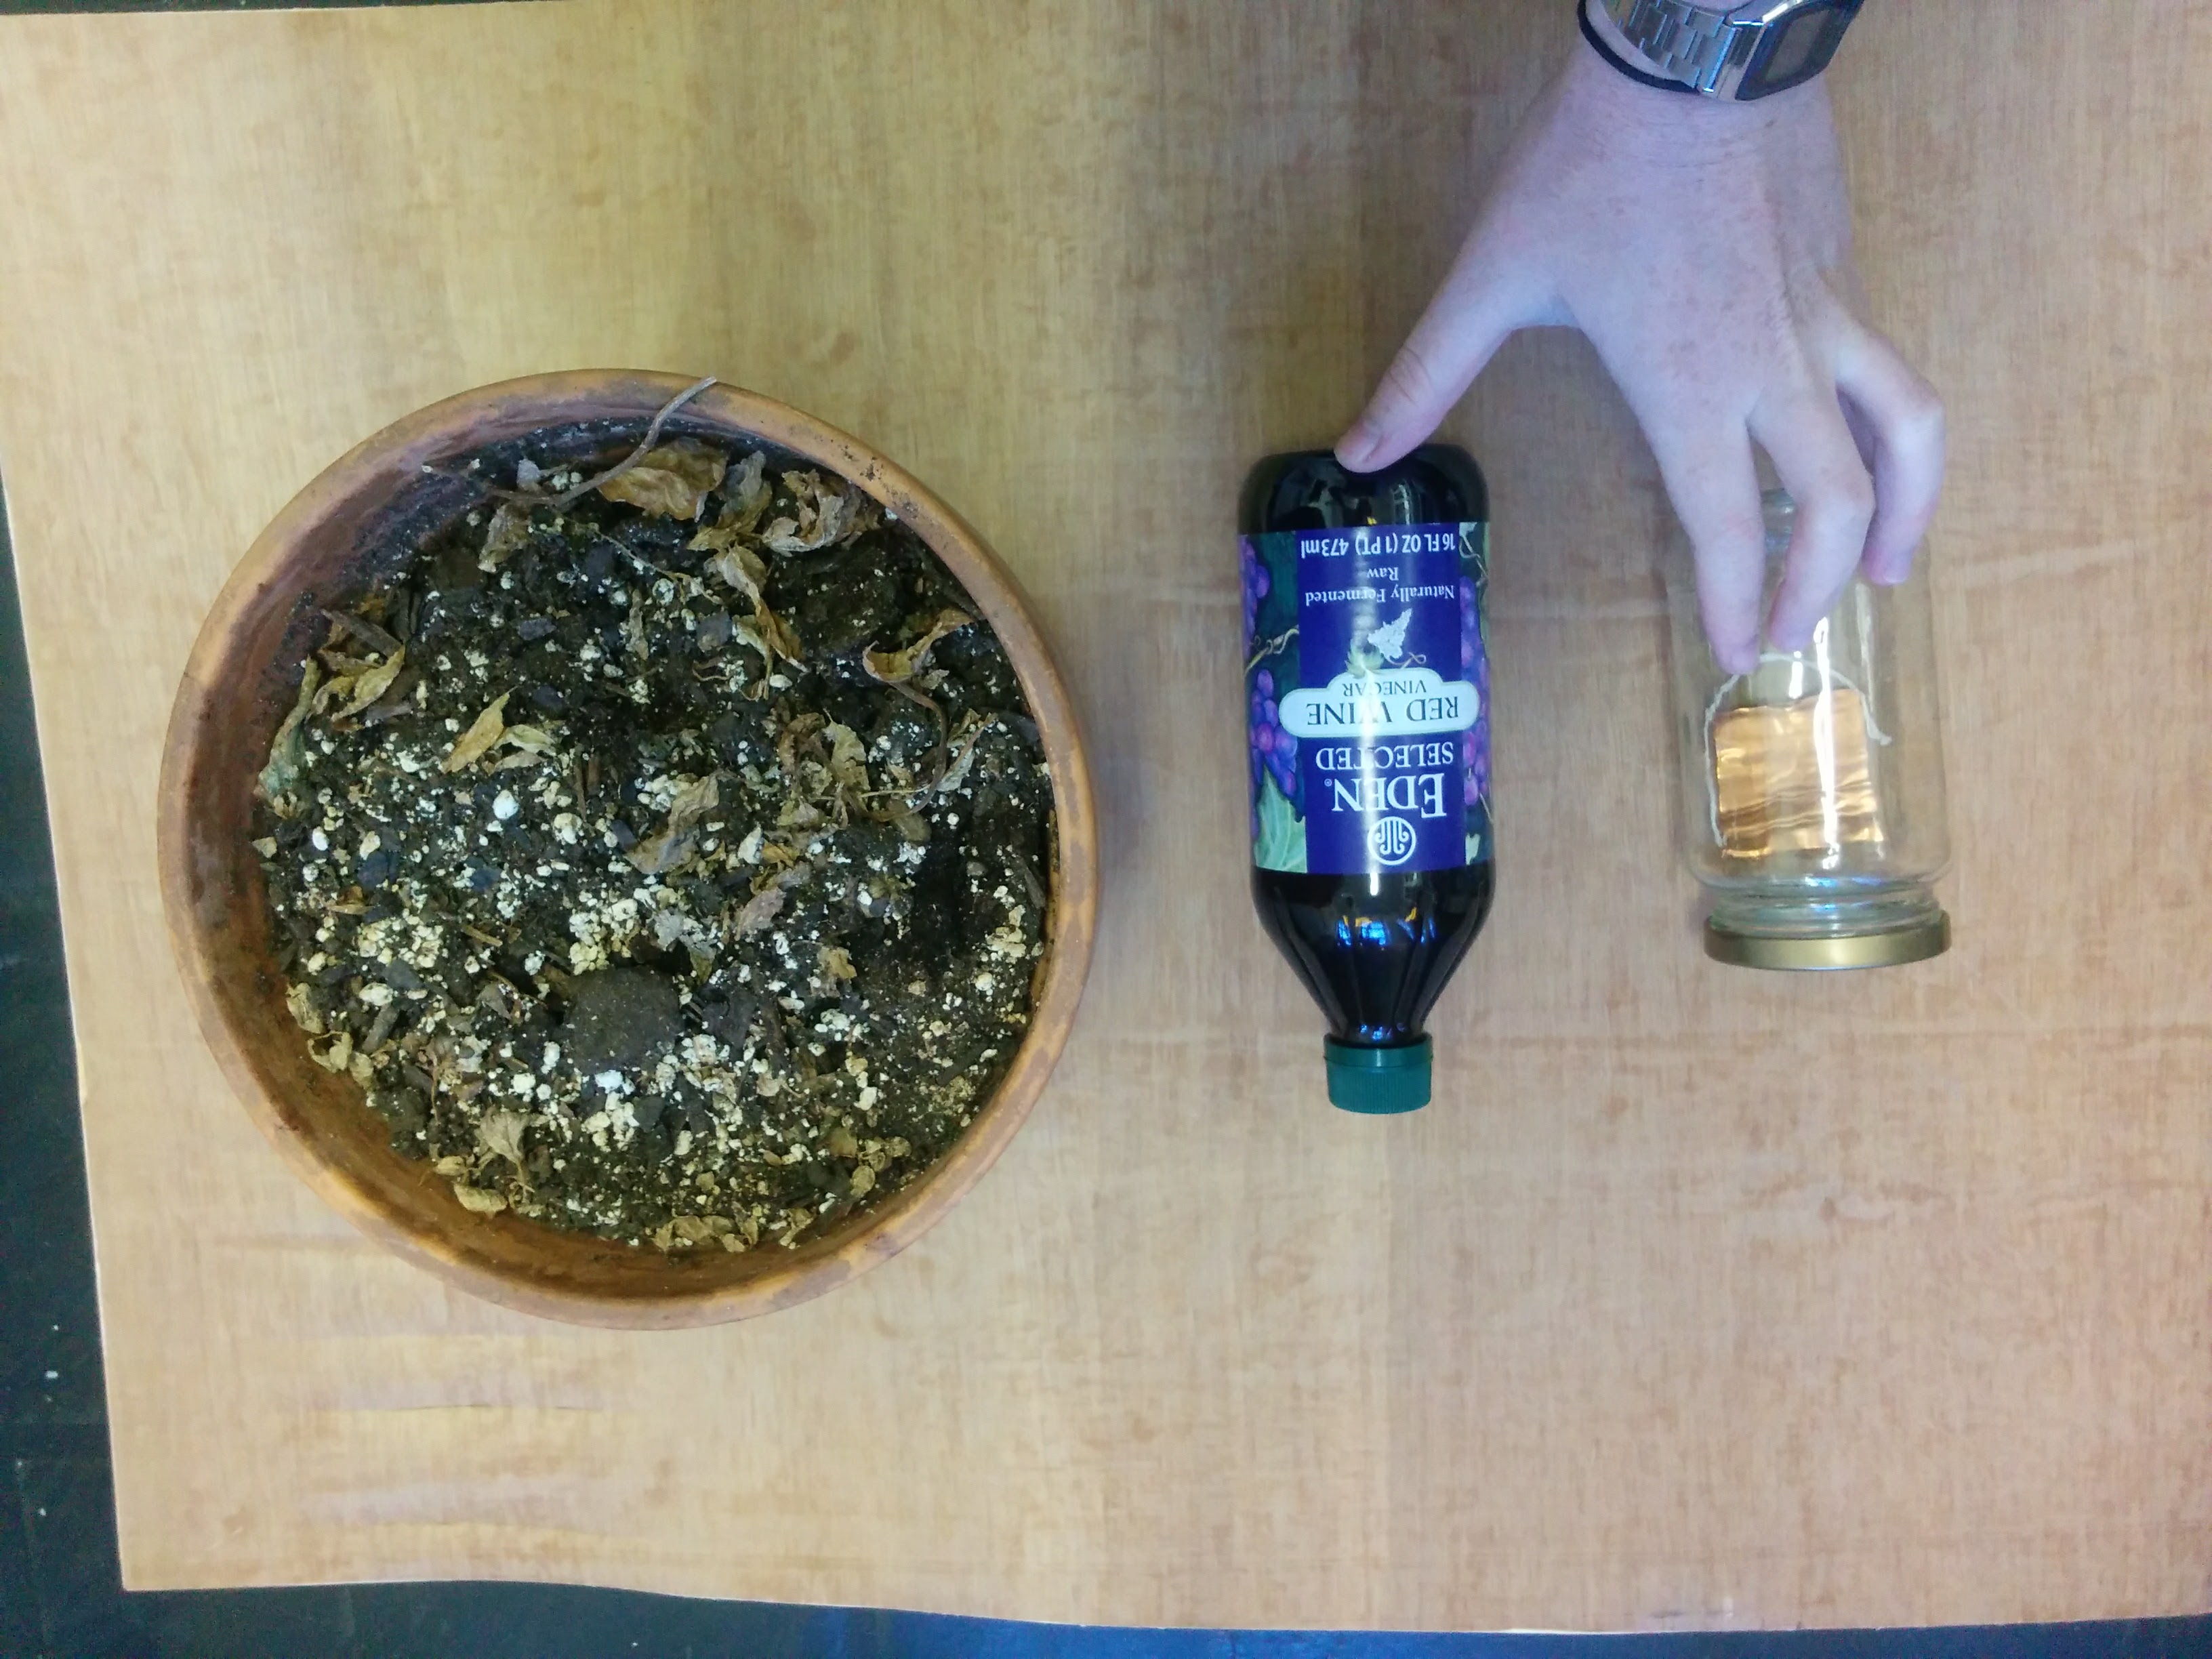
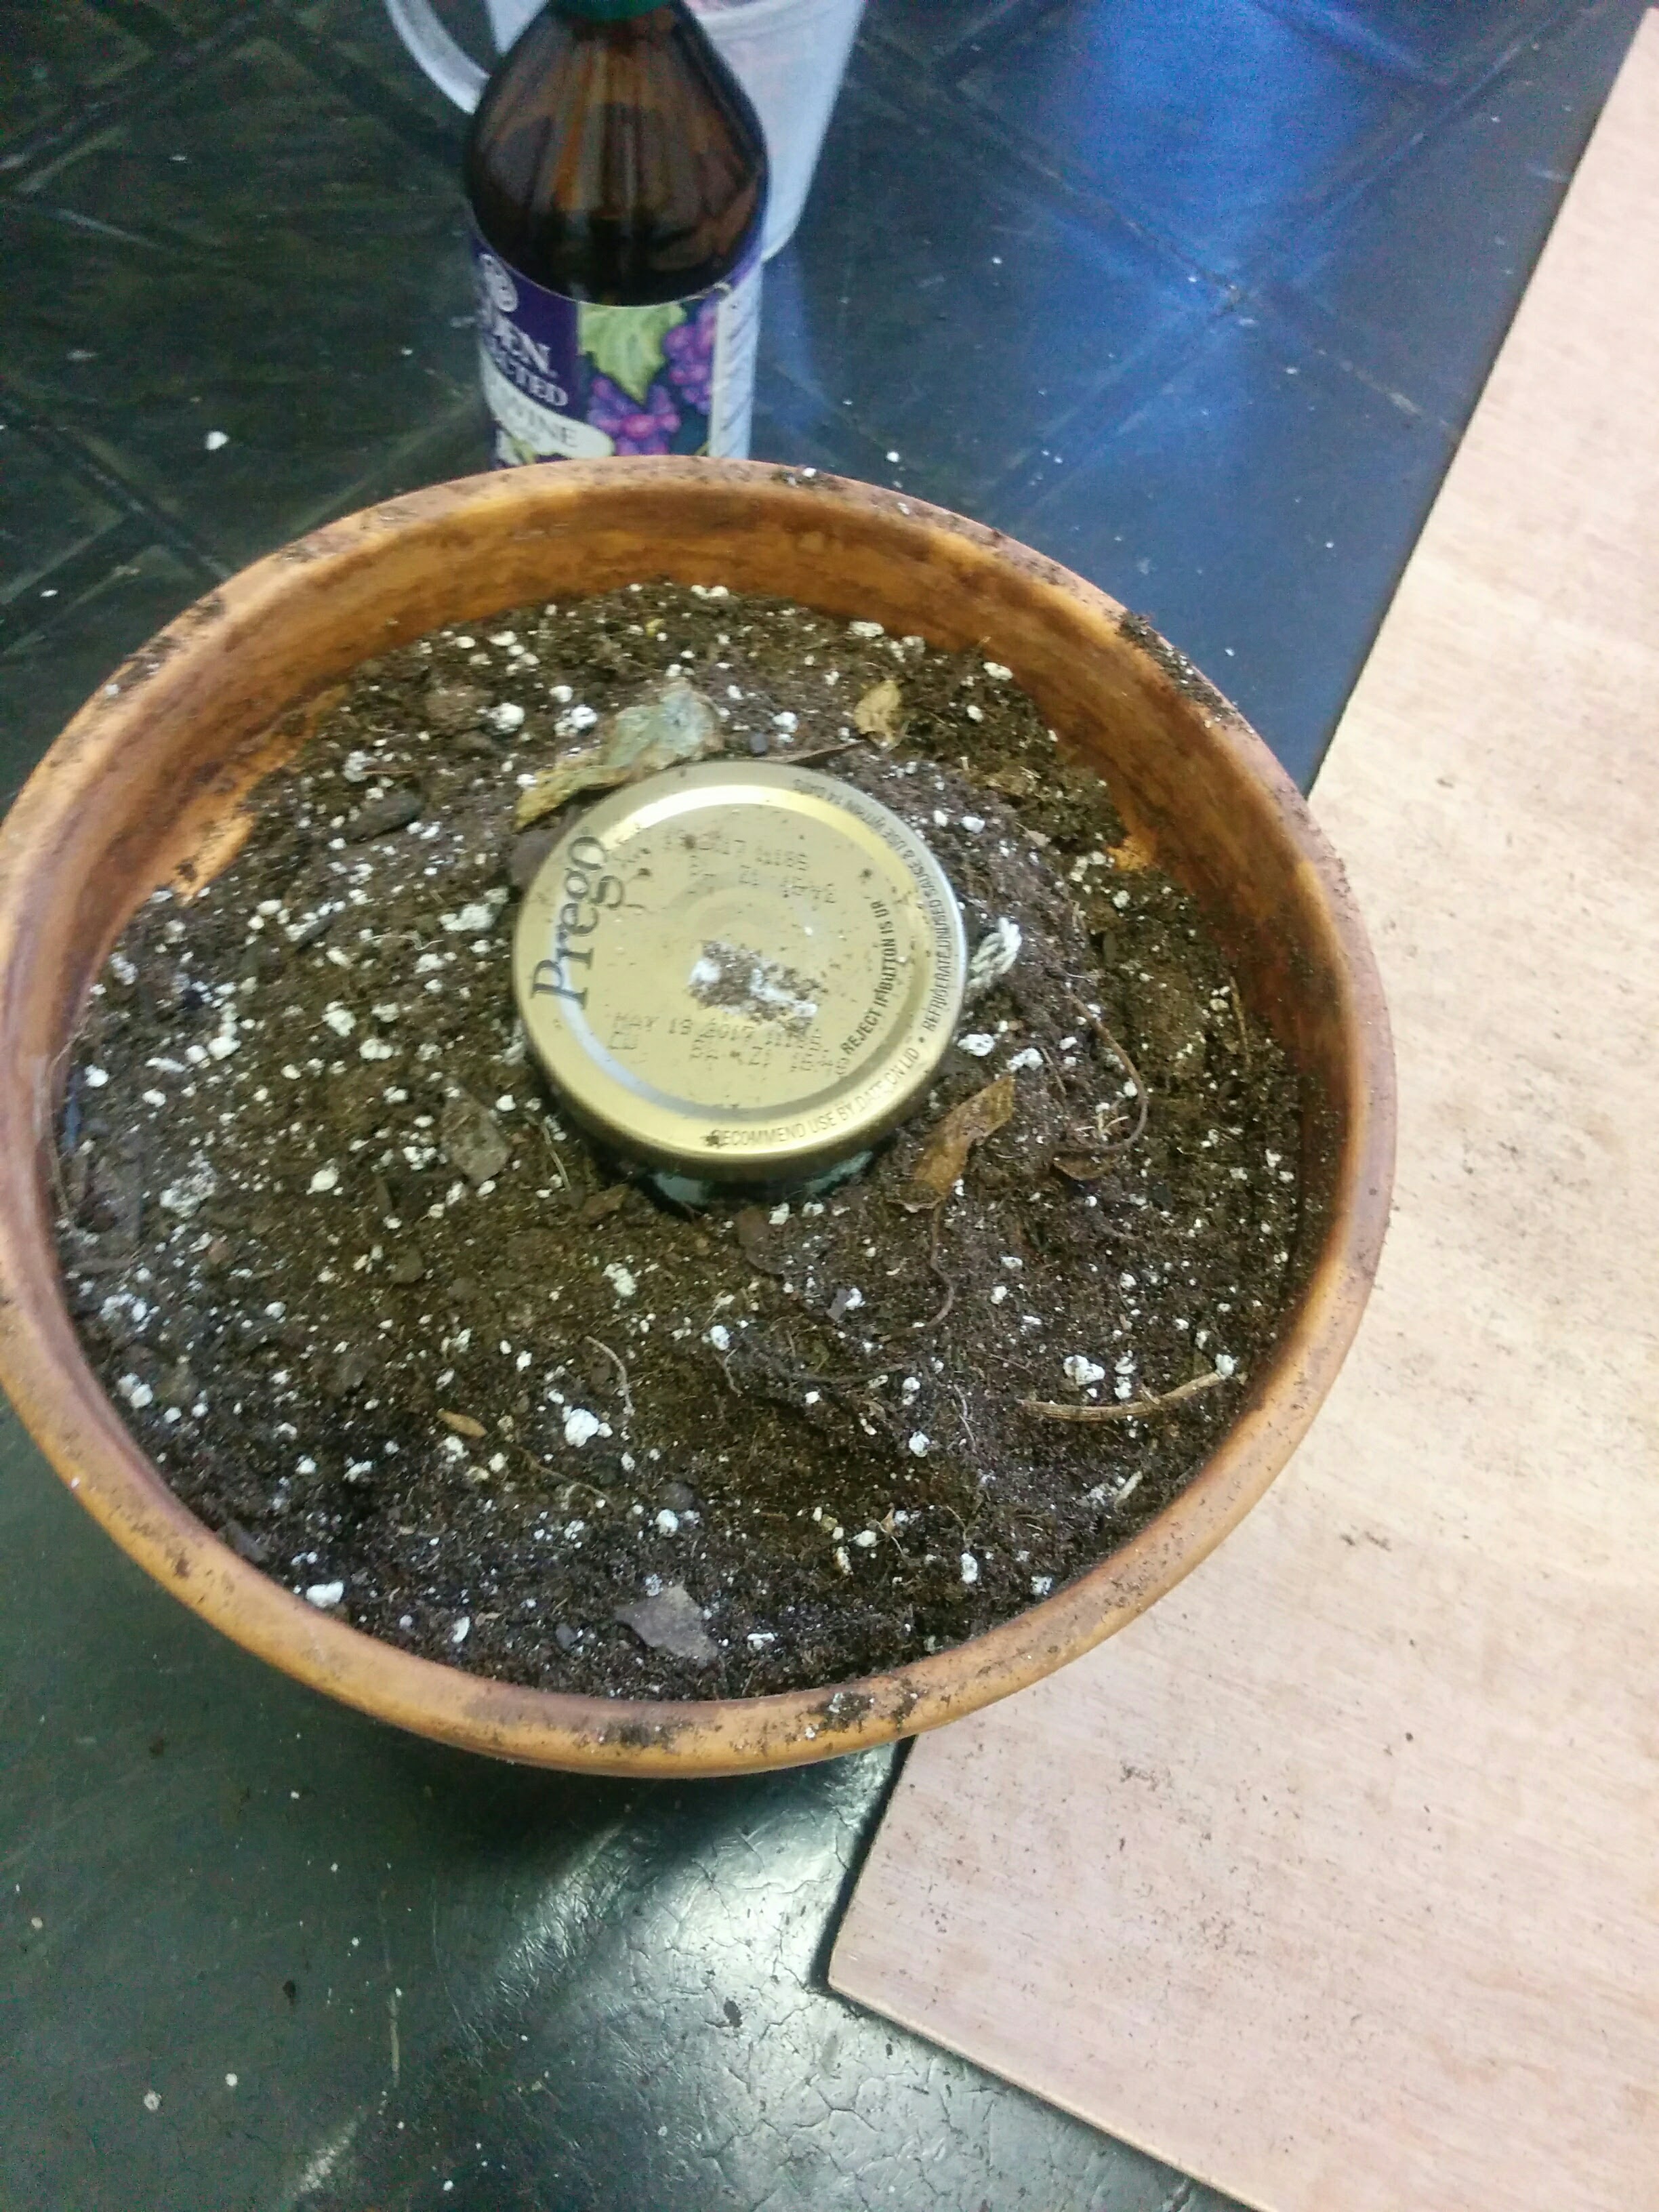
Pictured: Planter, vinegar, first clean jar with string and copper already inside.
Instructions Breakdown [& Commentary]
- “Take a new jar, or any other concave vase, and put into it the strongest and most acid vinegar, so as not to fill it”
- How much vinegar is this? How big was the vase?
- “Strongest and most acid vinegar” - what kind of vinegar would this be? Undiluted wine vinegar?
- Why specify new vase? Cleanliness?
- What material - glass? Ceramic?
- “Put strips of very clean copper or brass over the vinegar, so that they may not touch the vinegar or each other, being suspended to a stick placed across the vase.”
- How big a strip of copper? What was it suspended with? Would this impact recipe? Would it be different with copper or brass?
- “Then cover the vase and seal it”
- Sealant - cover it with what? Cloth? Would it have been sealed with wax? How would the addition of wax impact the results?
- “put it into a warm place, or in dung, or under ground, and leave it so for six months”
- I can’t leave it that long, will that greatly impact my results?
- “open the vase and scrape and shake out what you find in it, and on the strips of metal, into a clean vase”
- “put it in the sun to dry”
- For how long? Do I seal the clean vase? Will bugs be attracted to the vinegar remnants?
Method
Instructions [historical + reconstruction notes]
- “Take a new jar, or any other concave vase, and put into it the strongest and most acid vinegar, so as not to fill it”
- Wash my hands (specifies clean copper strips)
- Unscrew jar, remove copper and string.
- Fold copper over string, making sure that the two sides don’t touch each other. (so I know how large it is and therefore how much vinegar will fit in the jar)
- Pour in Eden organics red wine vinegar to [measurement] below the lip (measured from the bottom of the threading).
- I filled the jar quite high, with just enough room for the copper to dangle under the lid, because I wasn’t sure if the 6% vinegar I was using was strong enough. I did not fill the jar, but there is quite a lot of vinegar
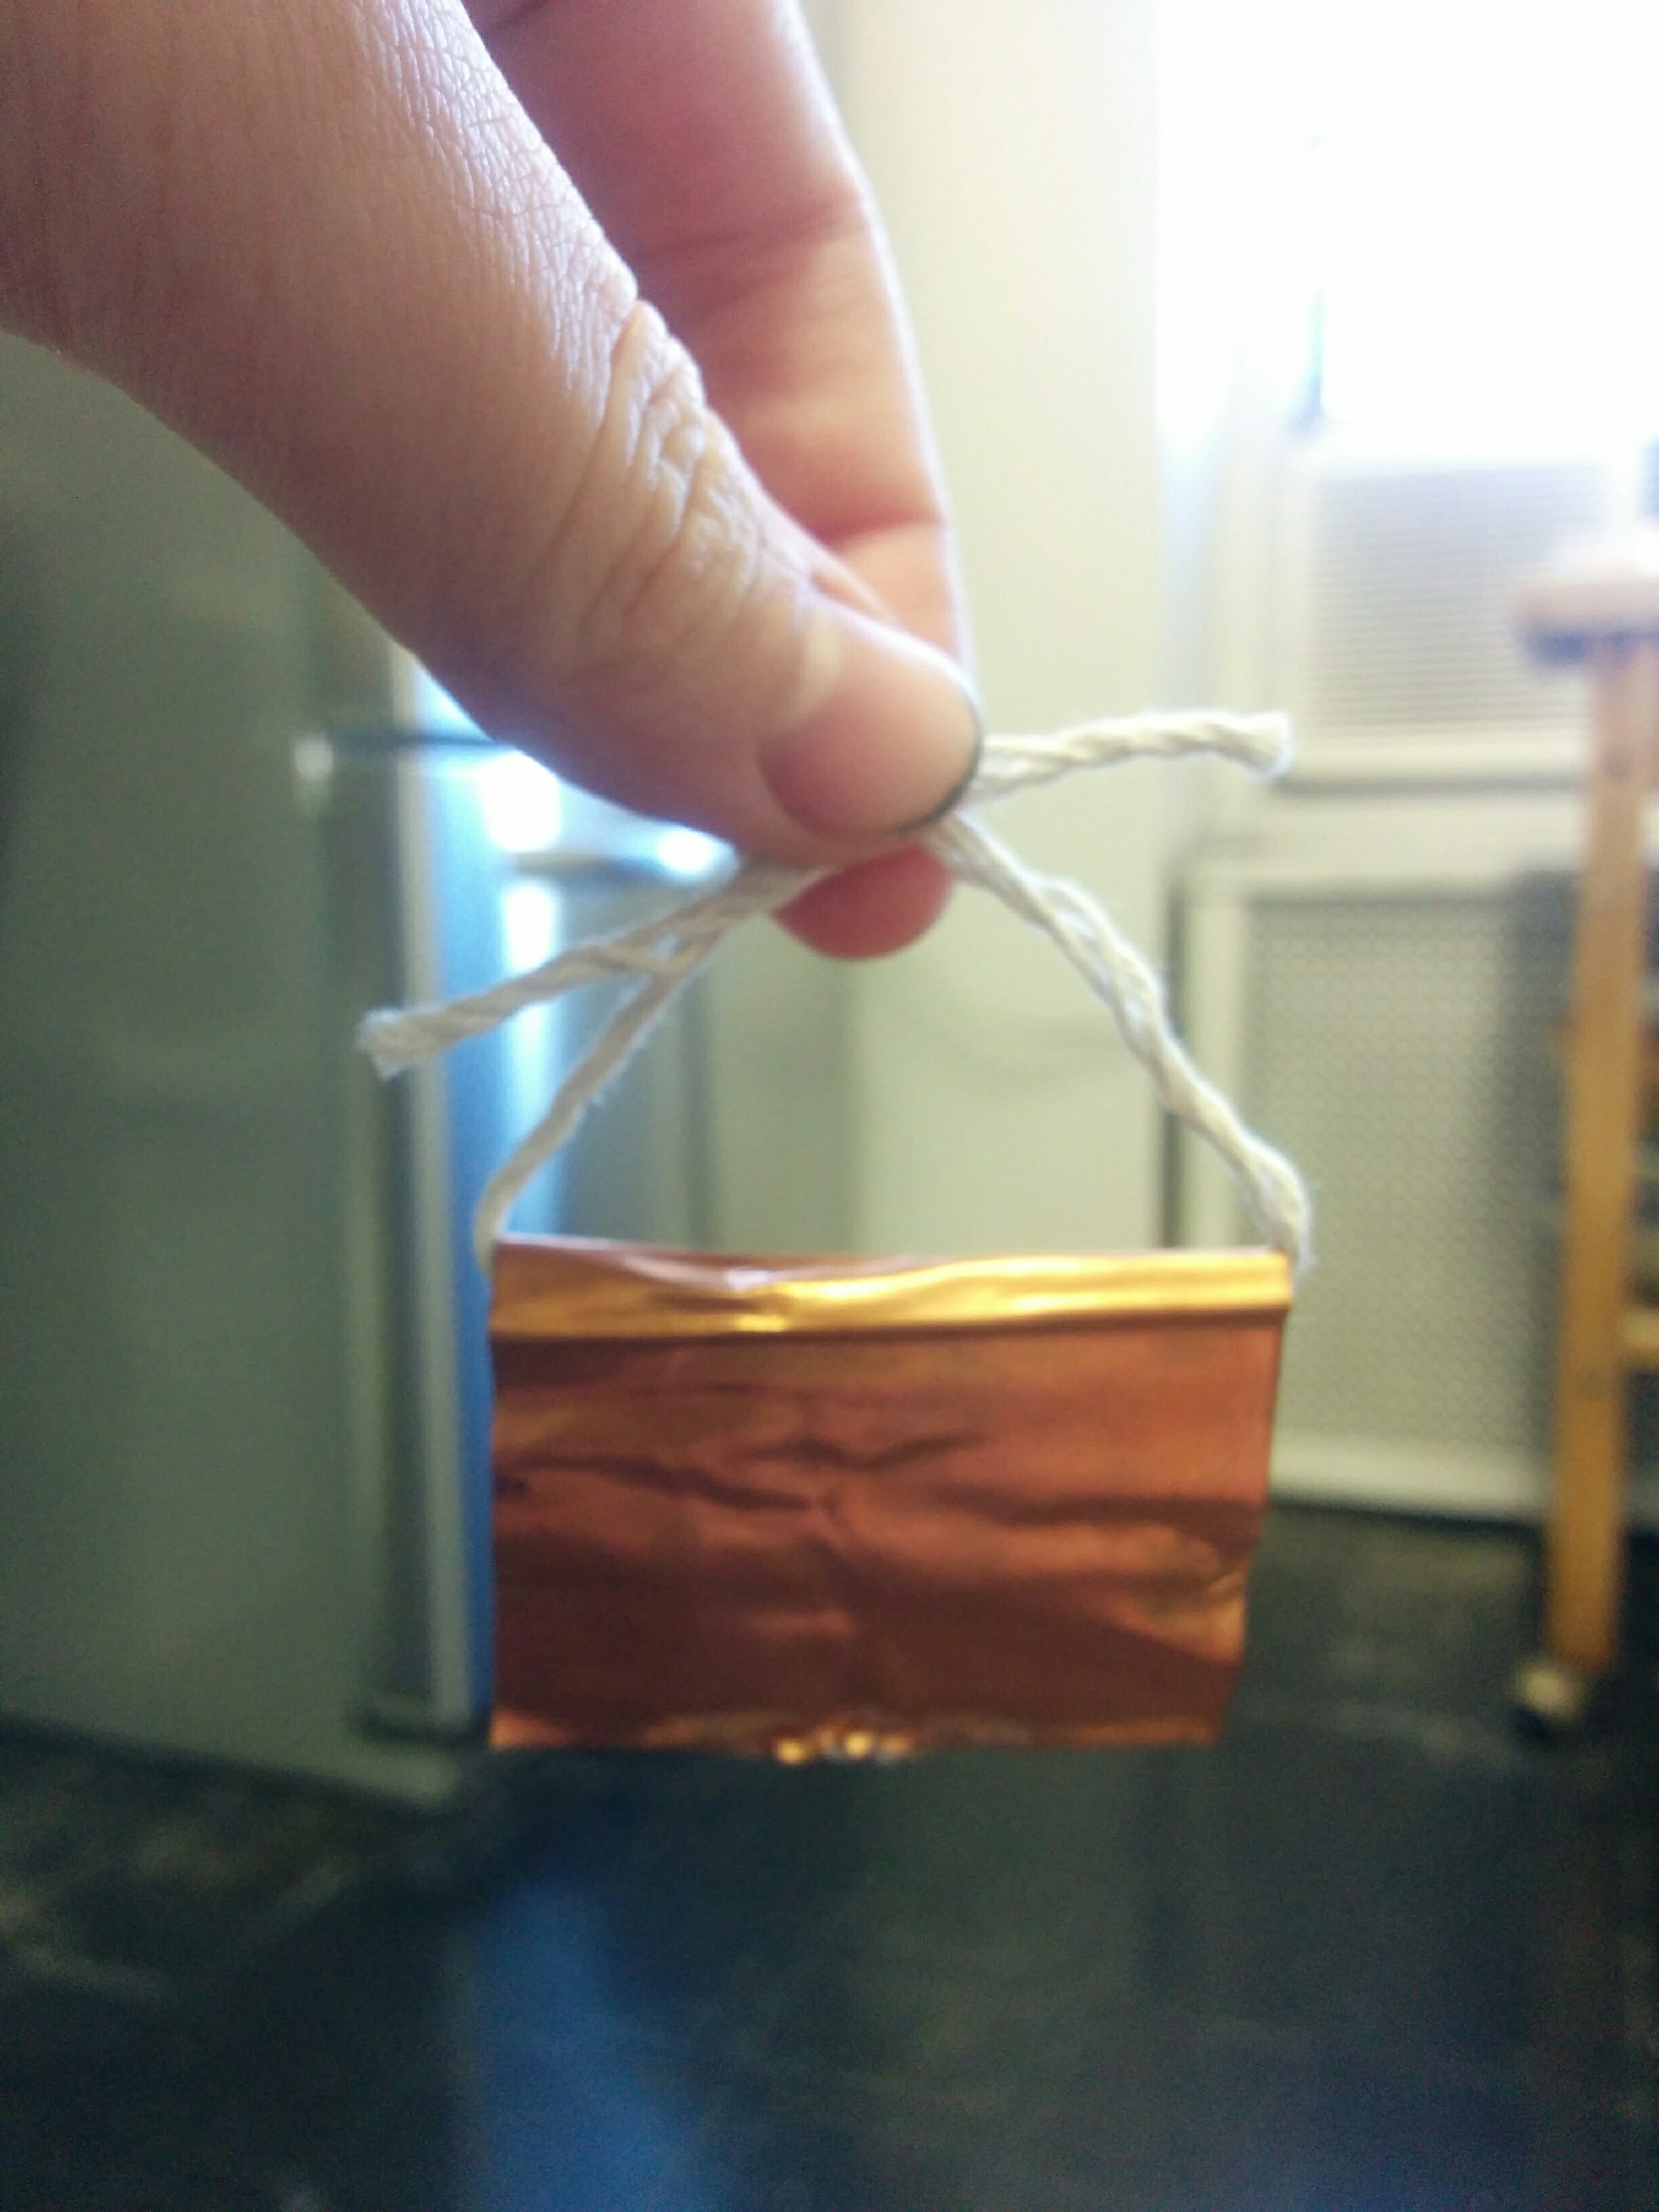
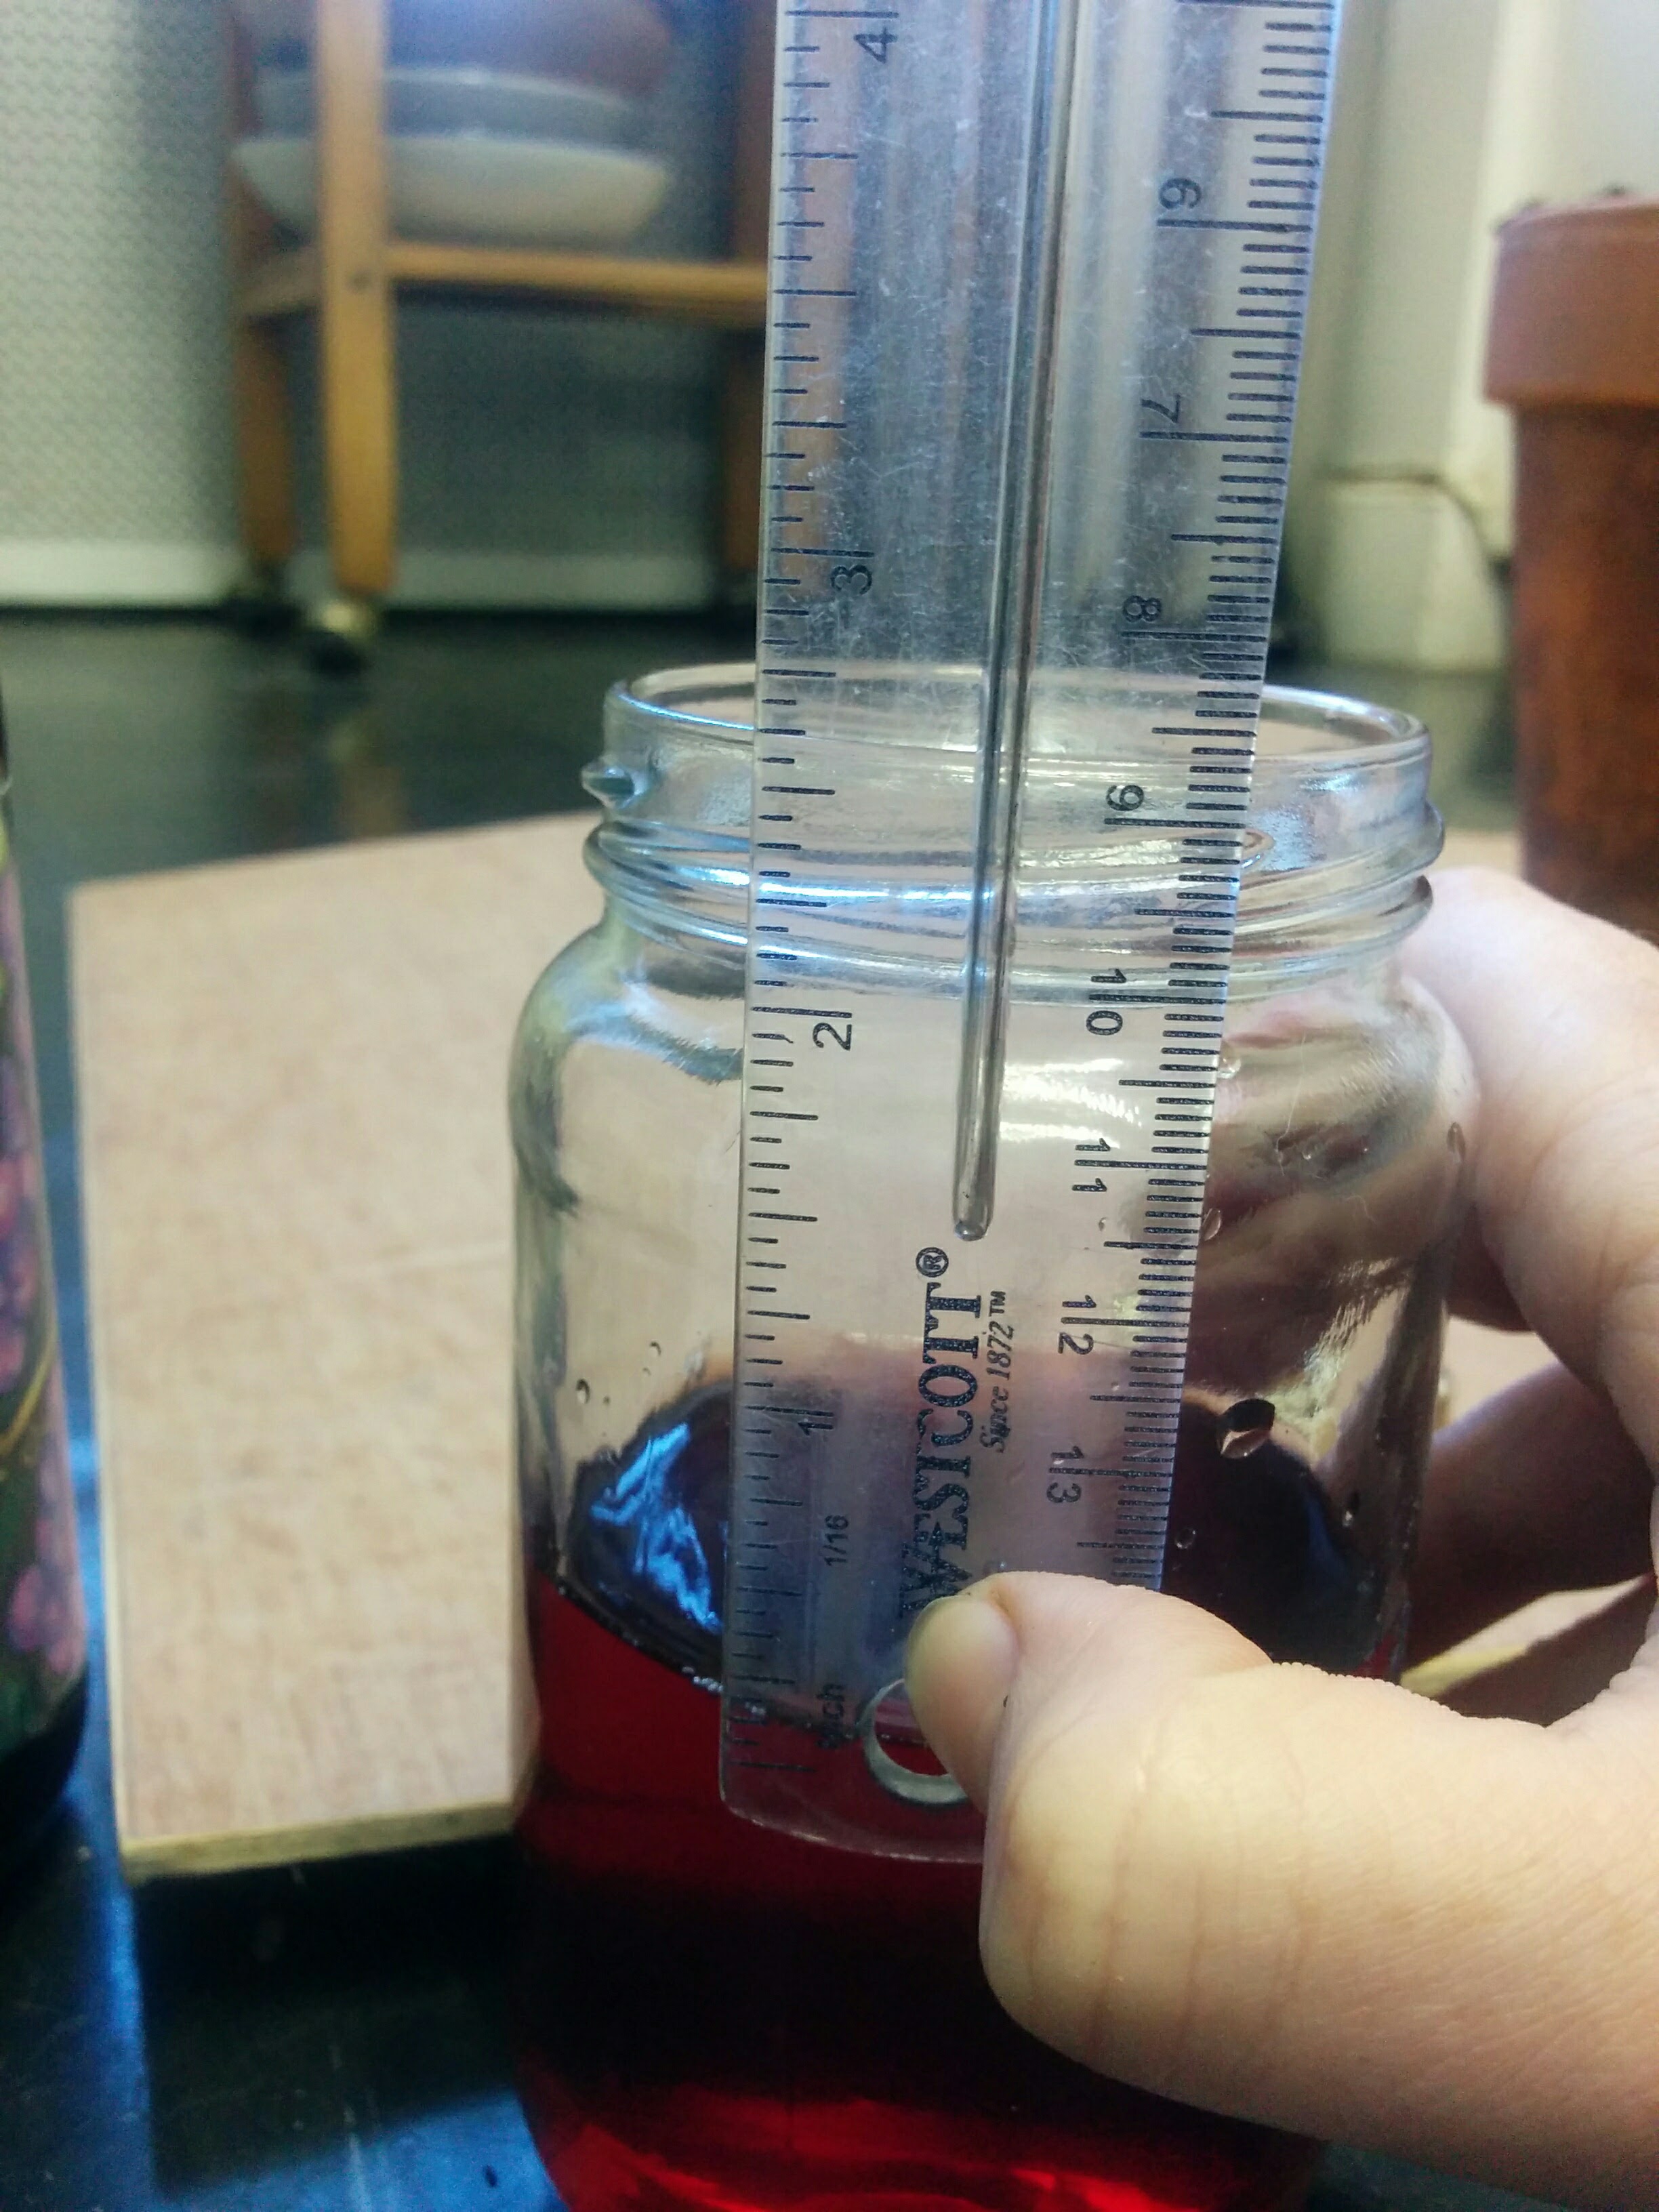
- “Put strips of very clean copper or brass over the vinegar, so that they may not touch the vinegar or each other, being suspended to a stick placed across the vase.”
- Pick up copper bent over string and hold it in place over the mouth of the jar. Keep enough slack so the copper will not touch the lid. Let the string ends dangle over the lip of the jar on the outside.
- “Then cover the vase and seal it”
- Screw on lid. The tension of the string should keep the copper above the vinegar so that it does not “touch the vinegar”. Will the metal of my lid also grow verdigris? What metal is it?
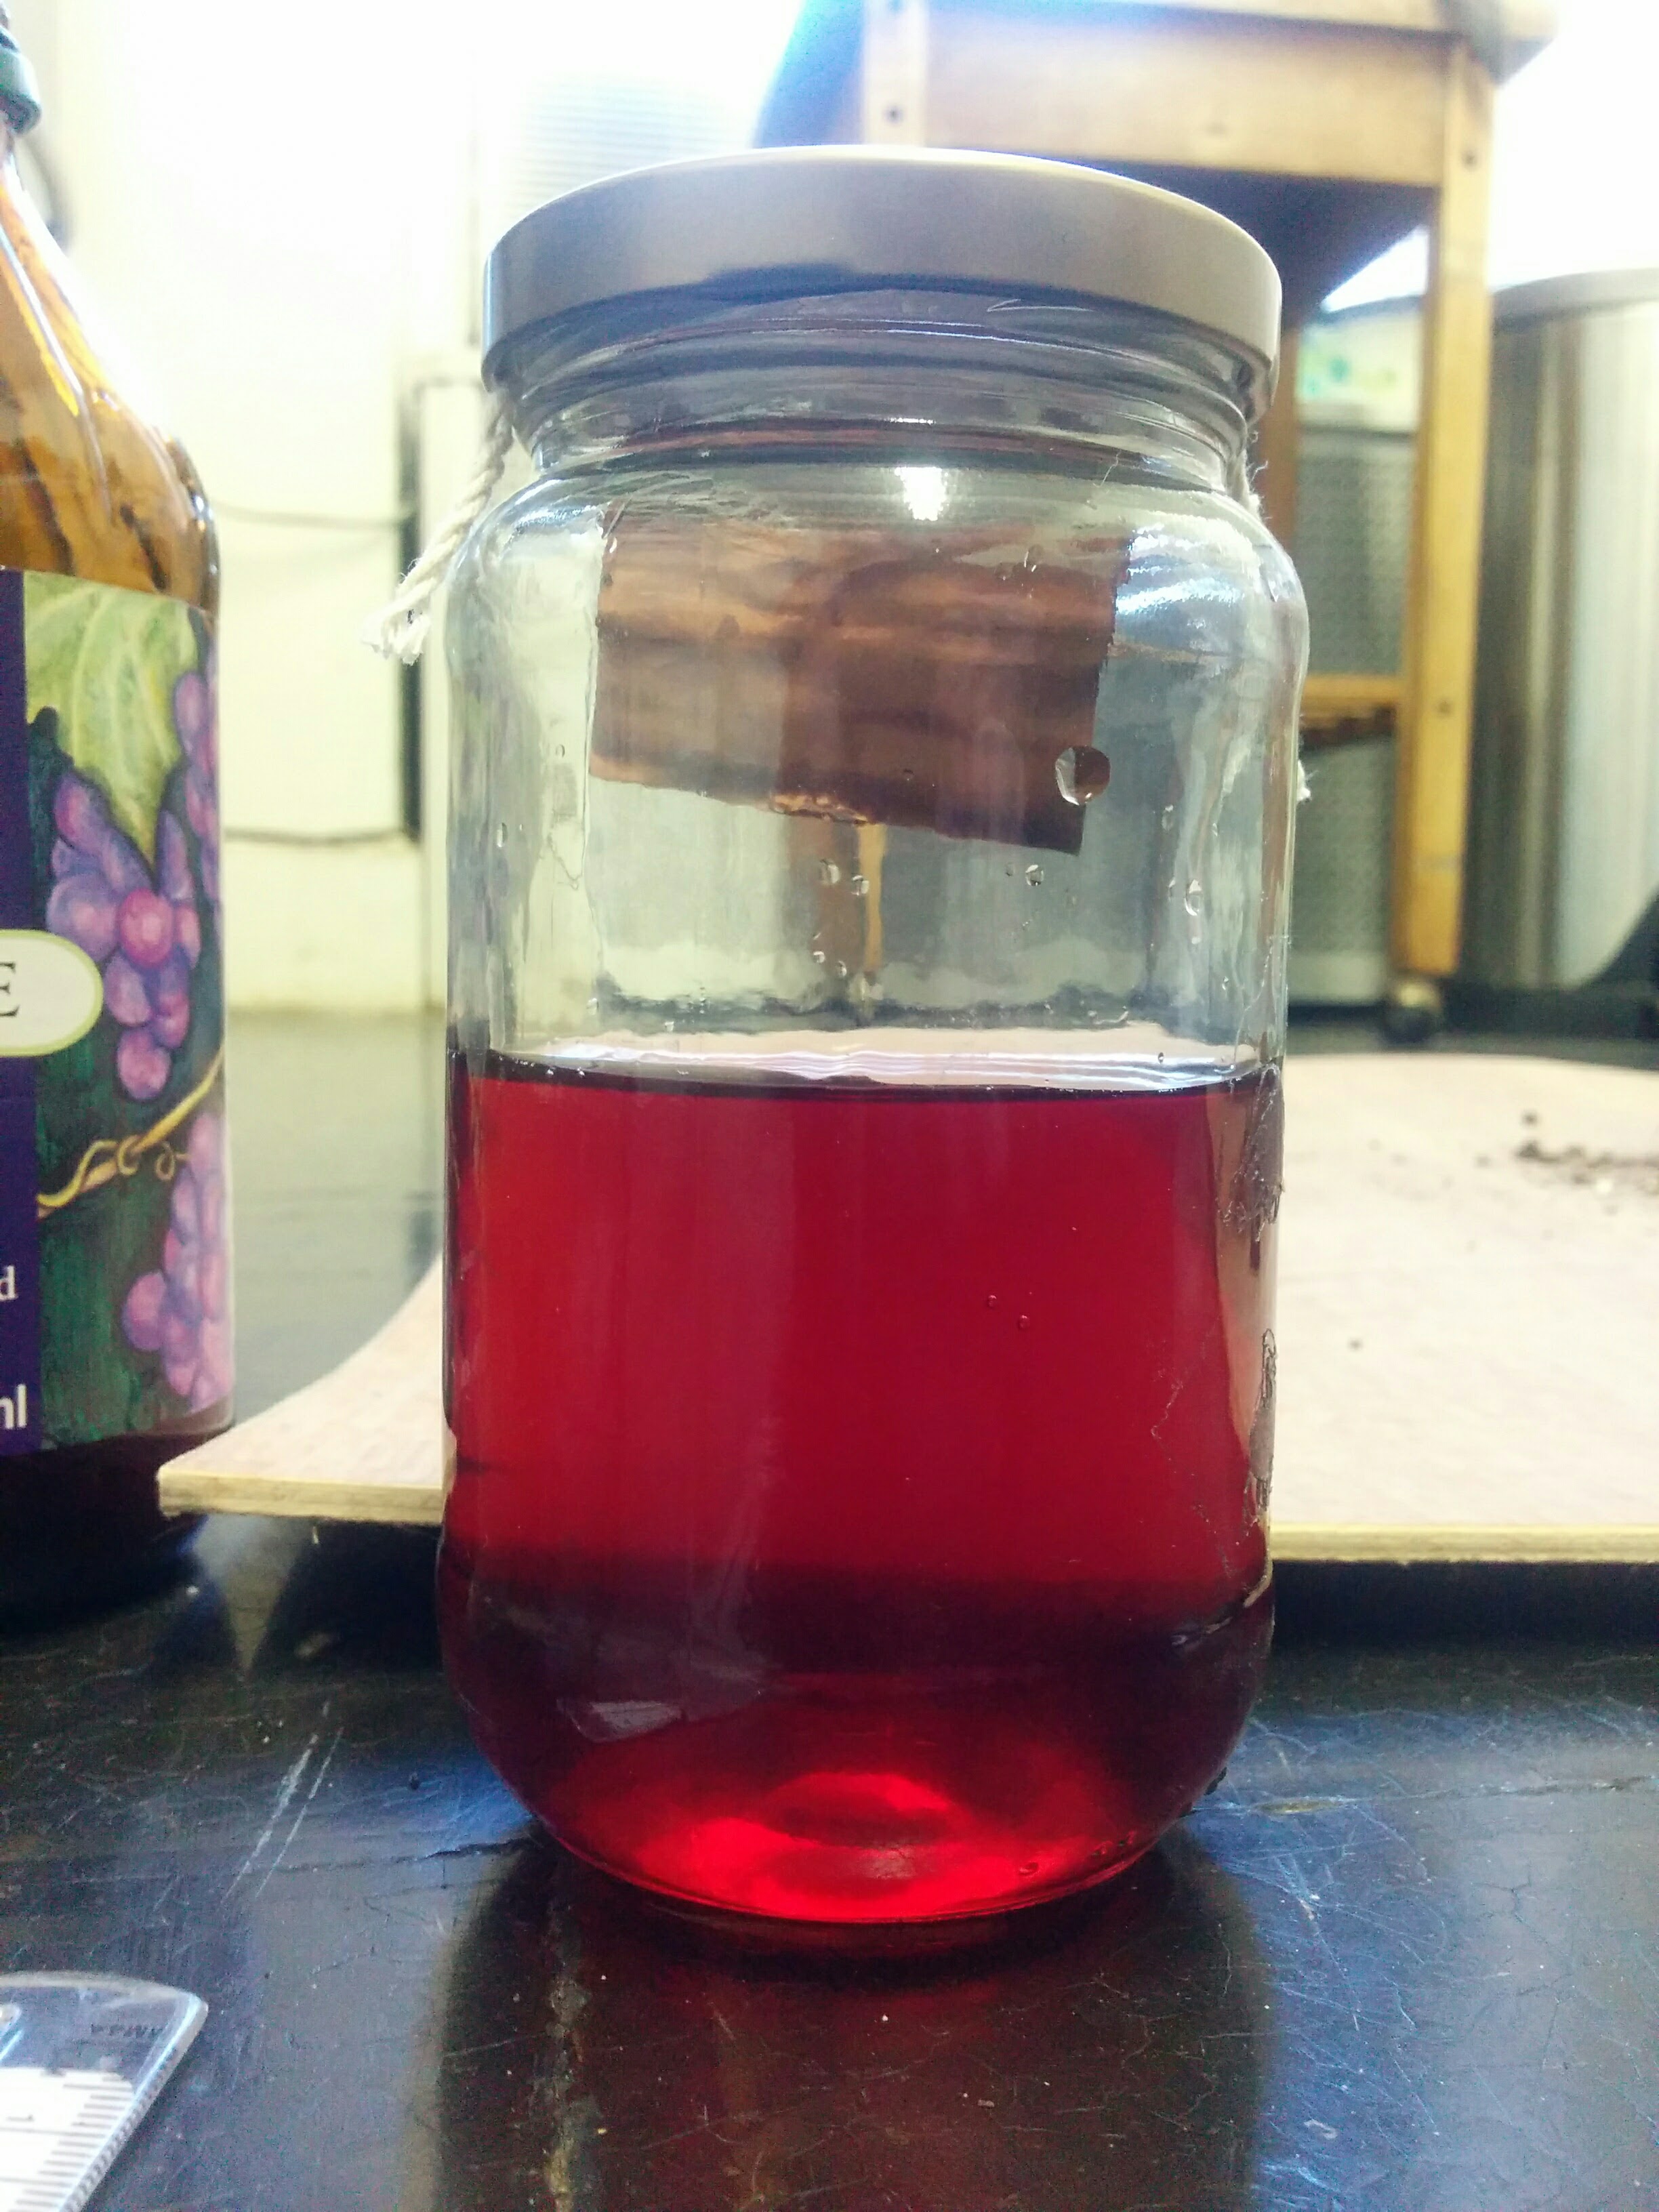
- “put it into a warm place, or in dung, or under ground, and leave it so for six months”
- Dig a hole in wet warm soil in planter.
- Put jar in hole. Cover with soil.
- Wrap planter with towel, and place in bathroom next to radiator in order to simulate a warm, moist environment of earth or dung.
- Check to make sure the vinegar hasn’t touched the copper during short transportation from kitchen to bathroom. Copper/vinegar was sealed on 9/15/16.
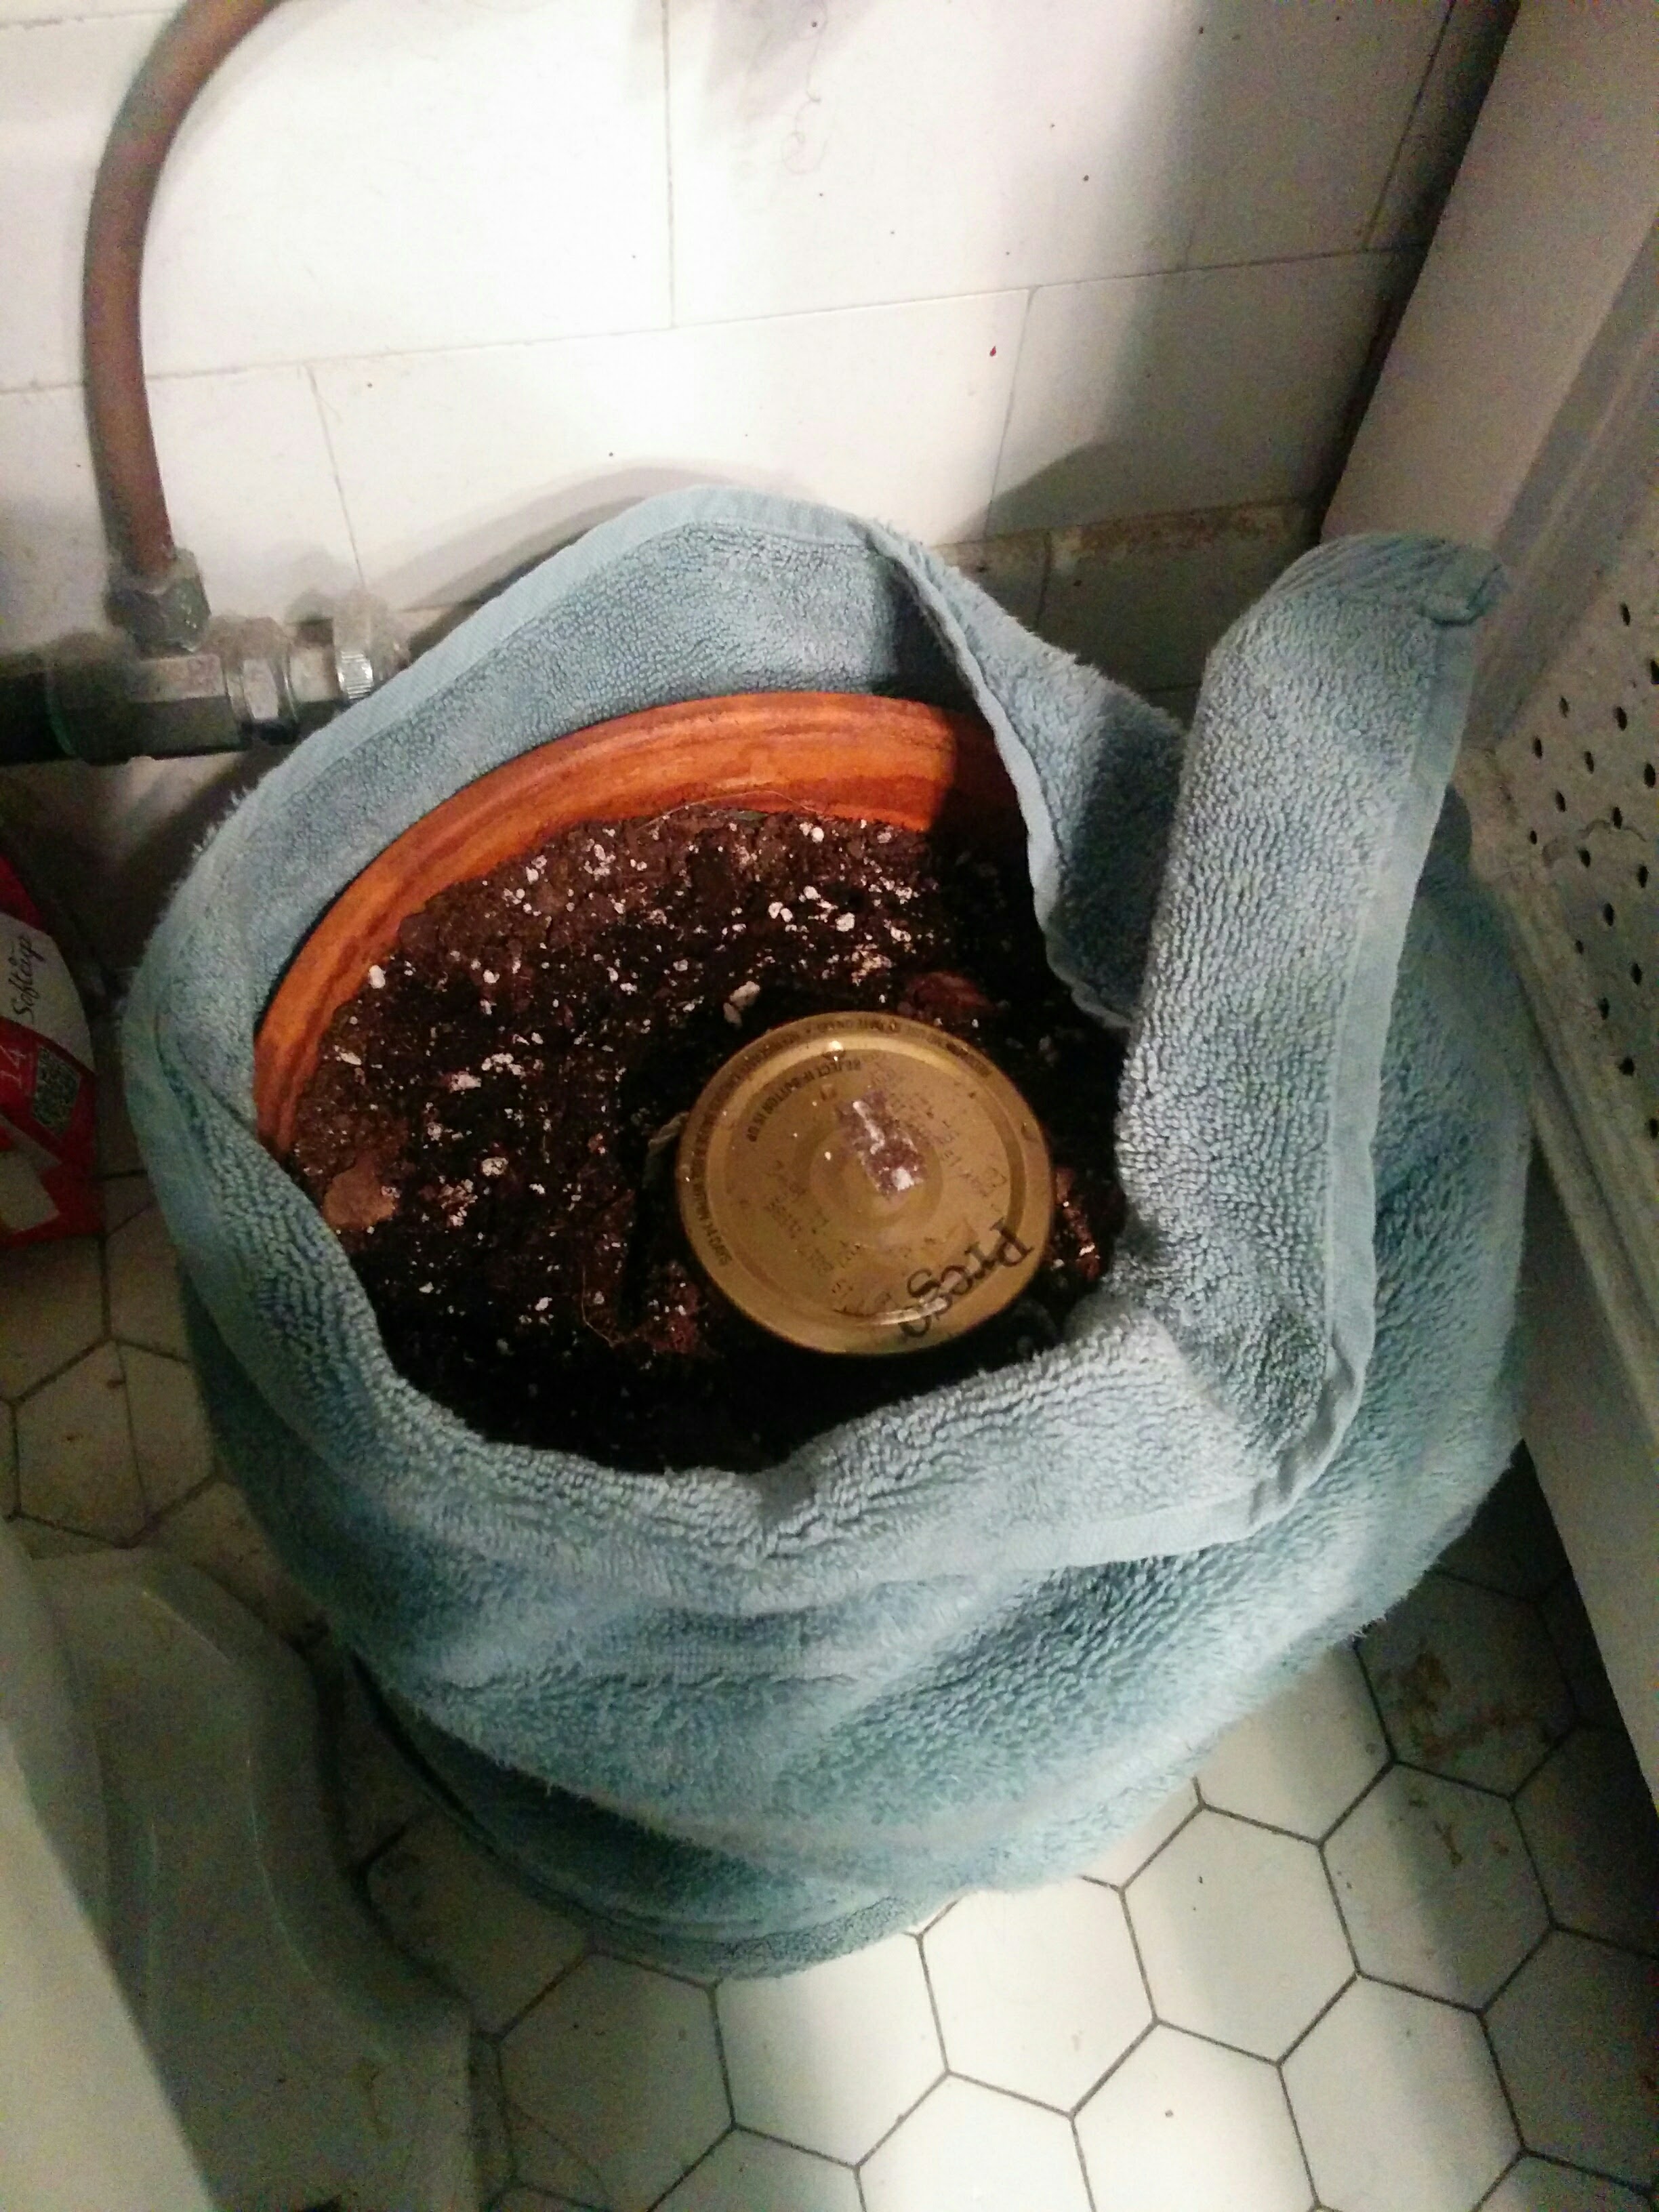
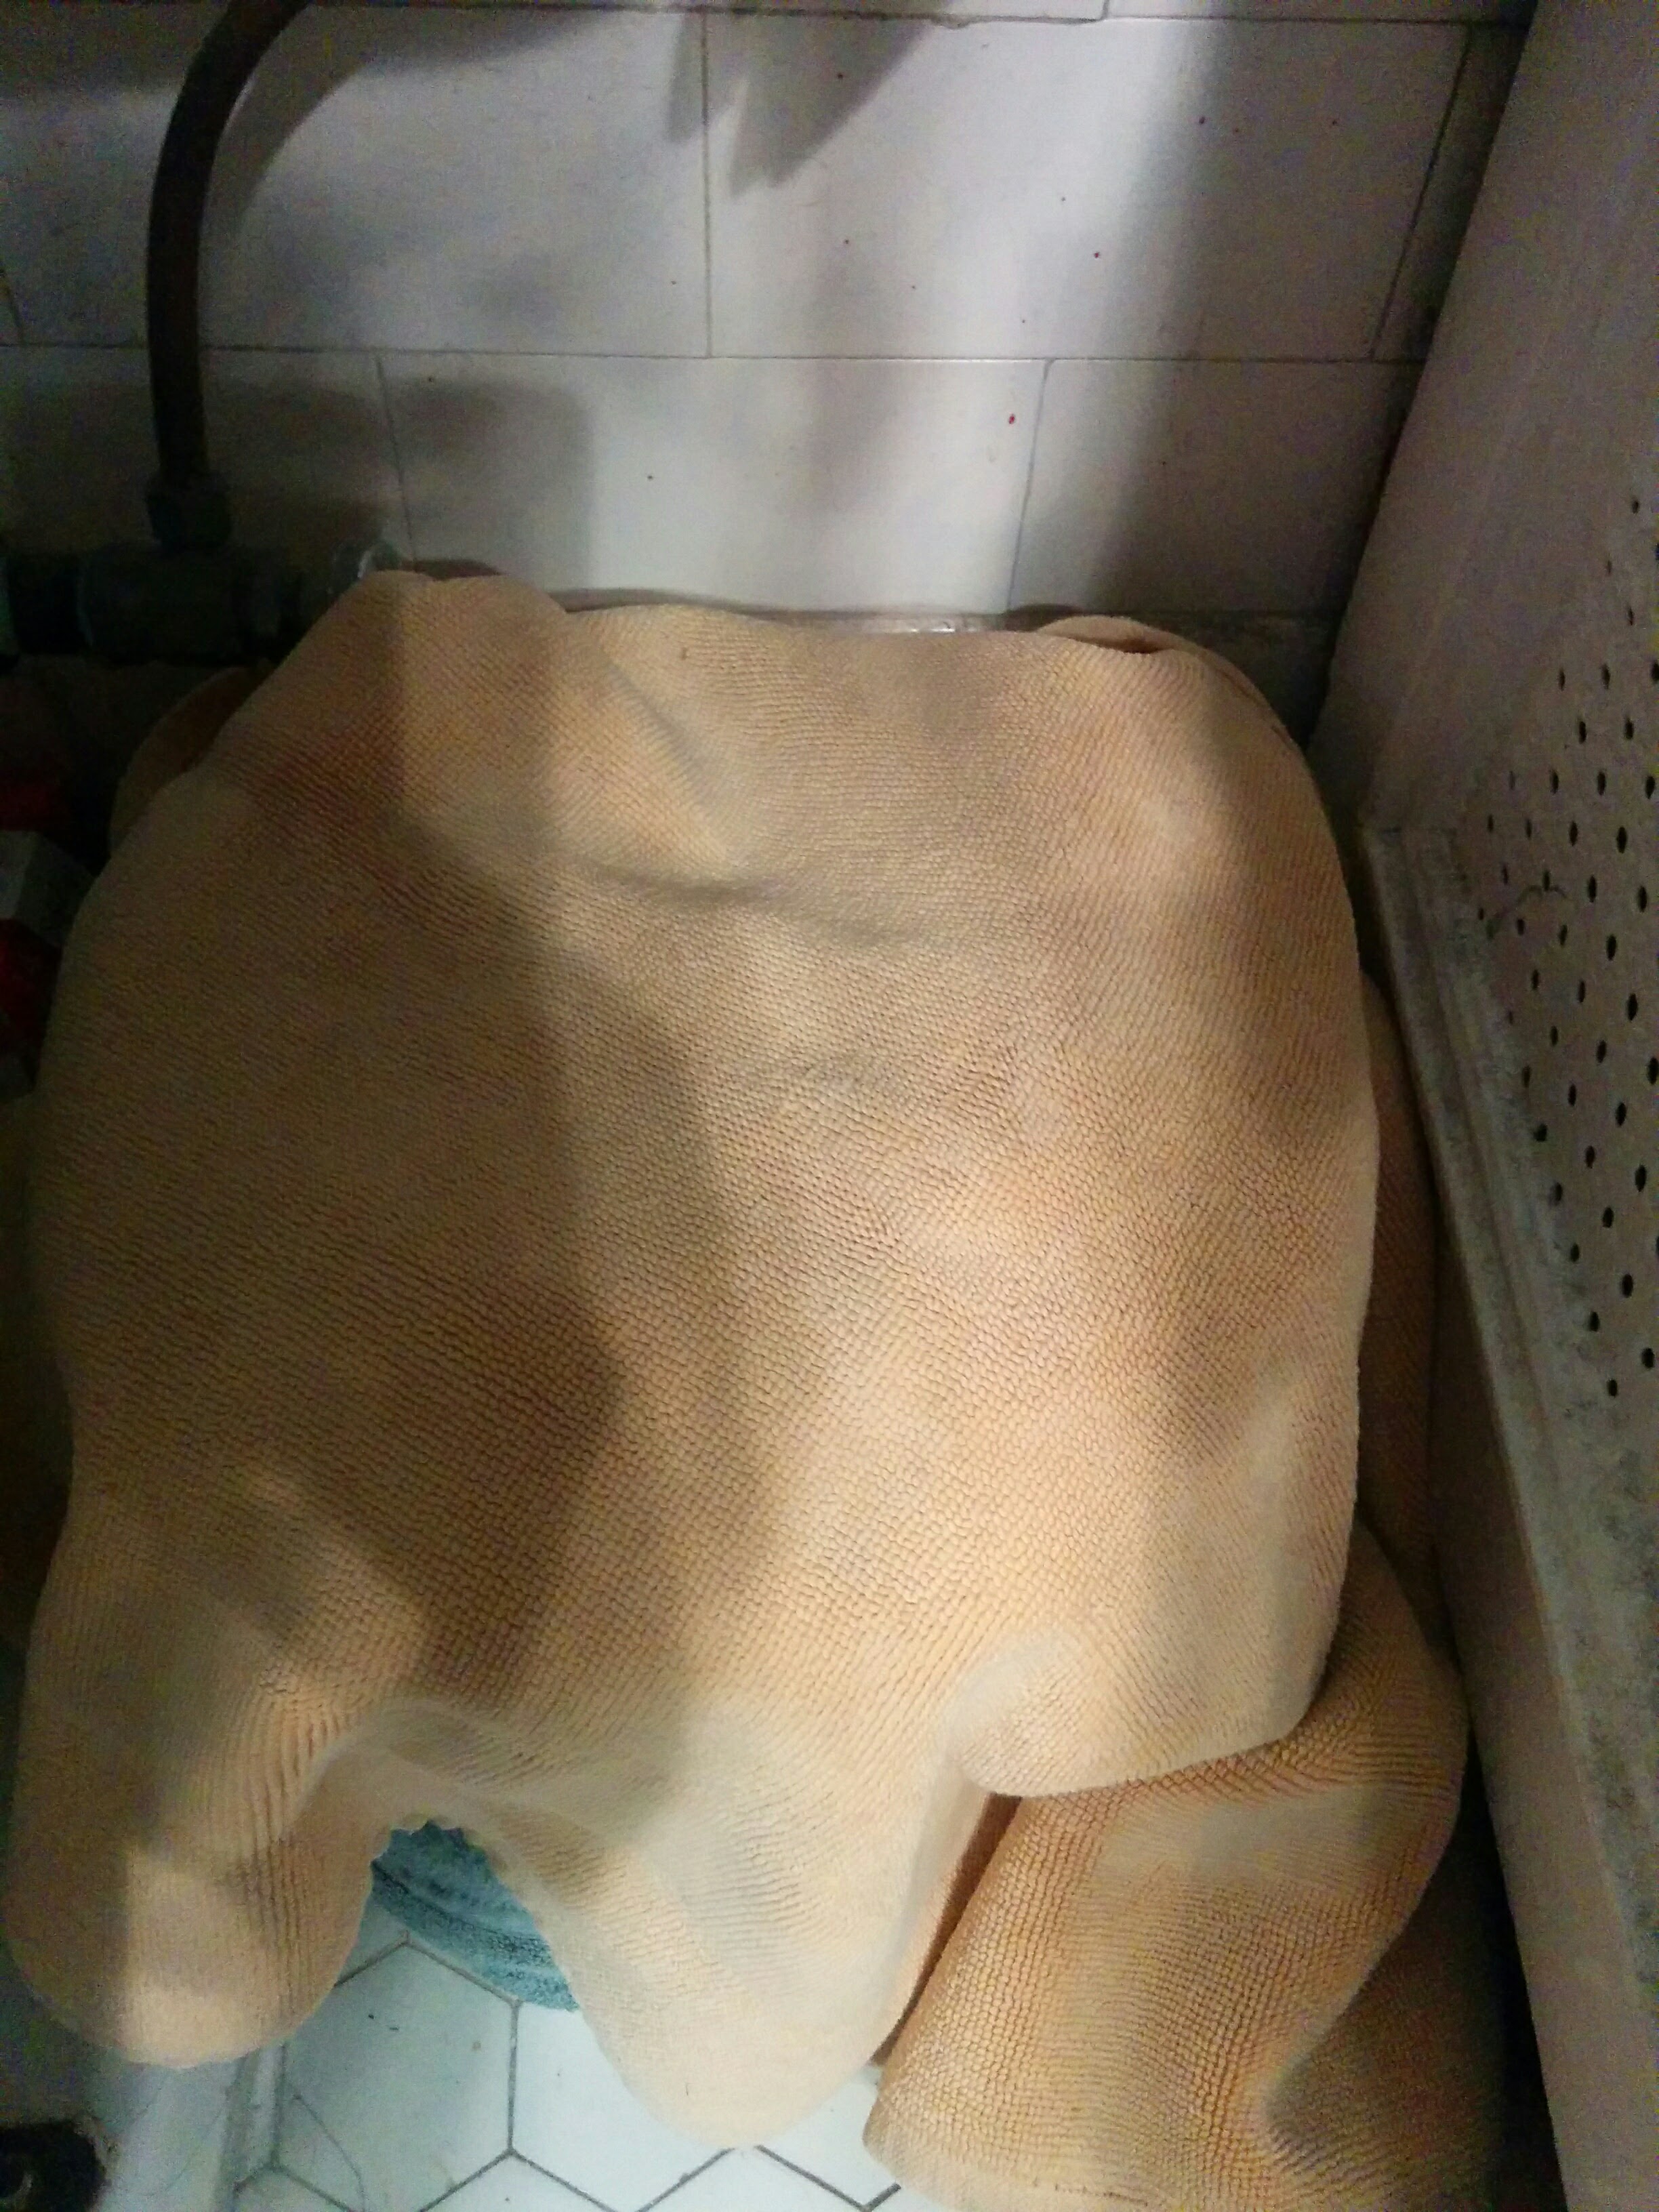
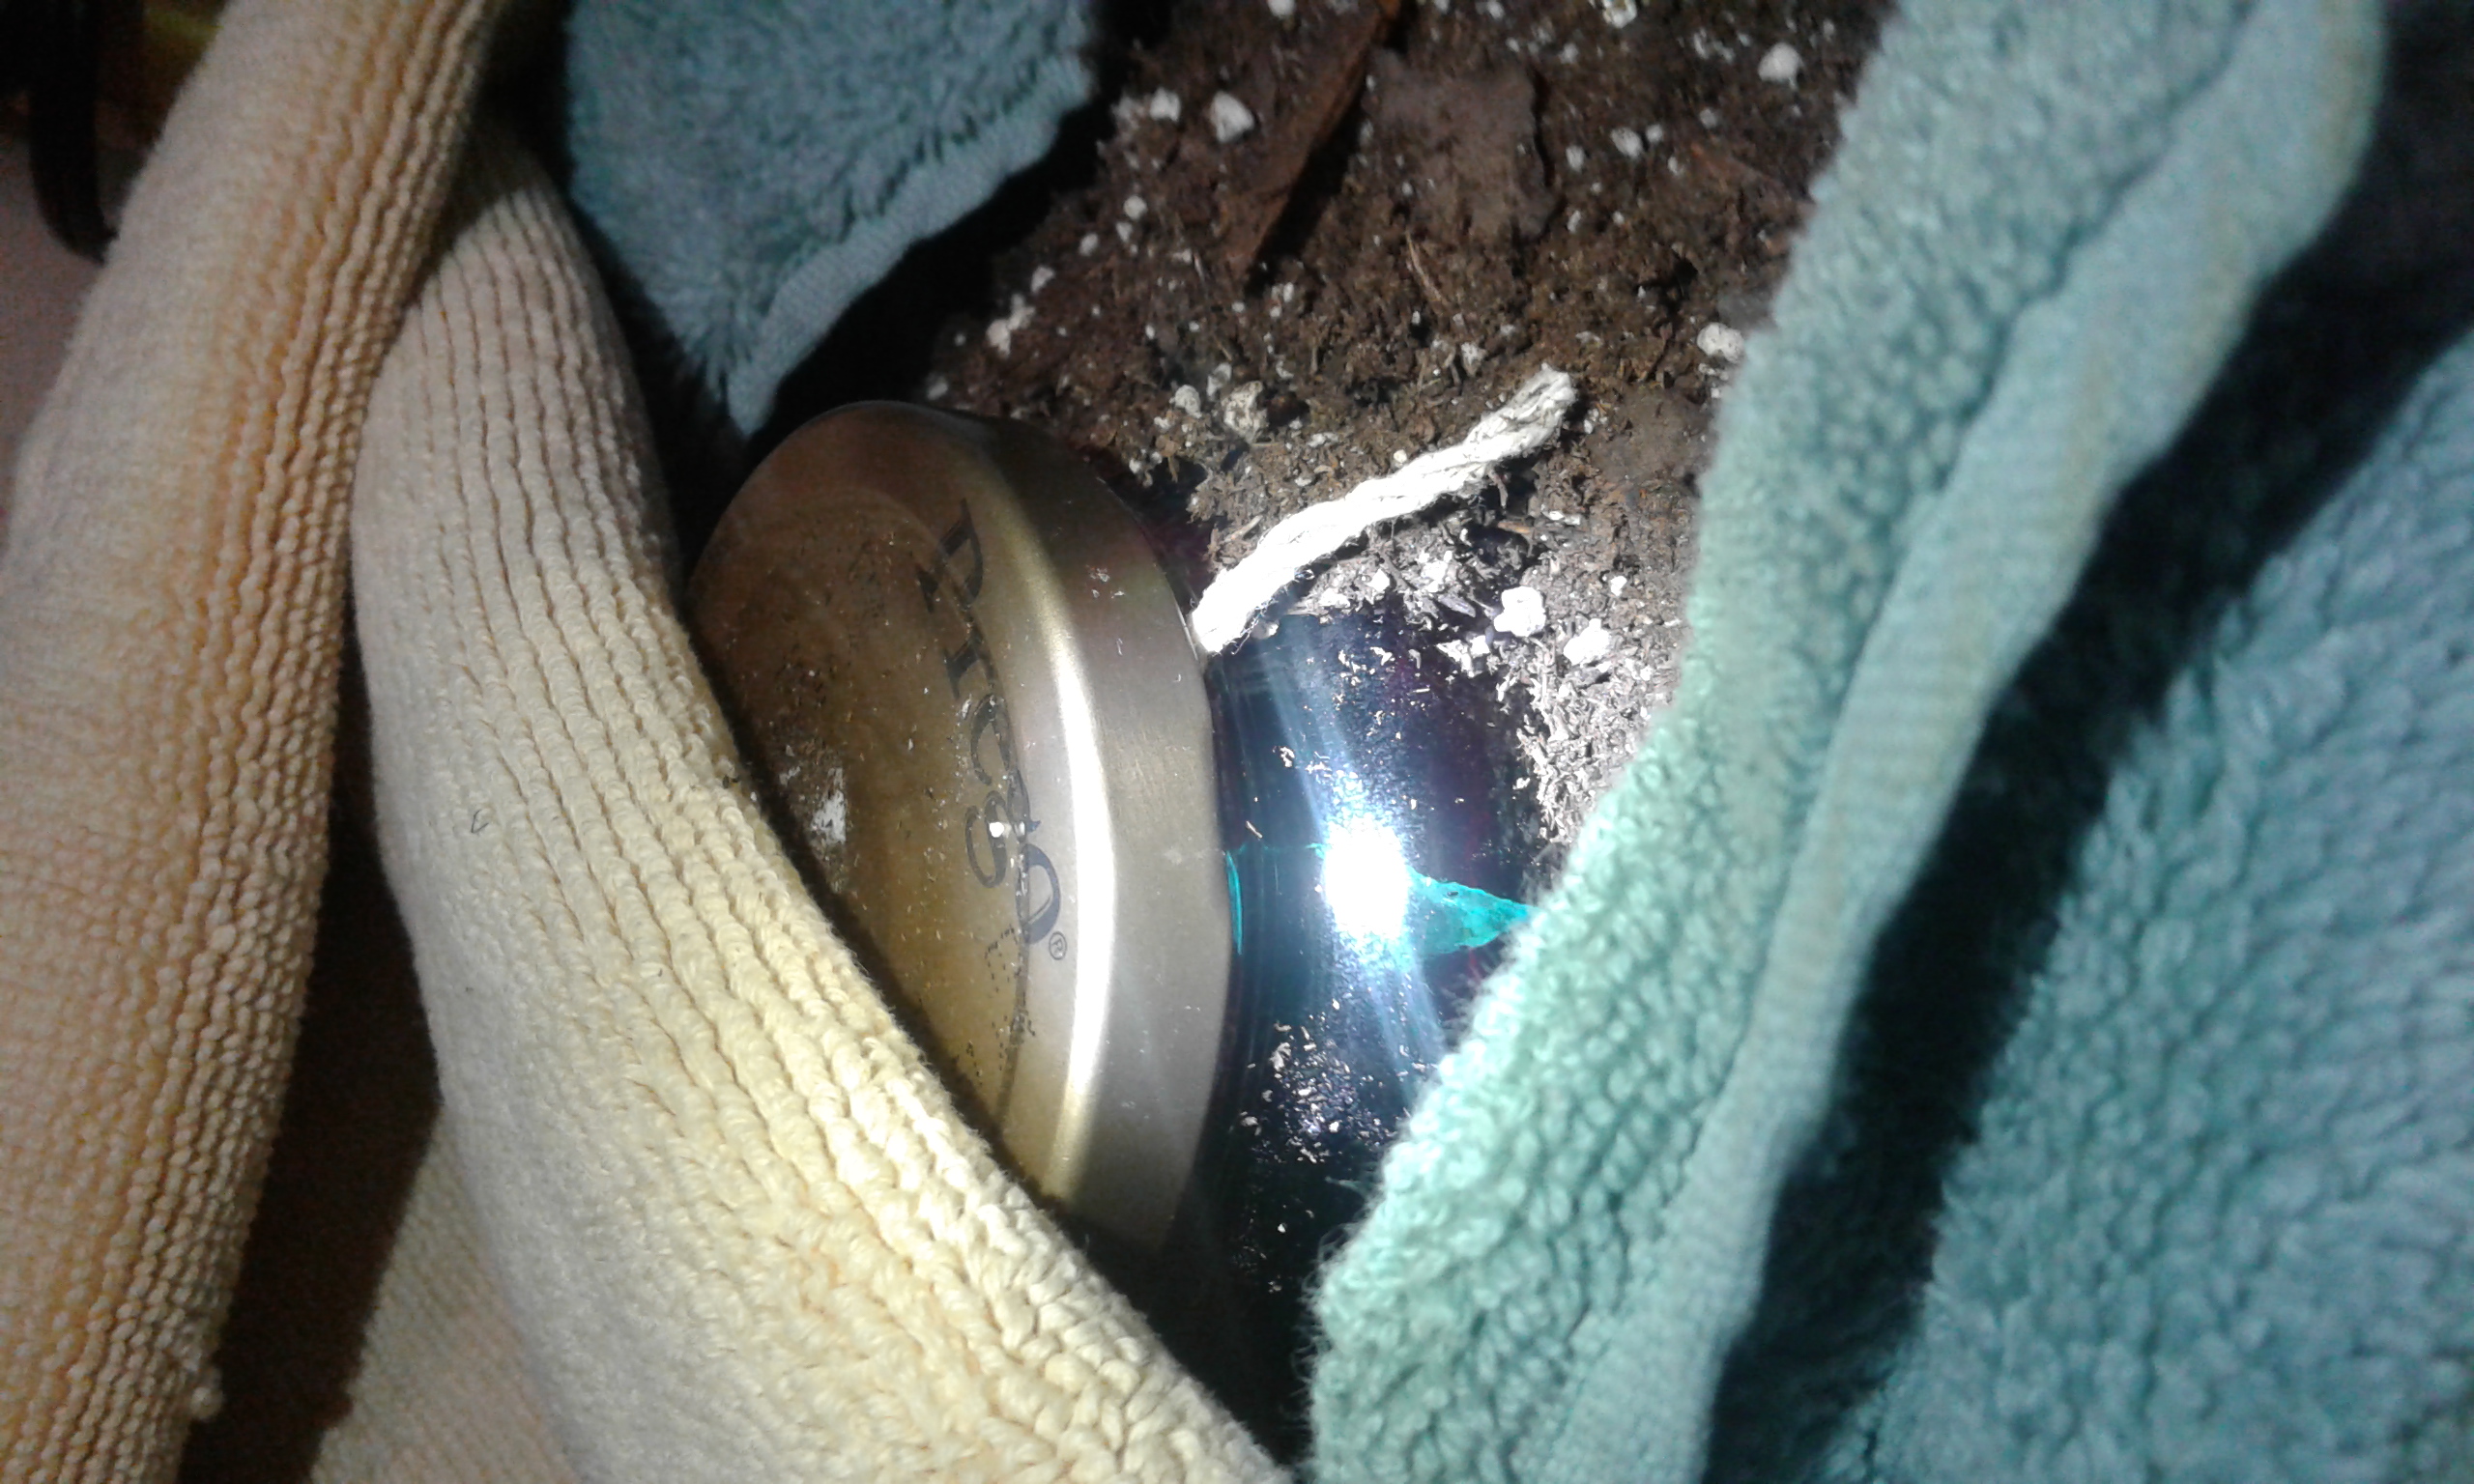
- 9/22/16. Verdigris progress check. I removed the towel on top of the planter and looked at the copper through the small part of the jar that wasn’t totally submerged in the dirt. It was blue.
- “open the vase and scrape and shake out what you find in it, and on the strips of metal, into a clean vase”
- Vase removed from dirt on 10/02/16 at 11:00 AM. I couldn’t leave it for six months, though it would be interesting to see what would happen if I did.
- I gently removed the towels covering and surrounding the planter.
- I lifted the jar out of the planter carefully. The copper is blue, which looks very pretty with the red vinegar.
- Vinegar doesn’t seem to have evaporated yet. I should have marked the amount when I put it in.
- Carefully transported the jar from my bathroom to my desk (only a few steps, my apartment is small) and placed it on a paper towel, making sure that the copper never falls into the vinegar.
- I gripped the mouth of the jar so that the ends of the string were secured and took the lid off. It was sticky.
- Copper removed. It is a very pretty dark green color, with a few areas that sparkle a little bit in the light.
- Copper placed in a “clean vase” - peanut butter jar.
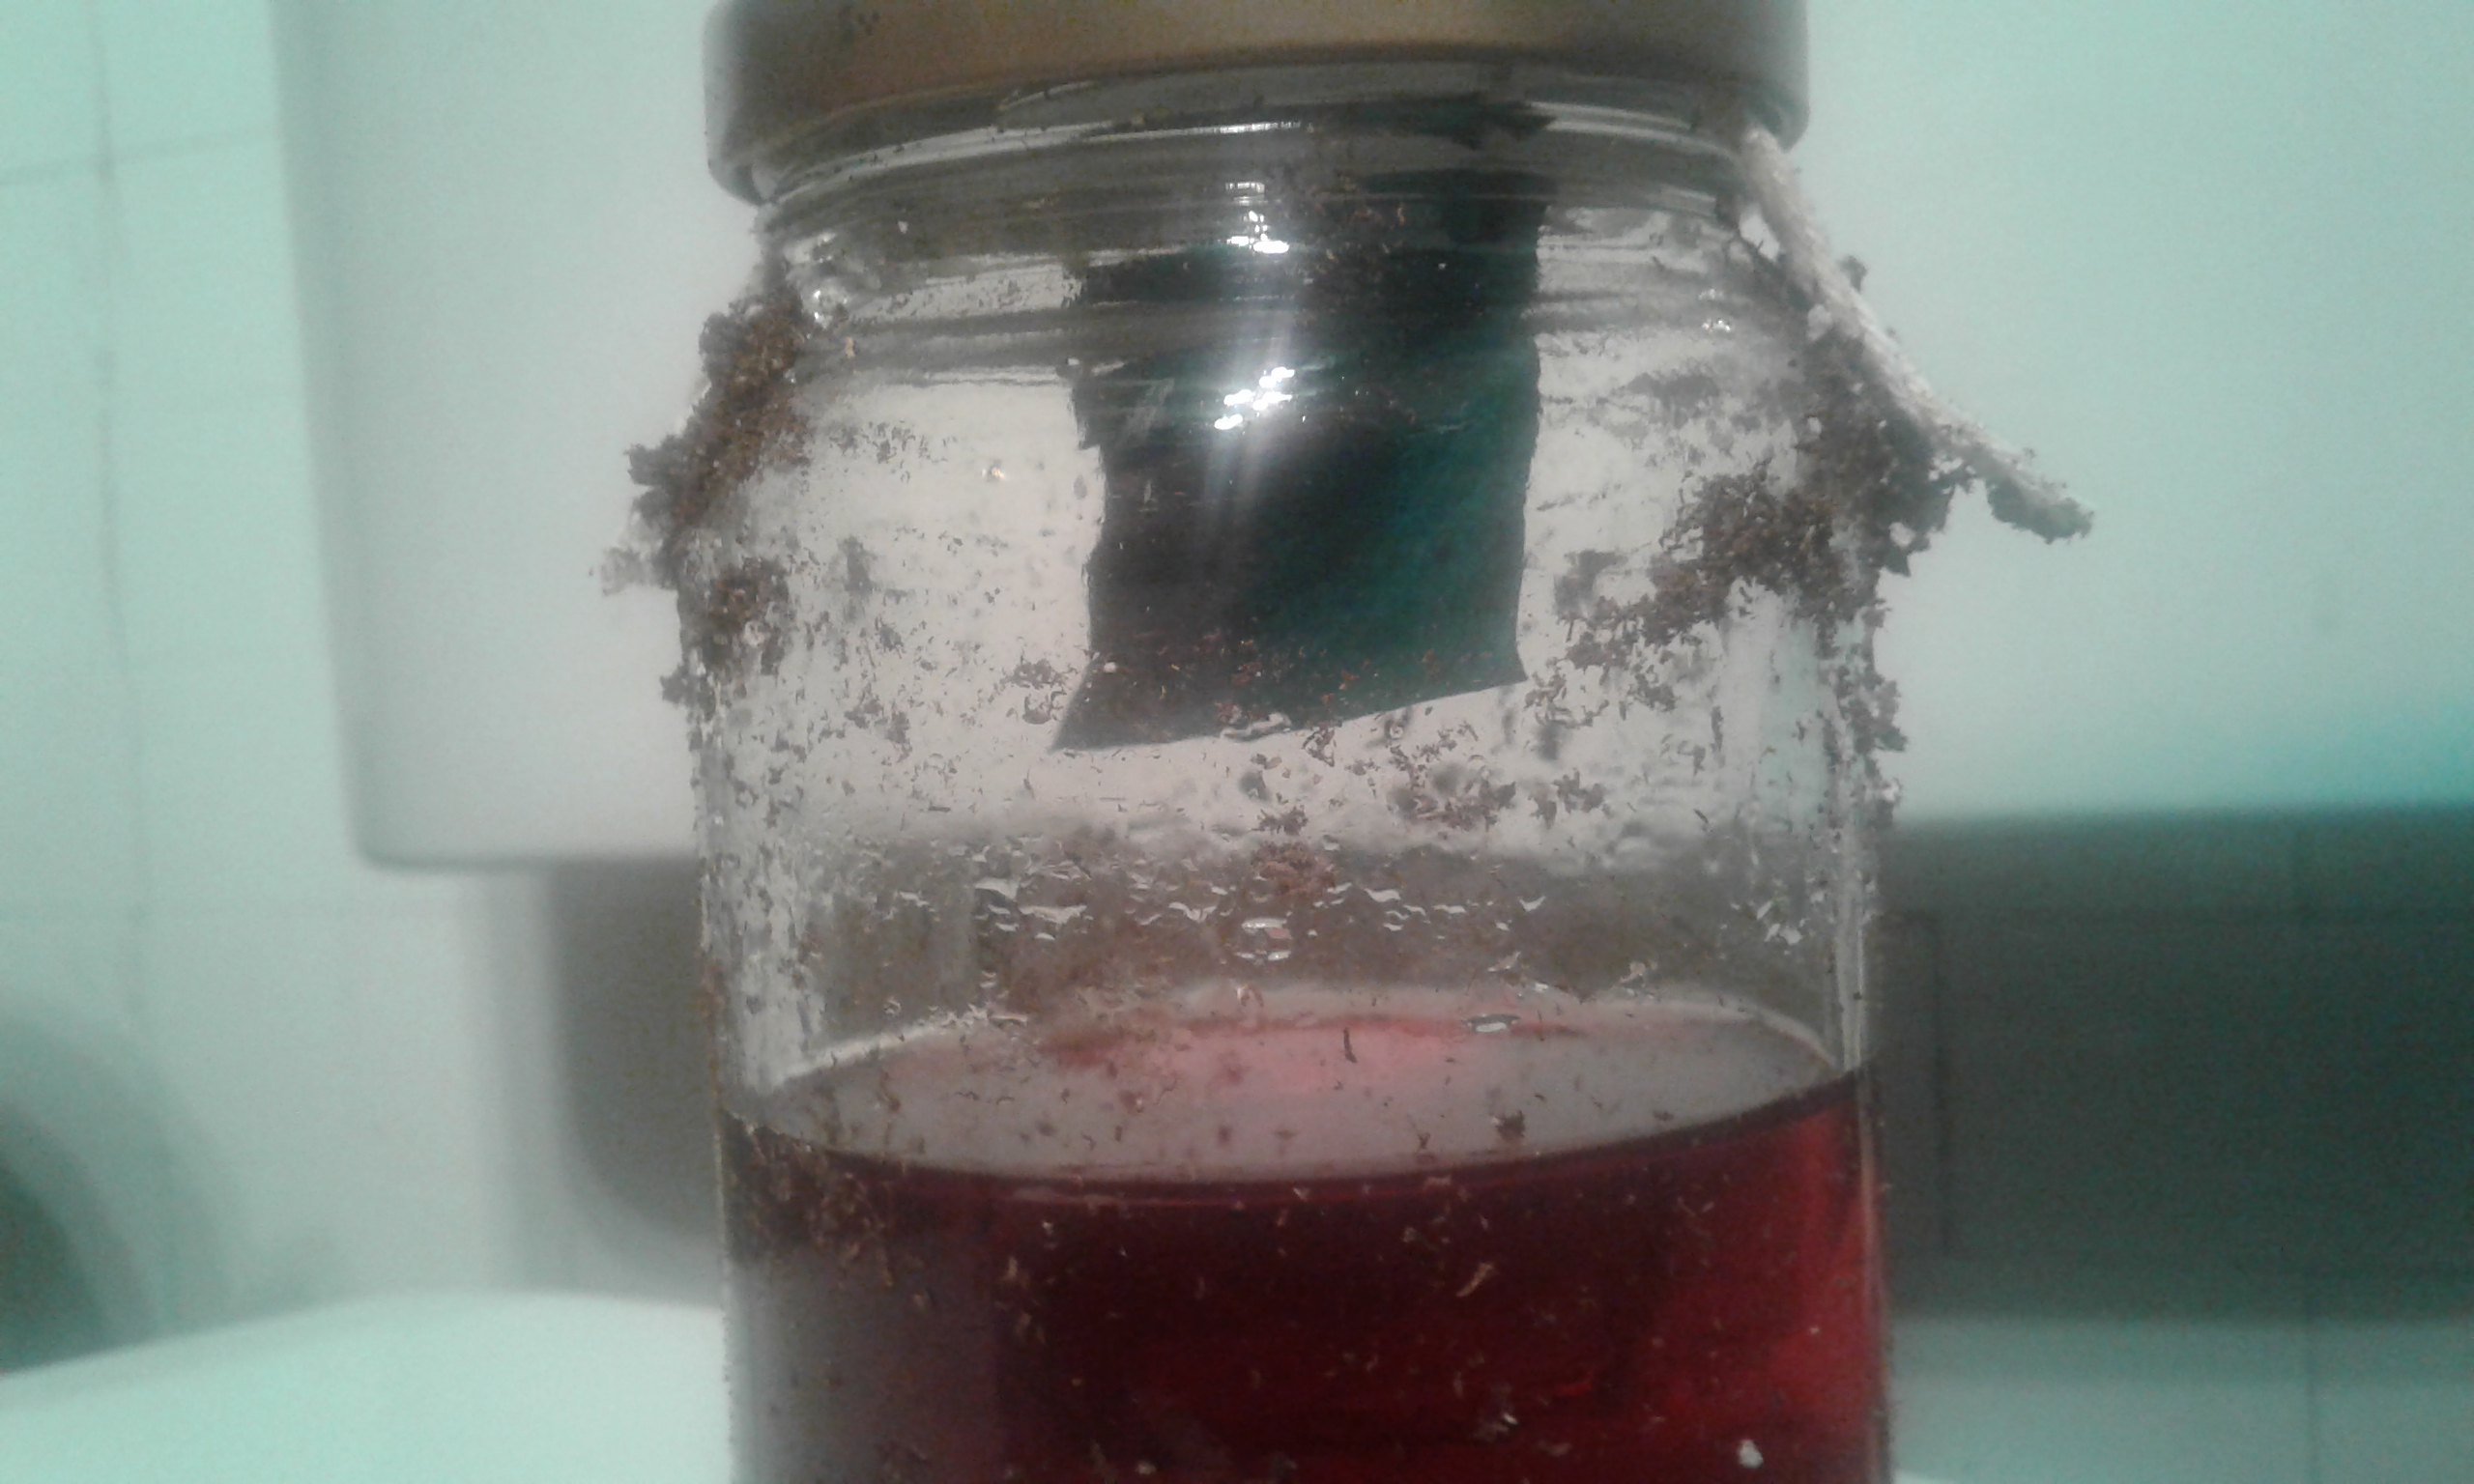
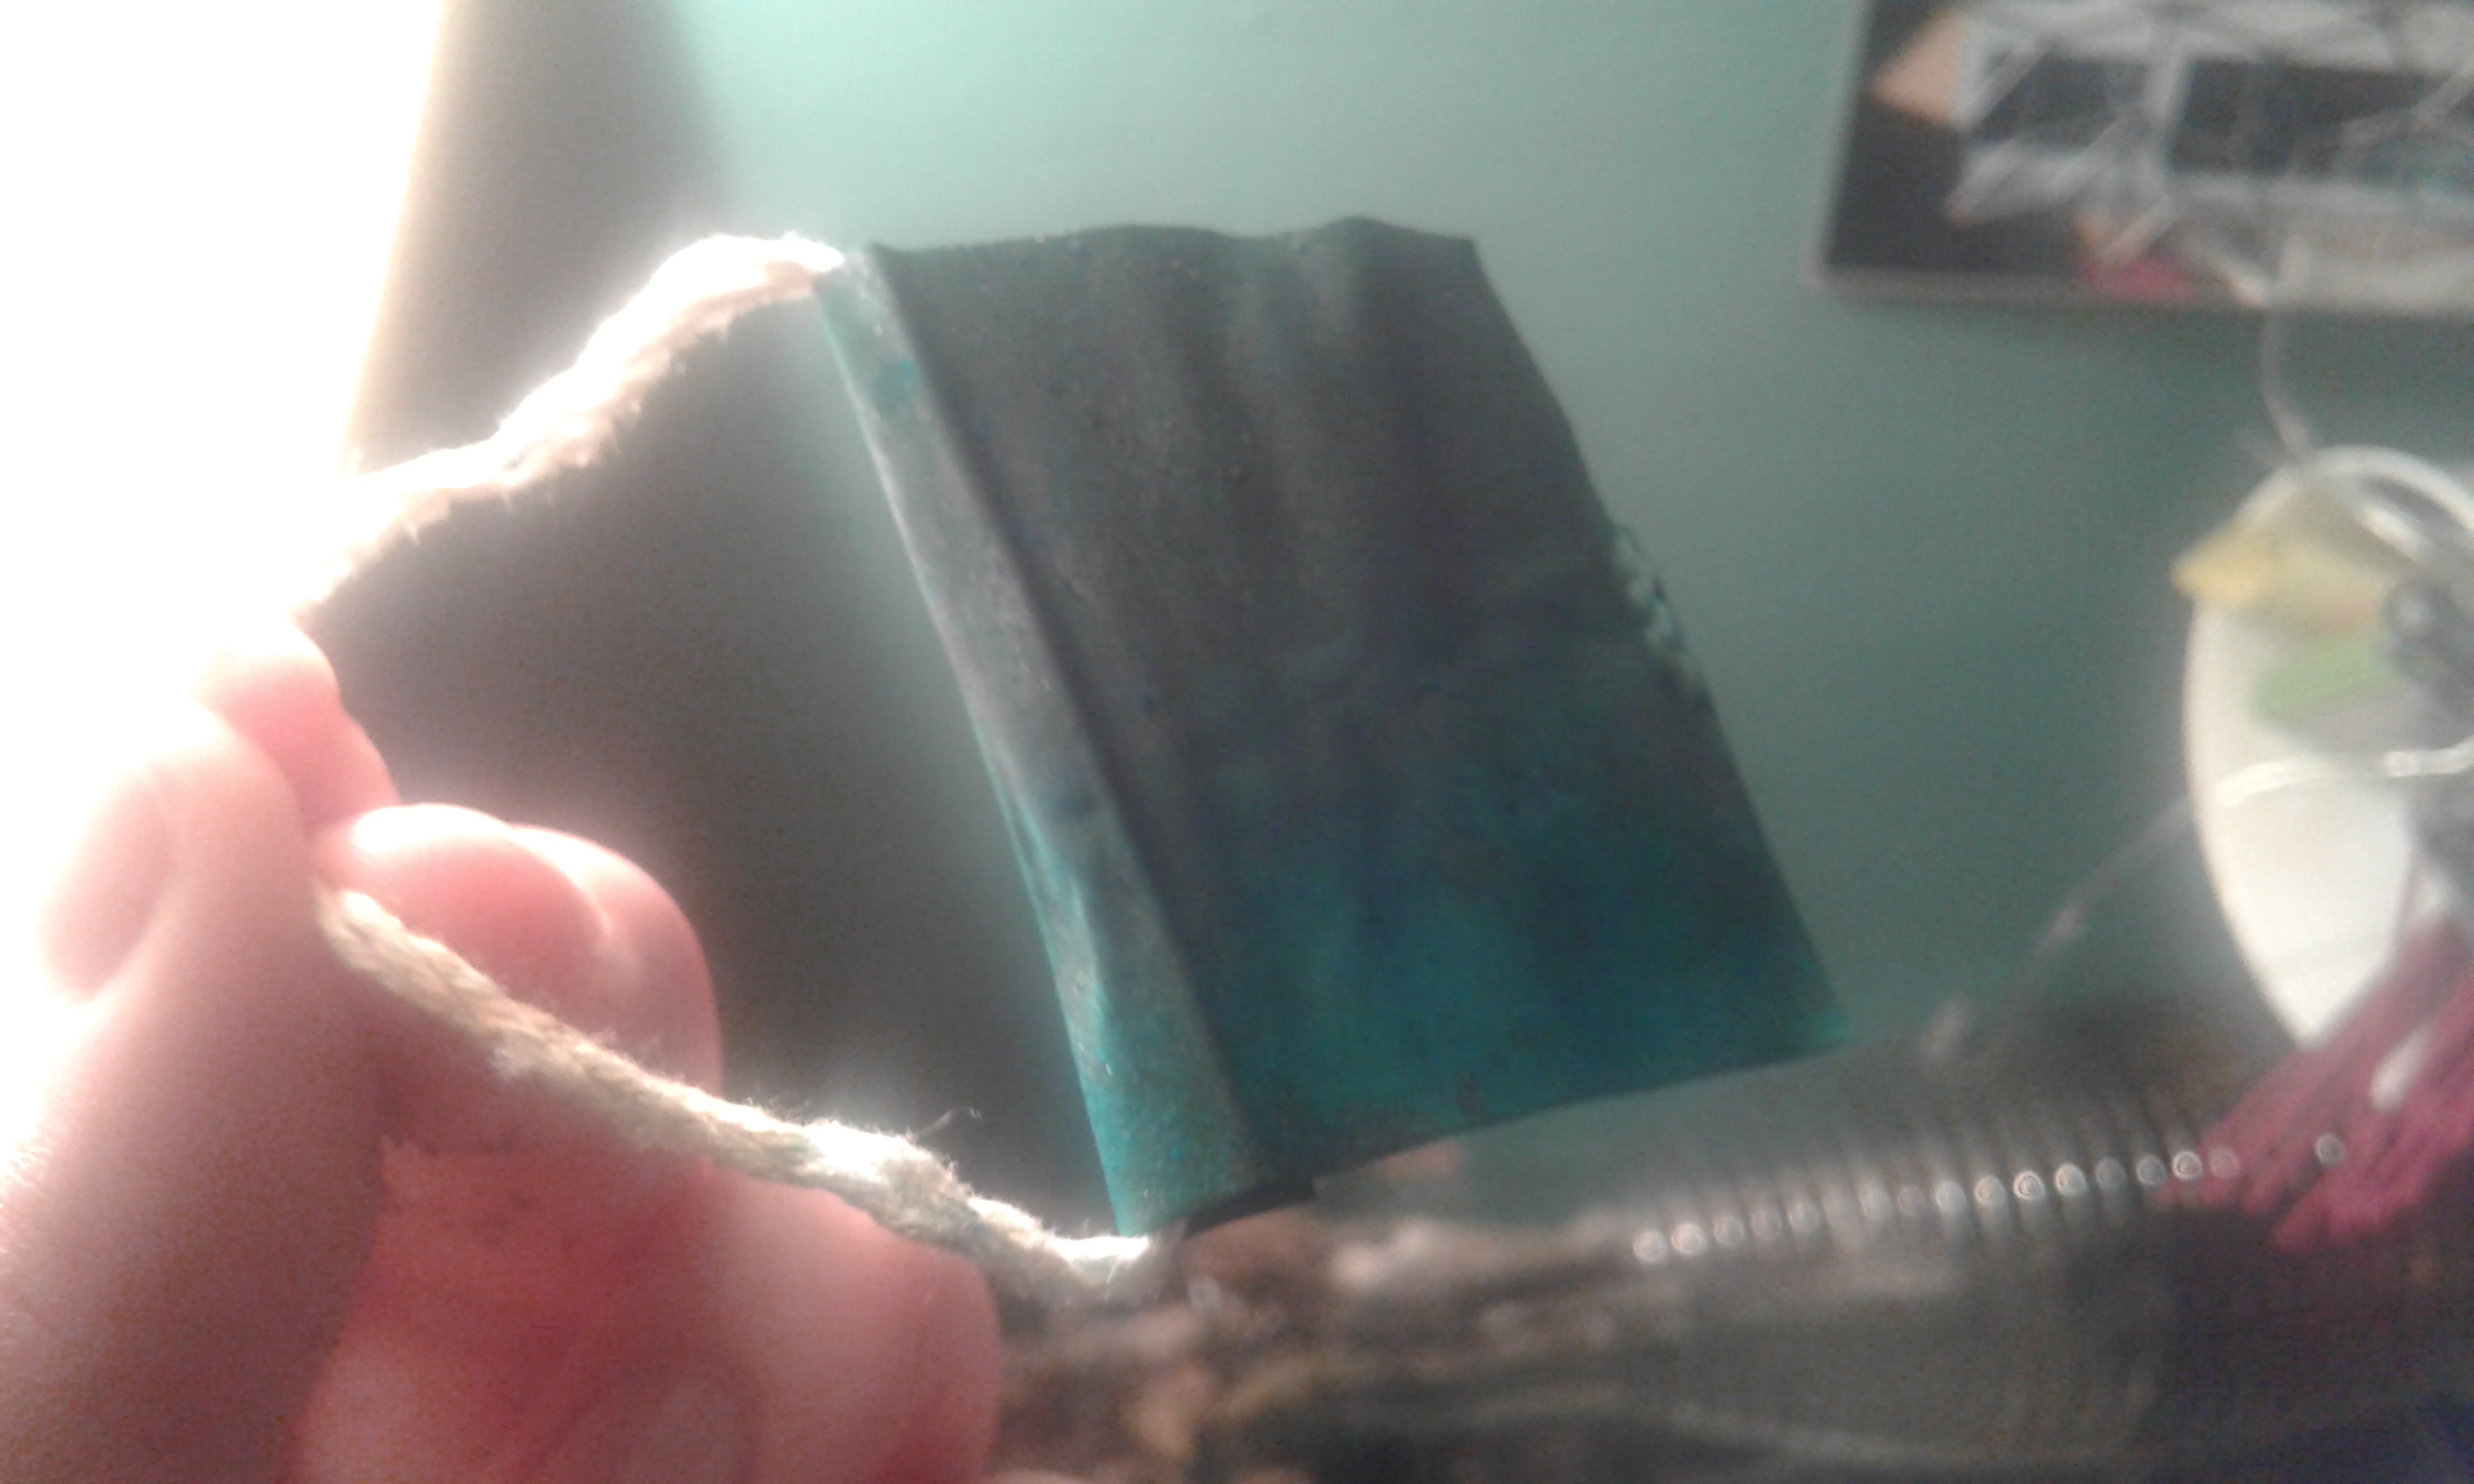
- “put it in the sun to dry”
- I placed the copper in the sun on my window sill for the rest of the day.
- It is not very sunny today, so I don't expect the sun to have much effect.
Session #2 - Painting Out
10/03/16
Ingredients
- Verdigris grown at home
- Eden organics red wine vinegar (the same one used to grow verdigris)
- Walnut oil (from lab)
- Linseed oil (from lab)
Tools
- Ceramic plate
- Palette knife
- Muller
- Pipette
- paint brush
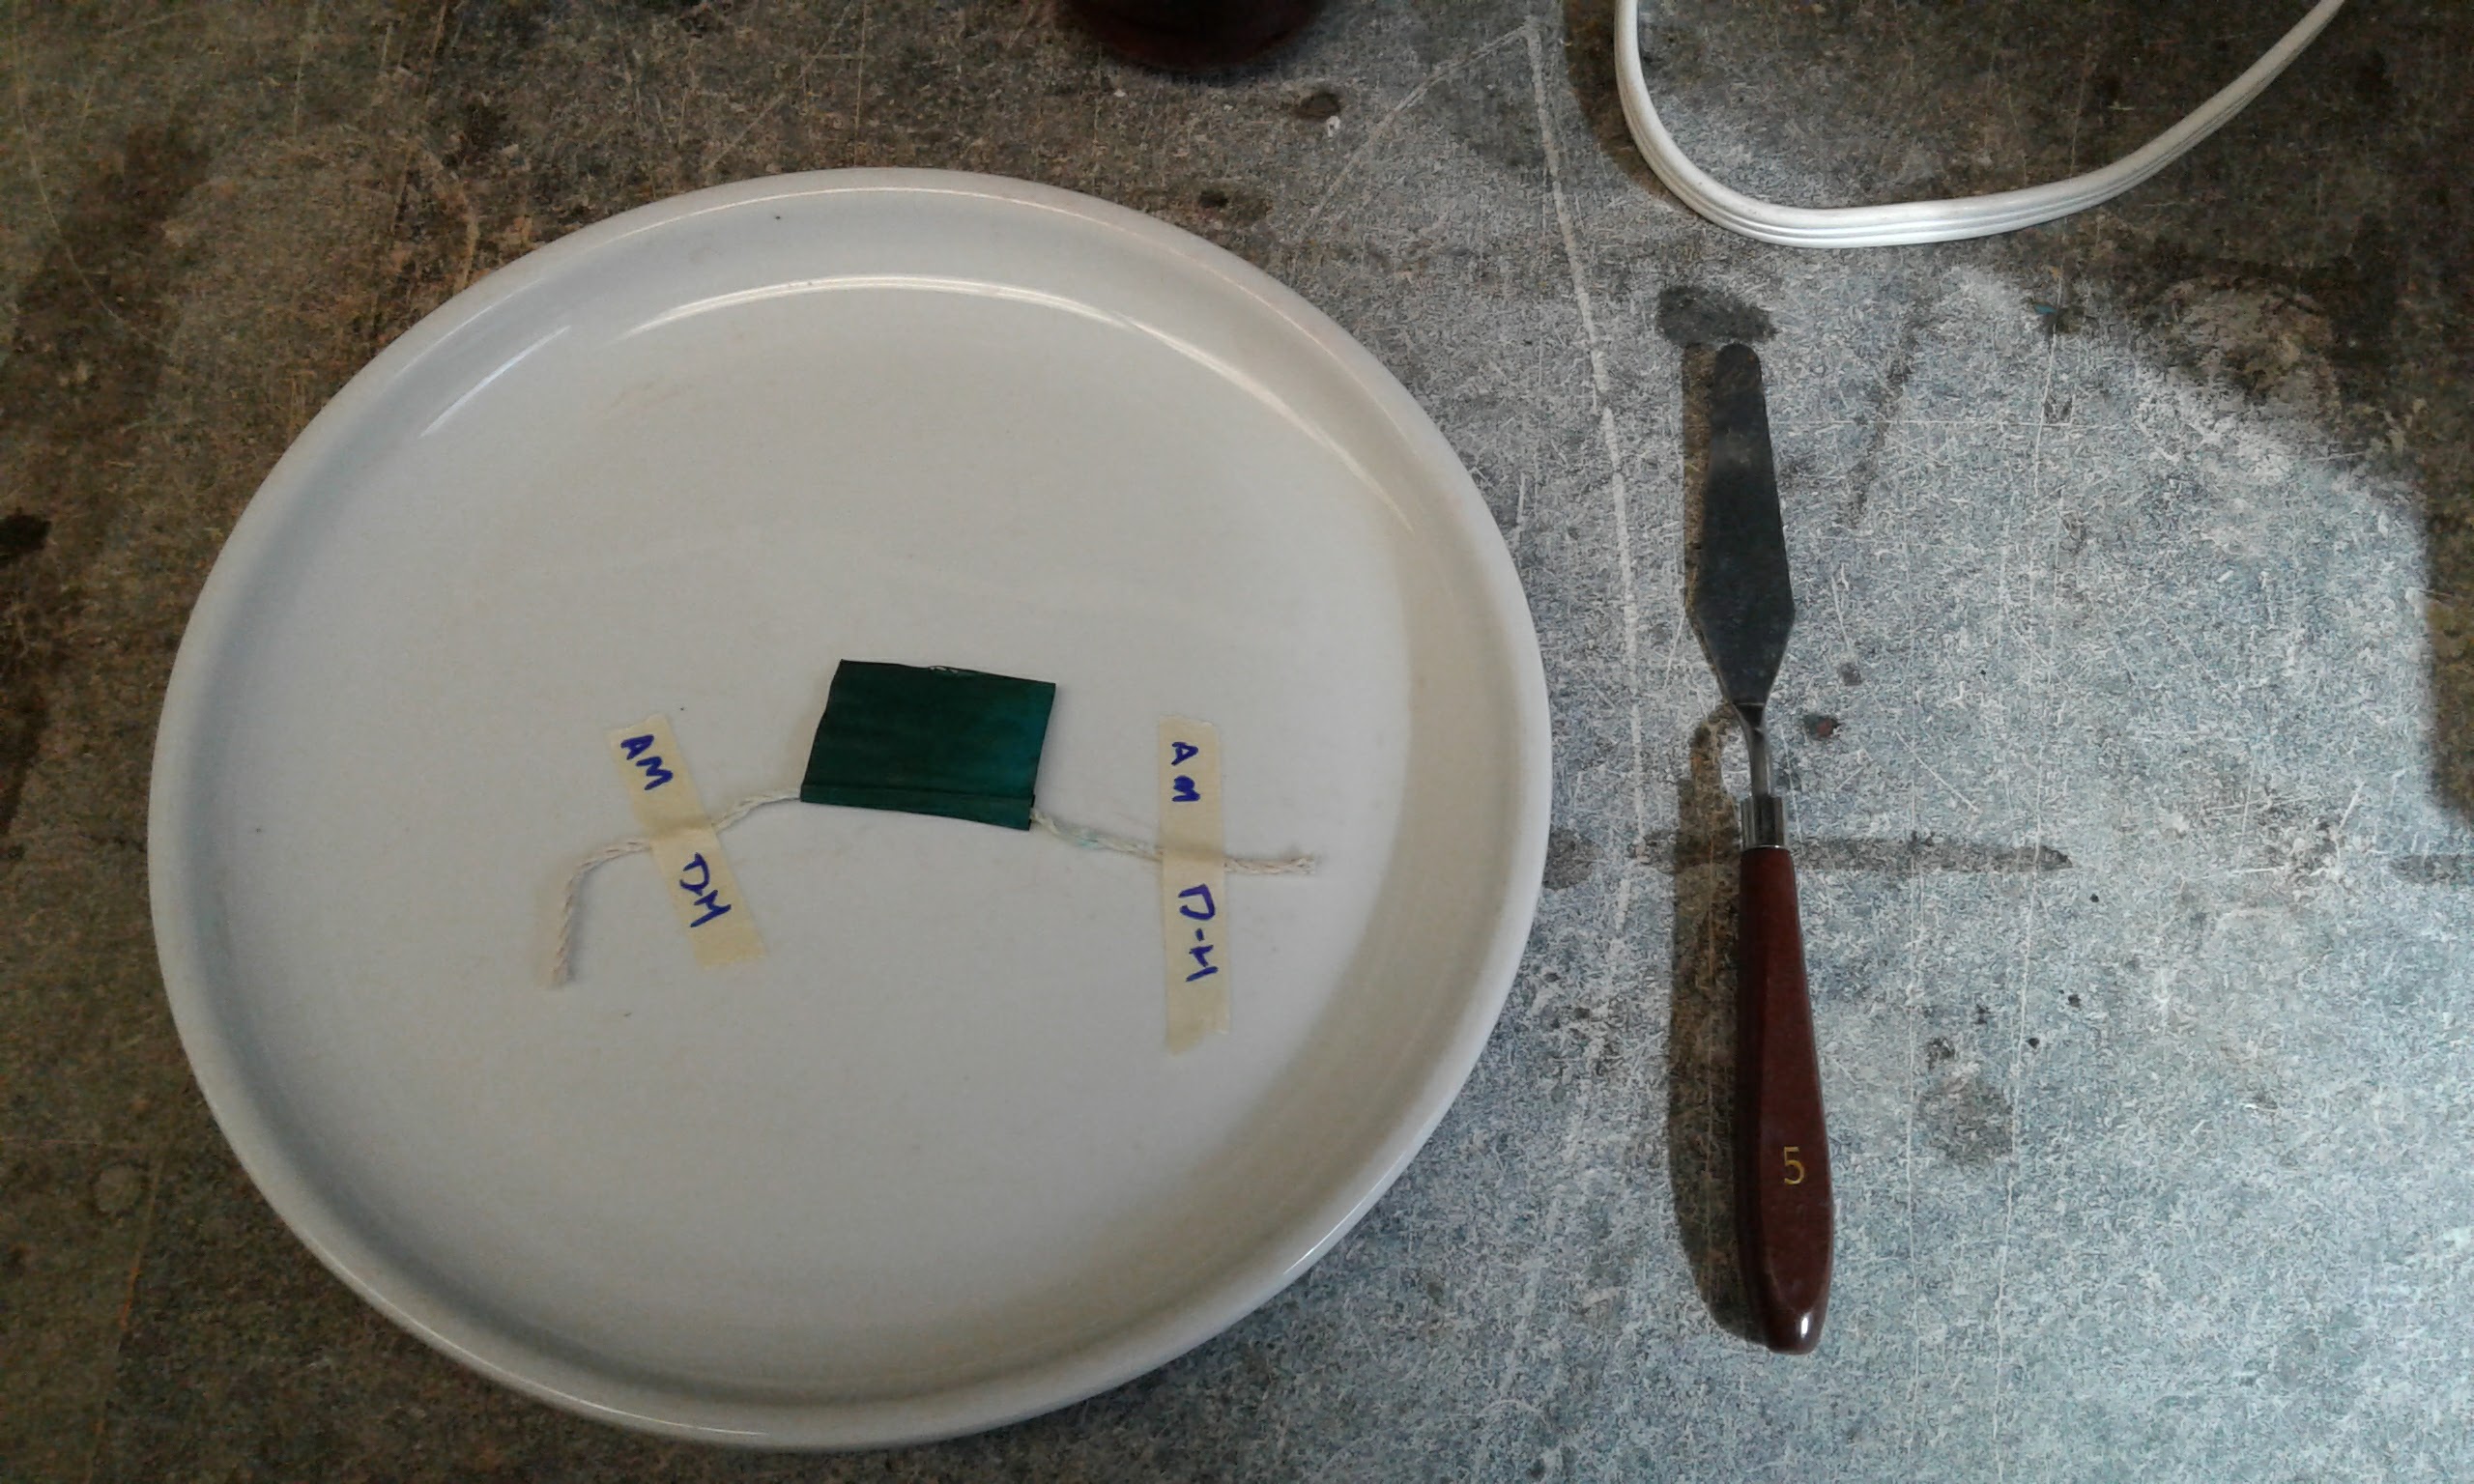
Procedure
1. Scraping
For this leg of the experiment, having removed my copper plate from the vinegar jar and transported it to the lab, I began by scraping the blue verdigris off of the square of copper and onto the ceramic plate with the palette knife. At first I tried to hold the copper by the strings so that I wouldn't touch it too much with my gloves (an attempt to preserve as much of the verdigris as possible and not let it rub off on my gloves) but after a few minutes I found that it was very difficult to manipulate. I unbent the copper and removed the string, proceeding to hold the verdigris-covered copper in my gloved fingers. At first it was difficult to get the verdigris off, as the copper kept bending as I pushed against it with the palette knife. I had to try several different movements with the knife before I found one that was really successful. I ended up placing the copper on the plate and scraping along it with the rounded end of the knife. This pushed the verdigris off very successfully.
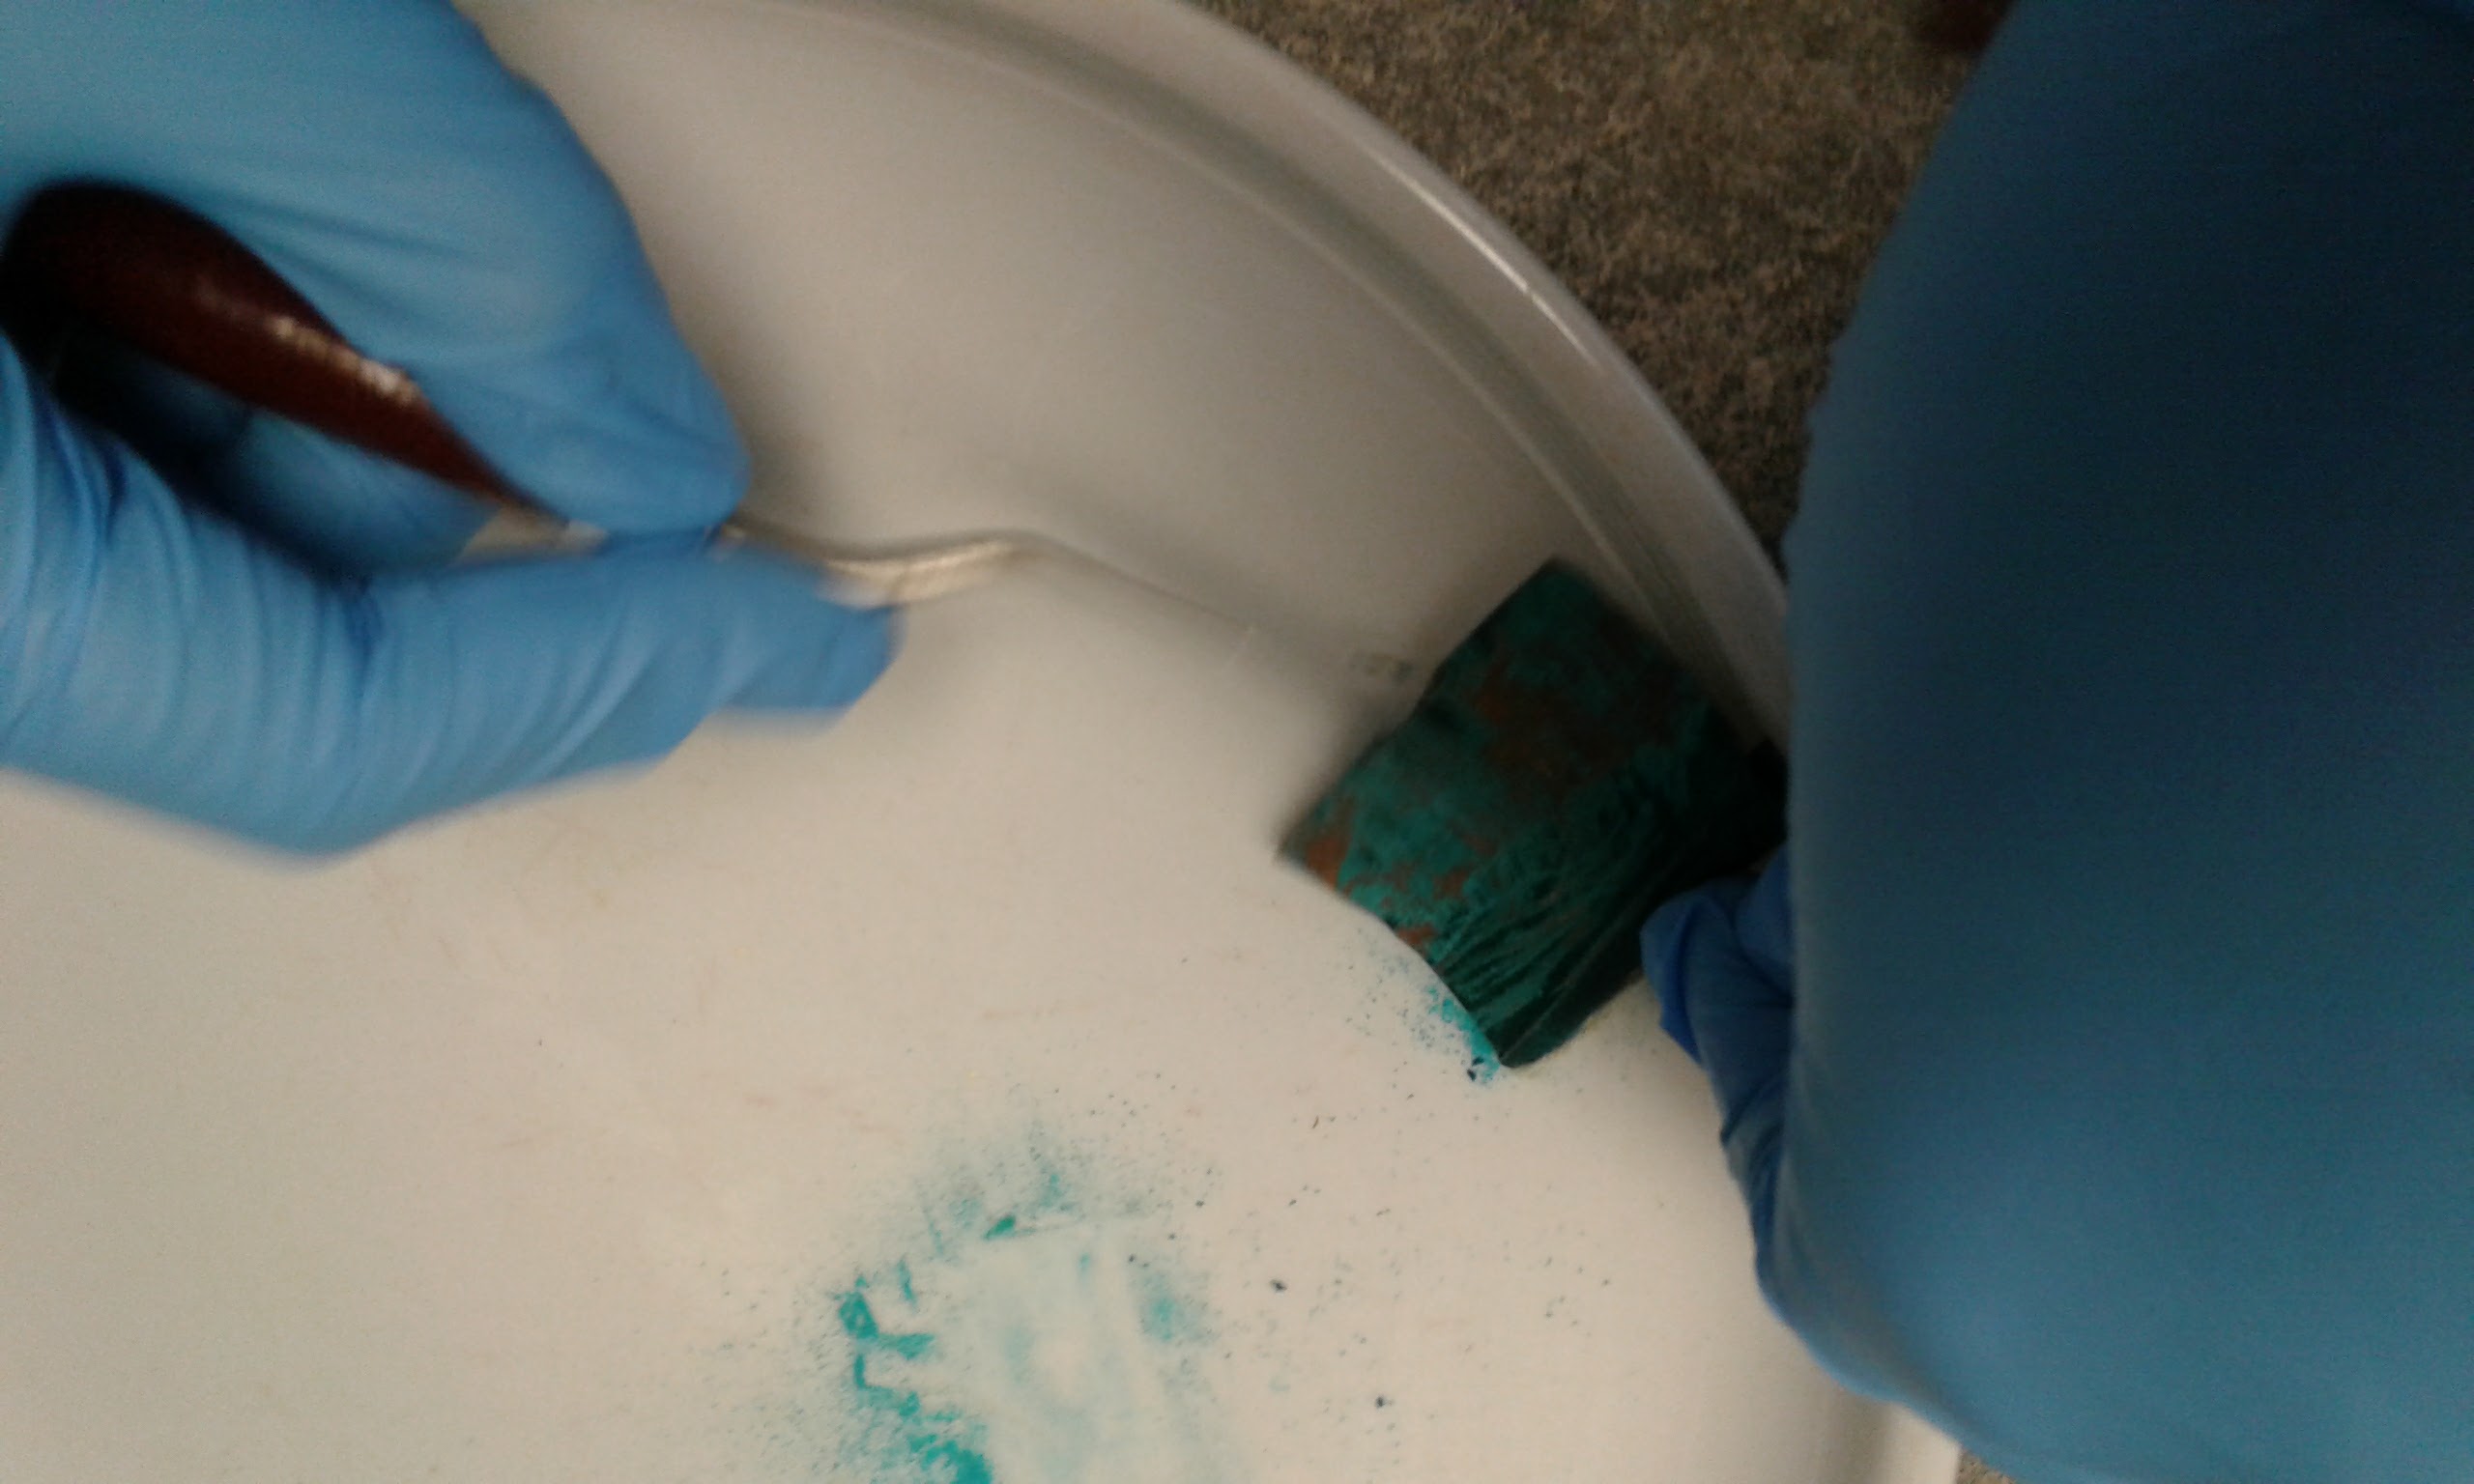
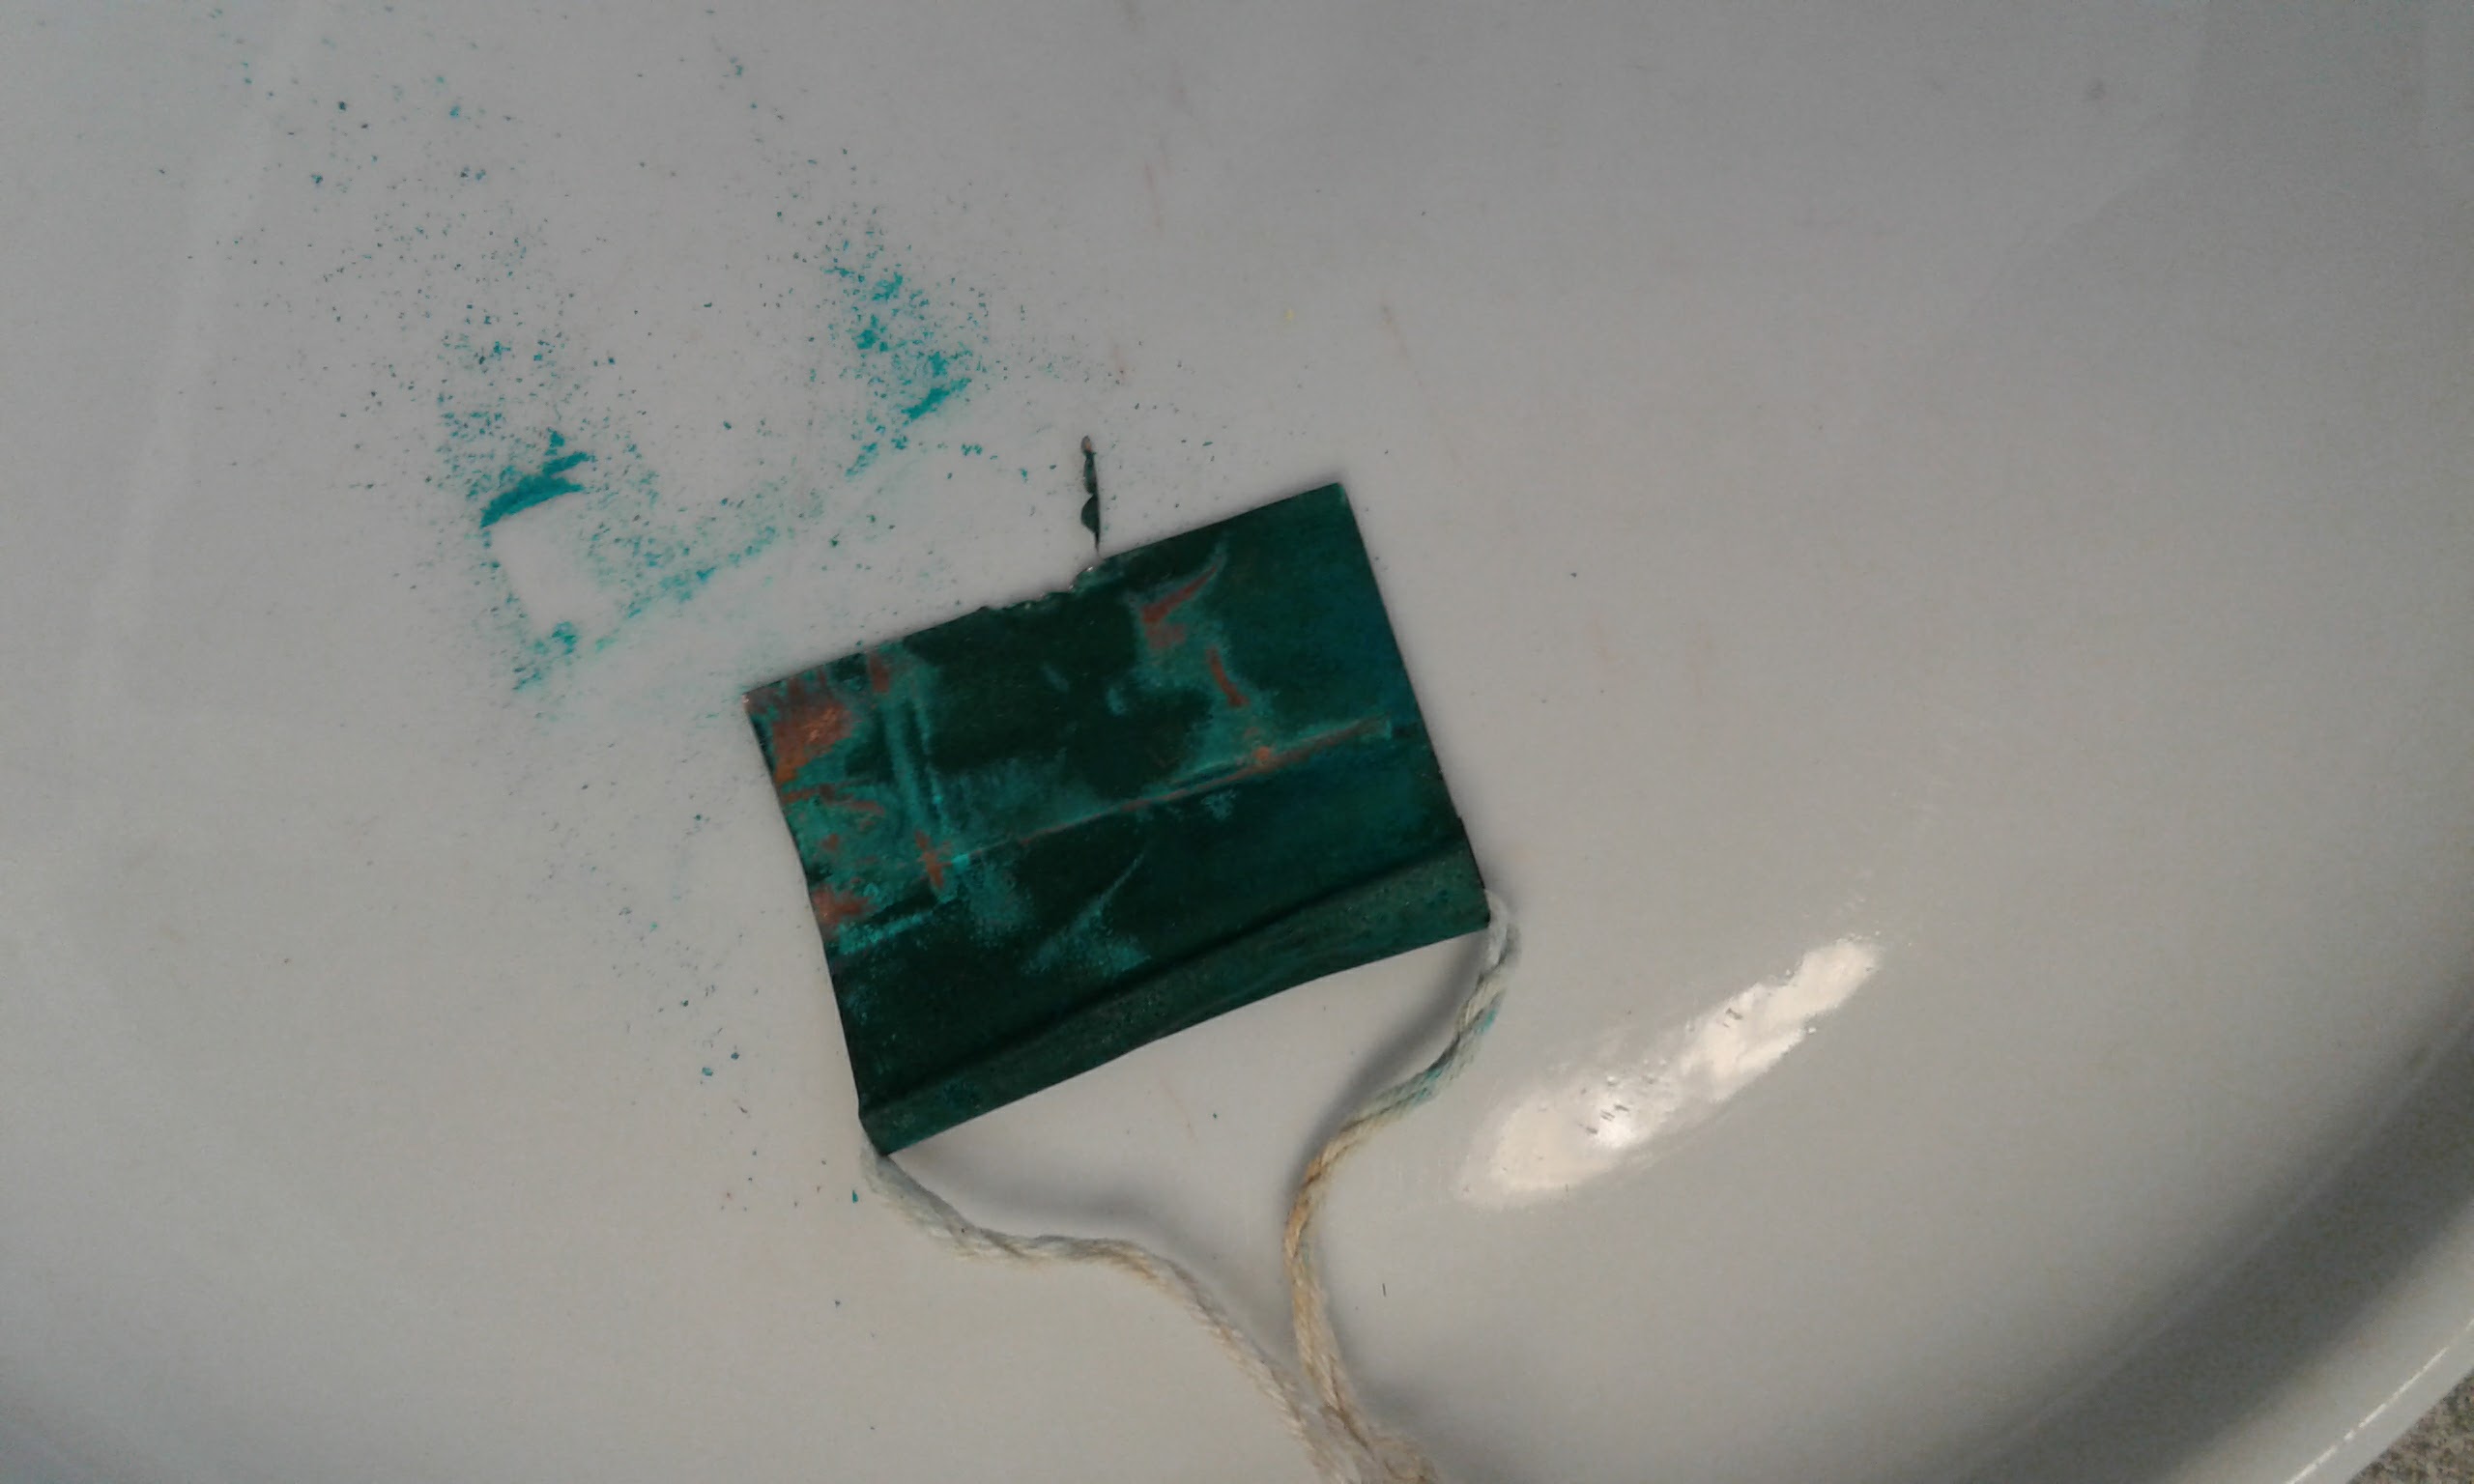
The first attempts to scrape off verdigris, using a downward motion and holding the palette knife perpendicular to the copper.
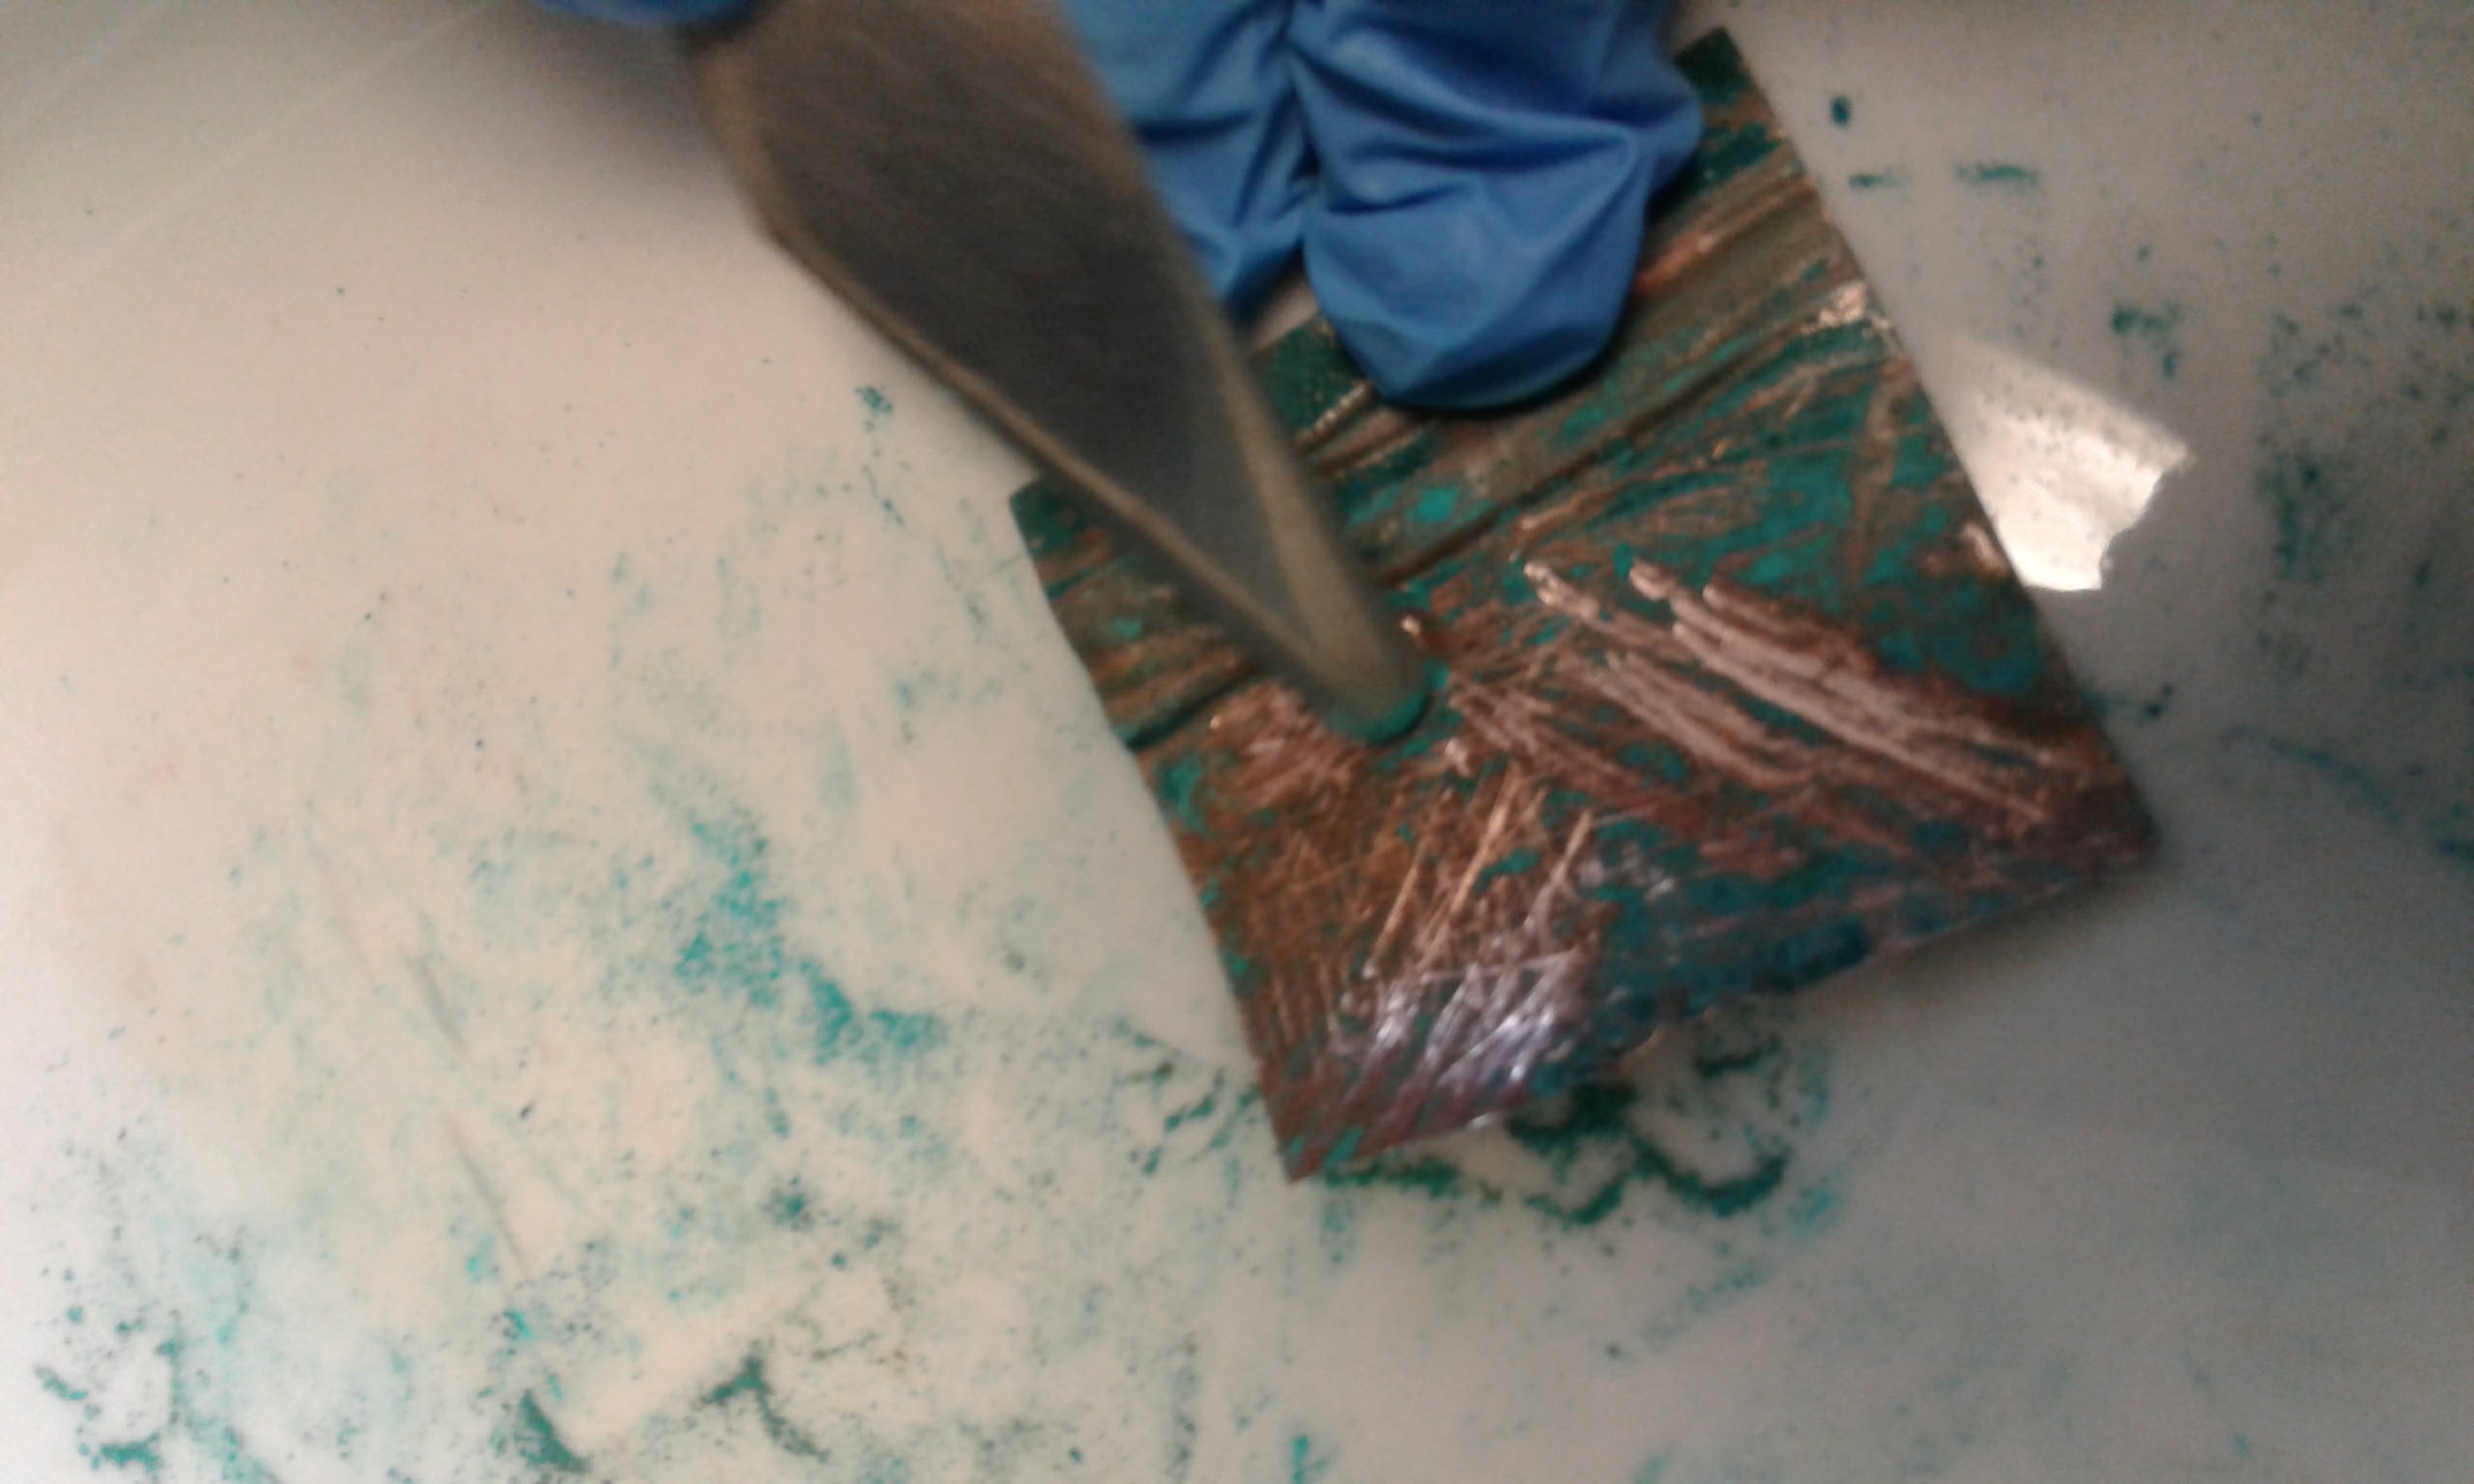
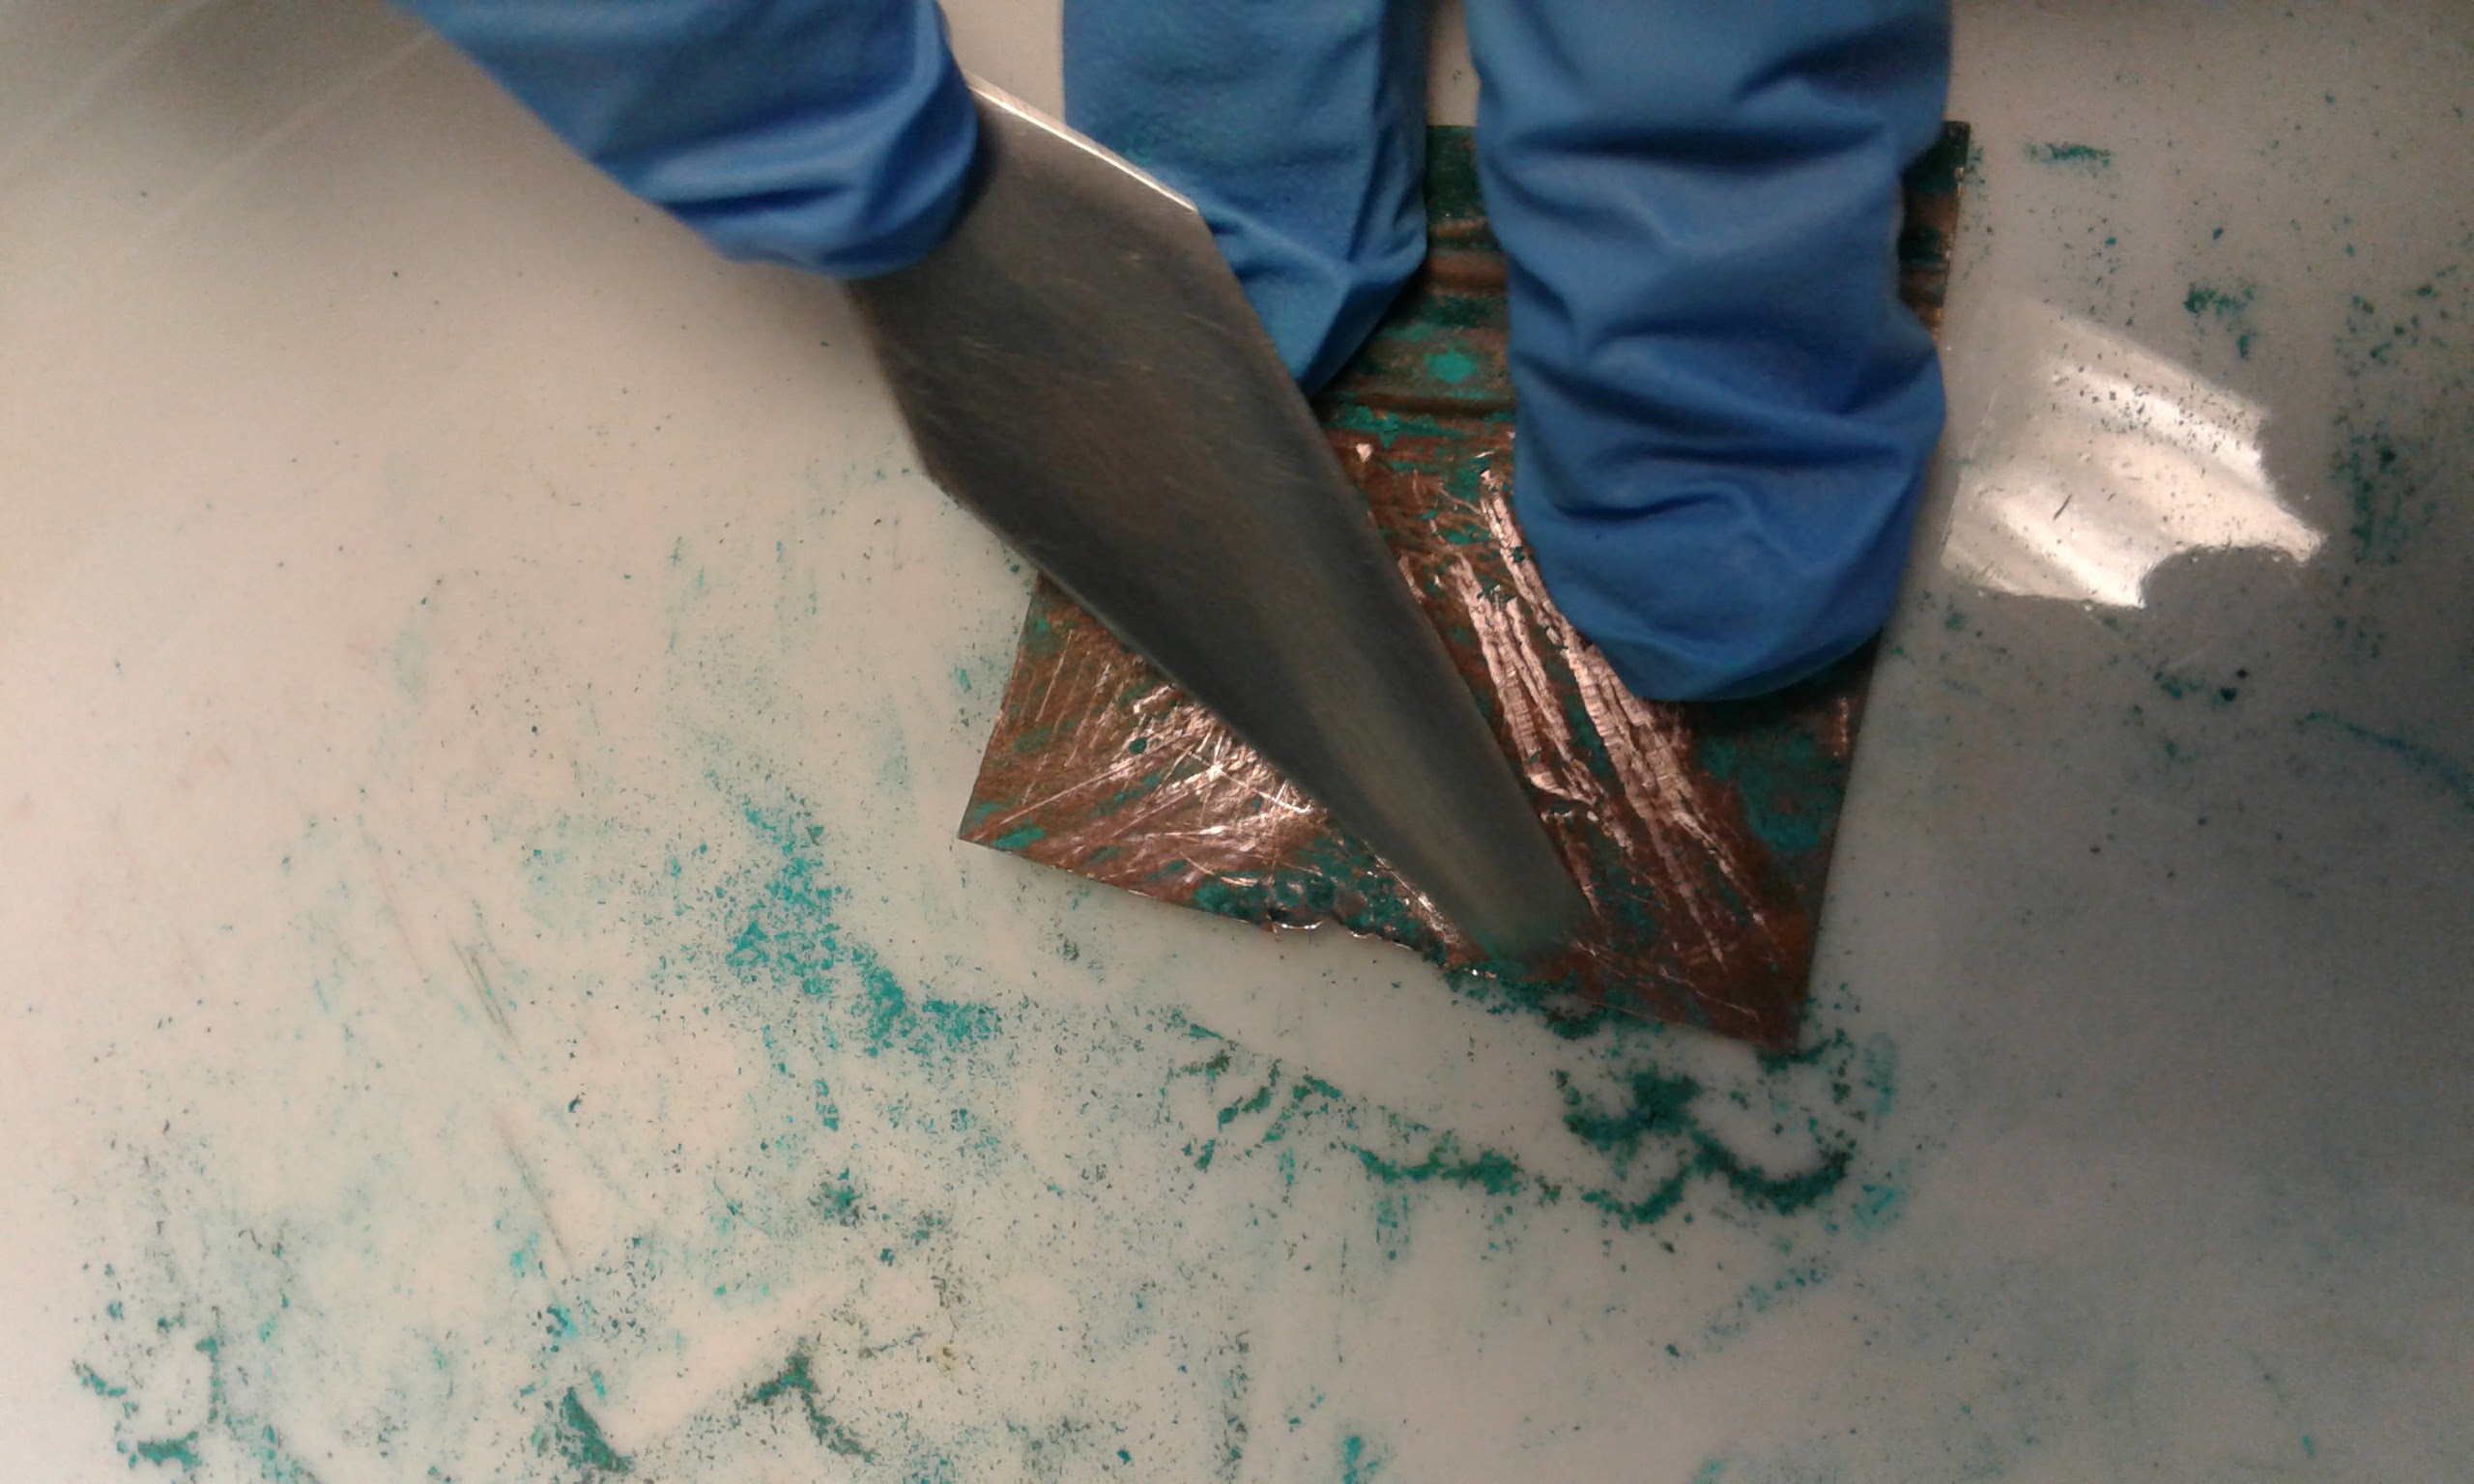
The more successful, forward thrusting motion of the palette knife with the copper placed flat on the plate. (photo Donna Bilak)
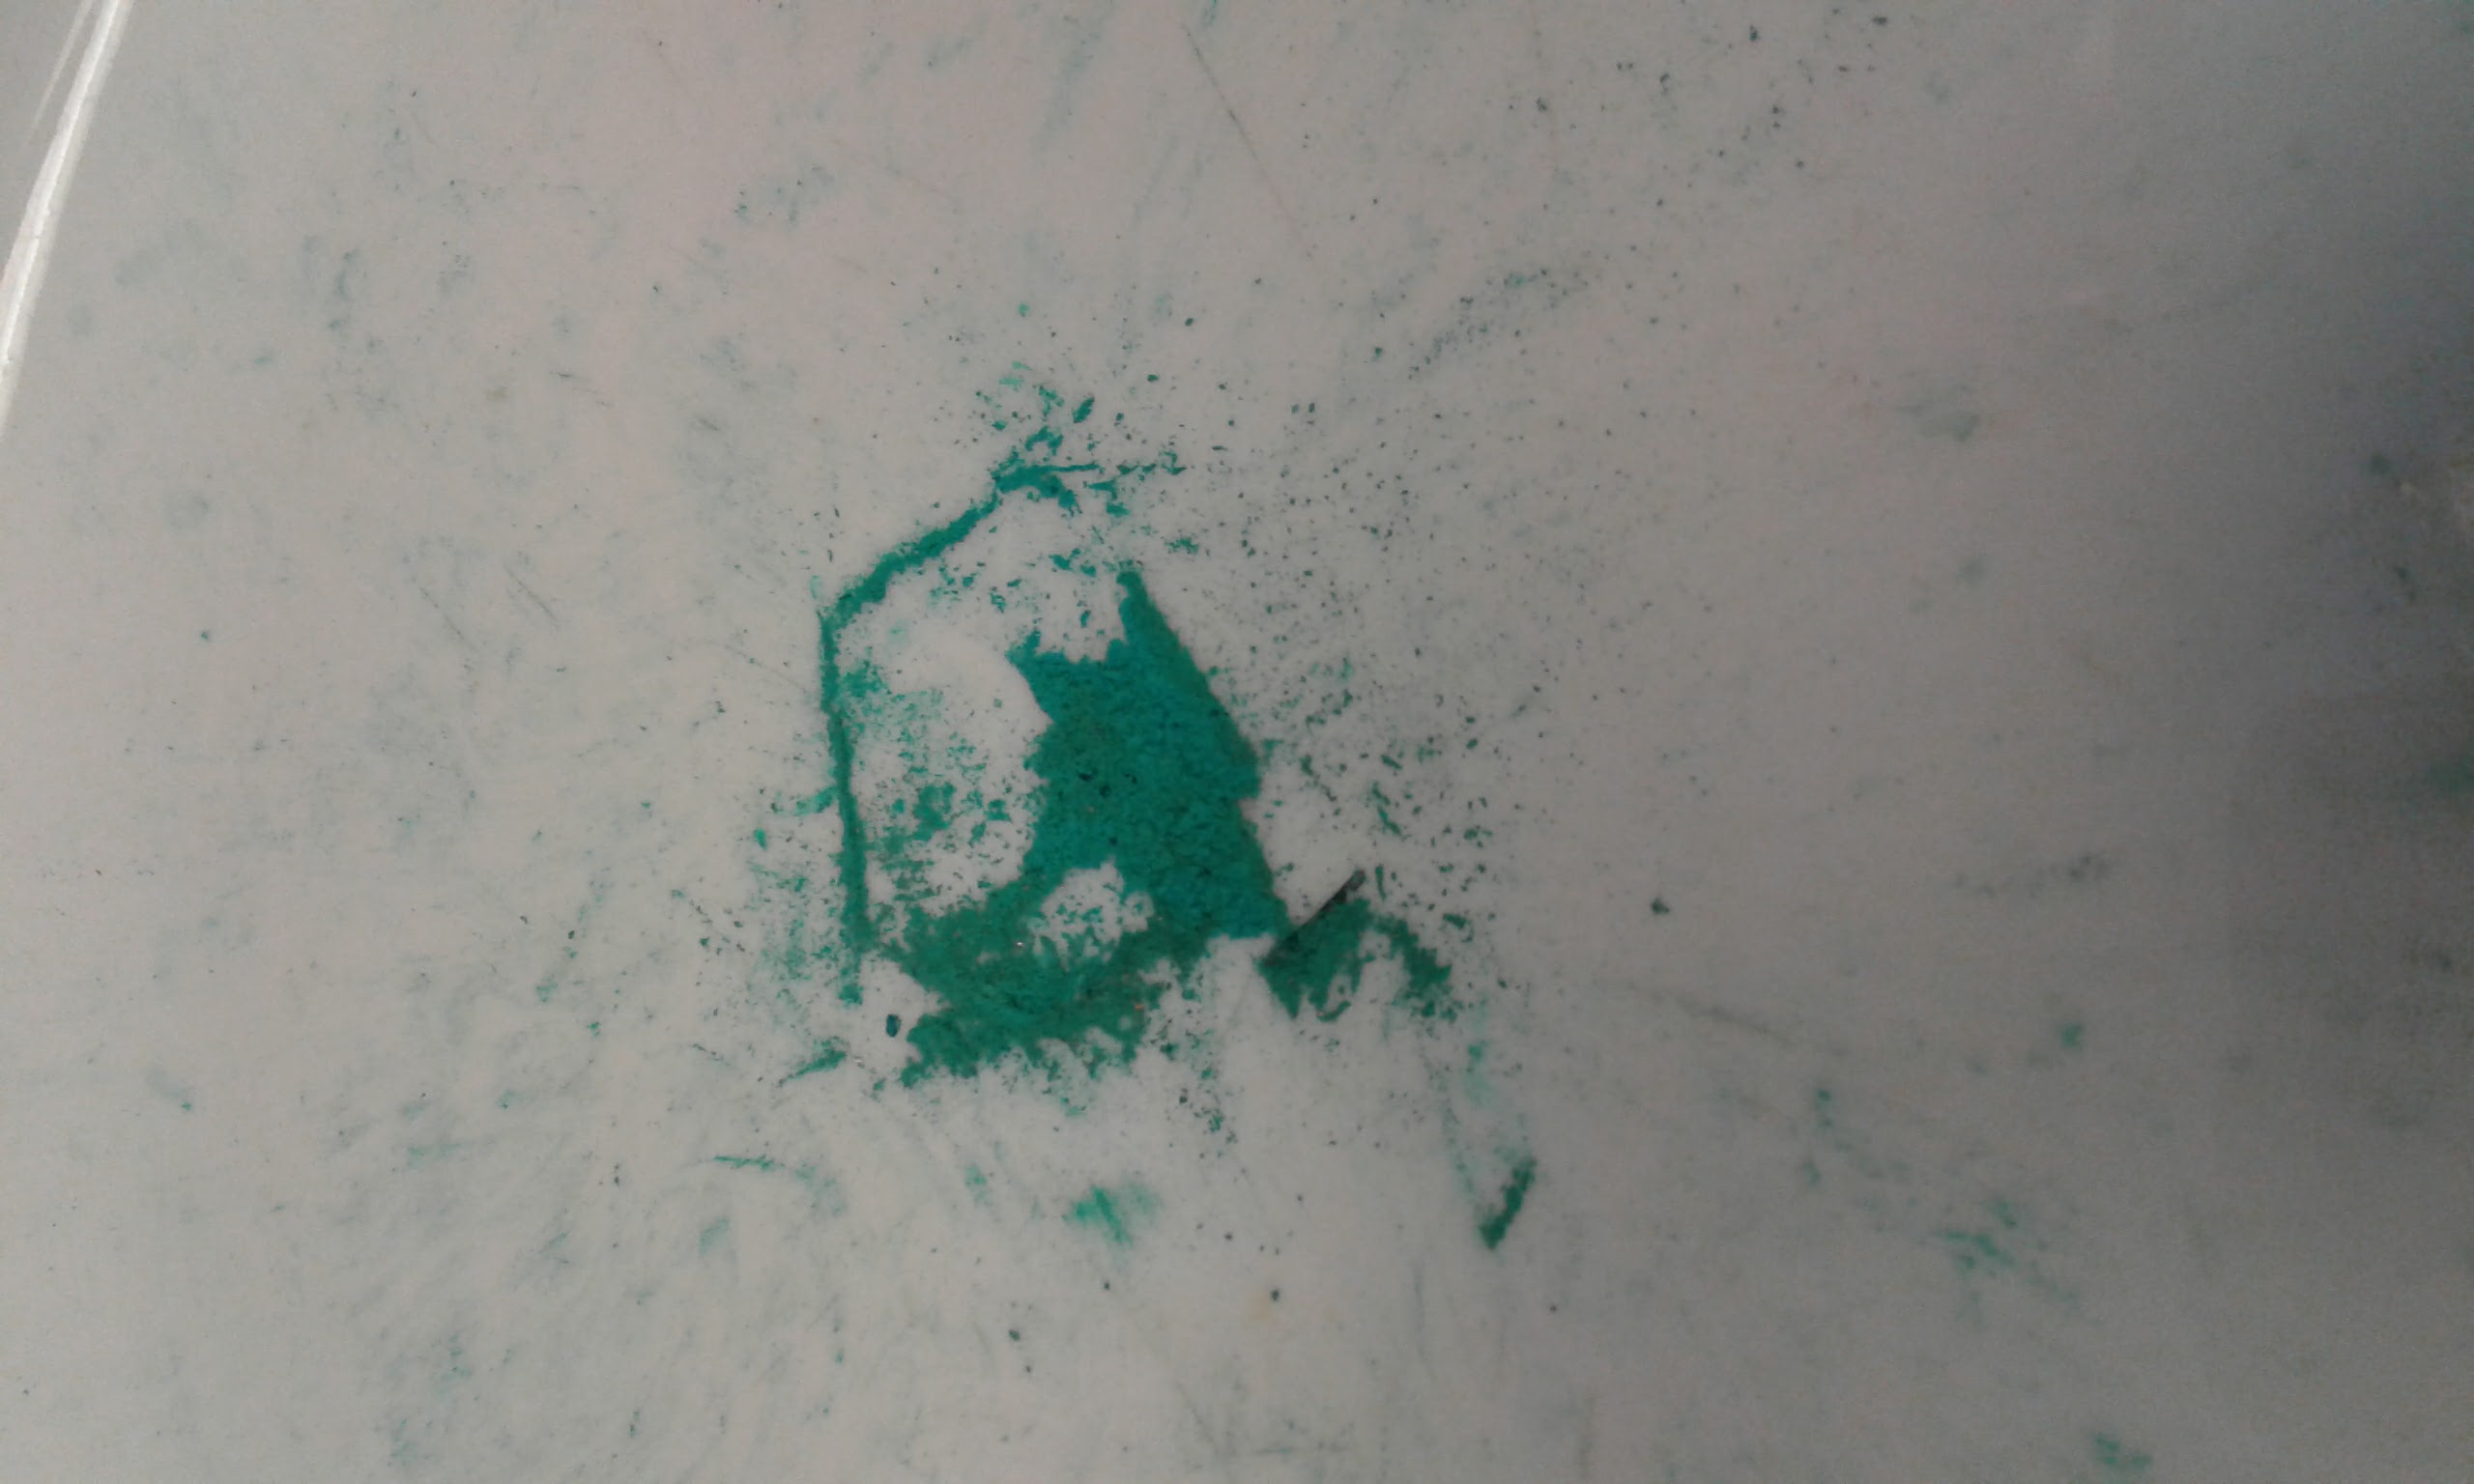
Final, small pile of verdigris, accumulated after about 15 mins of scraping. The verdigris was much lighter in color in the powdered form than it was when it was still on the copper.
2. Mixing with Vinegar
For the second step, I mixed the powdered verdigris with the vinegar used in the first part of the experiment. After scraping my verdigris into a pile, I added one large drop of vinegar from the end of the palette knife. After mixing it in a bit I noticed that the verdigris was still very dry, so I added another large drop of vinegar. I mixed the vinegar in with the palette knife, making a watery paste that turned darker in color than the powdered verdigris was.
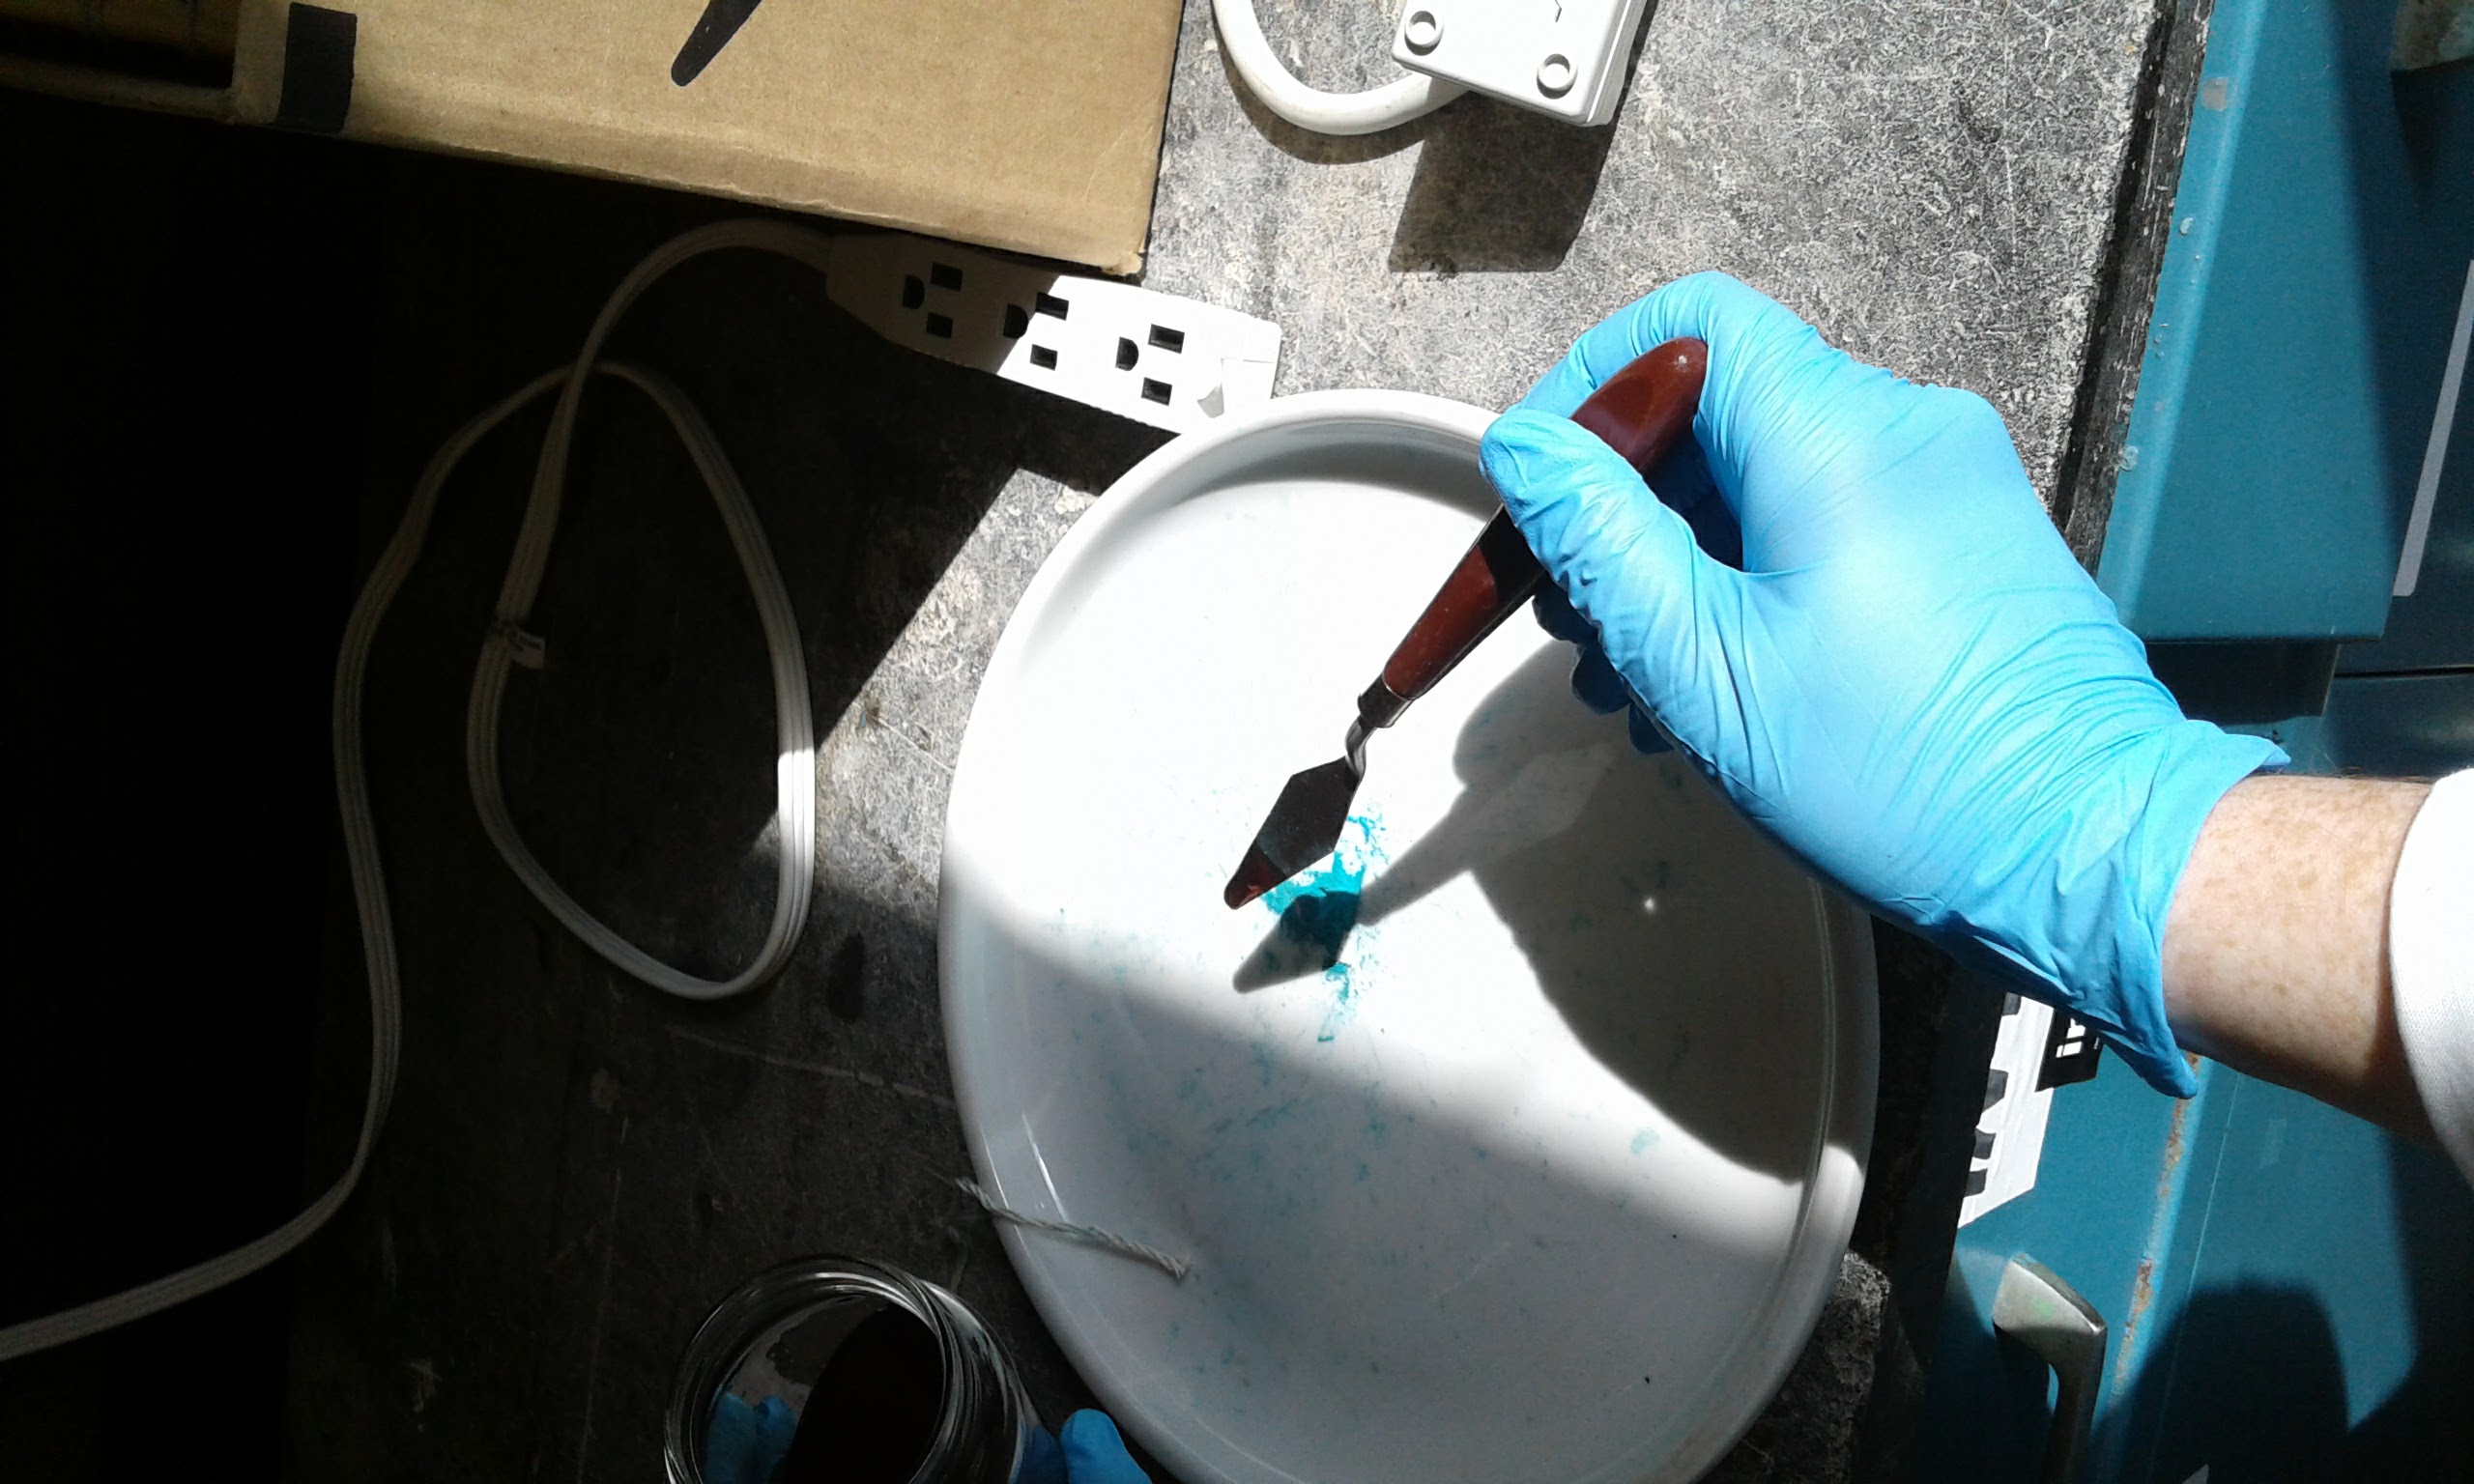
Adding a drop of vinegar from the end of the palette knife. (photo Donna Bilak)
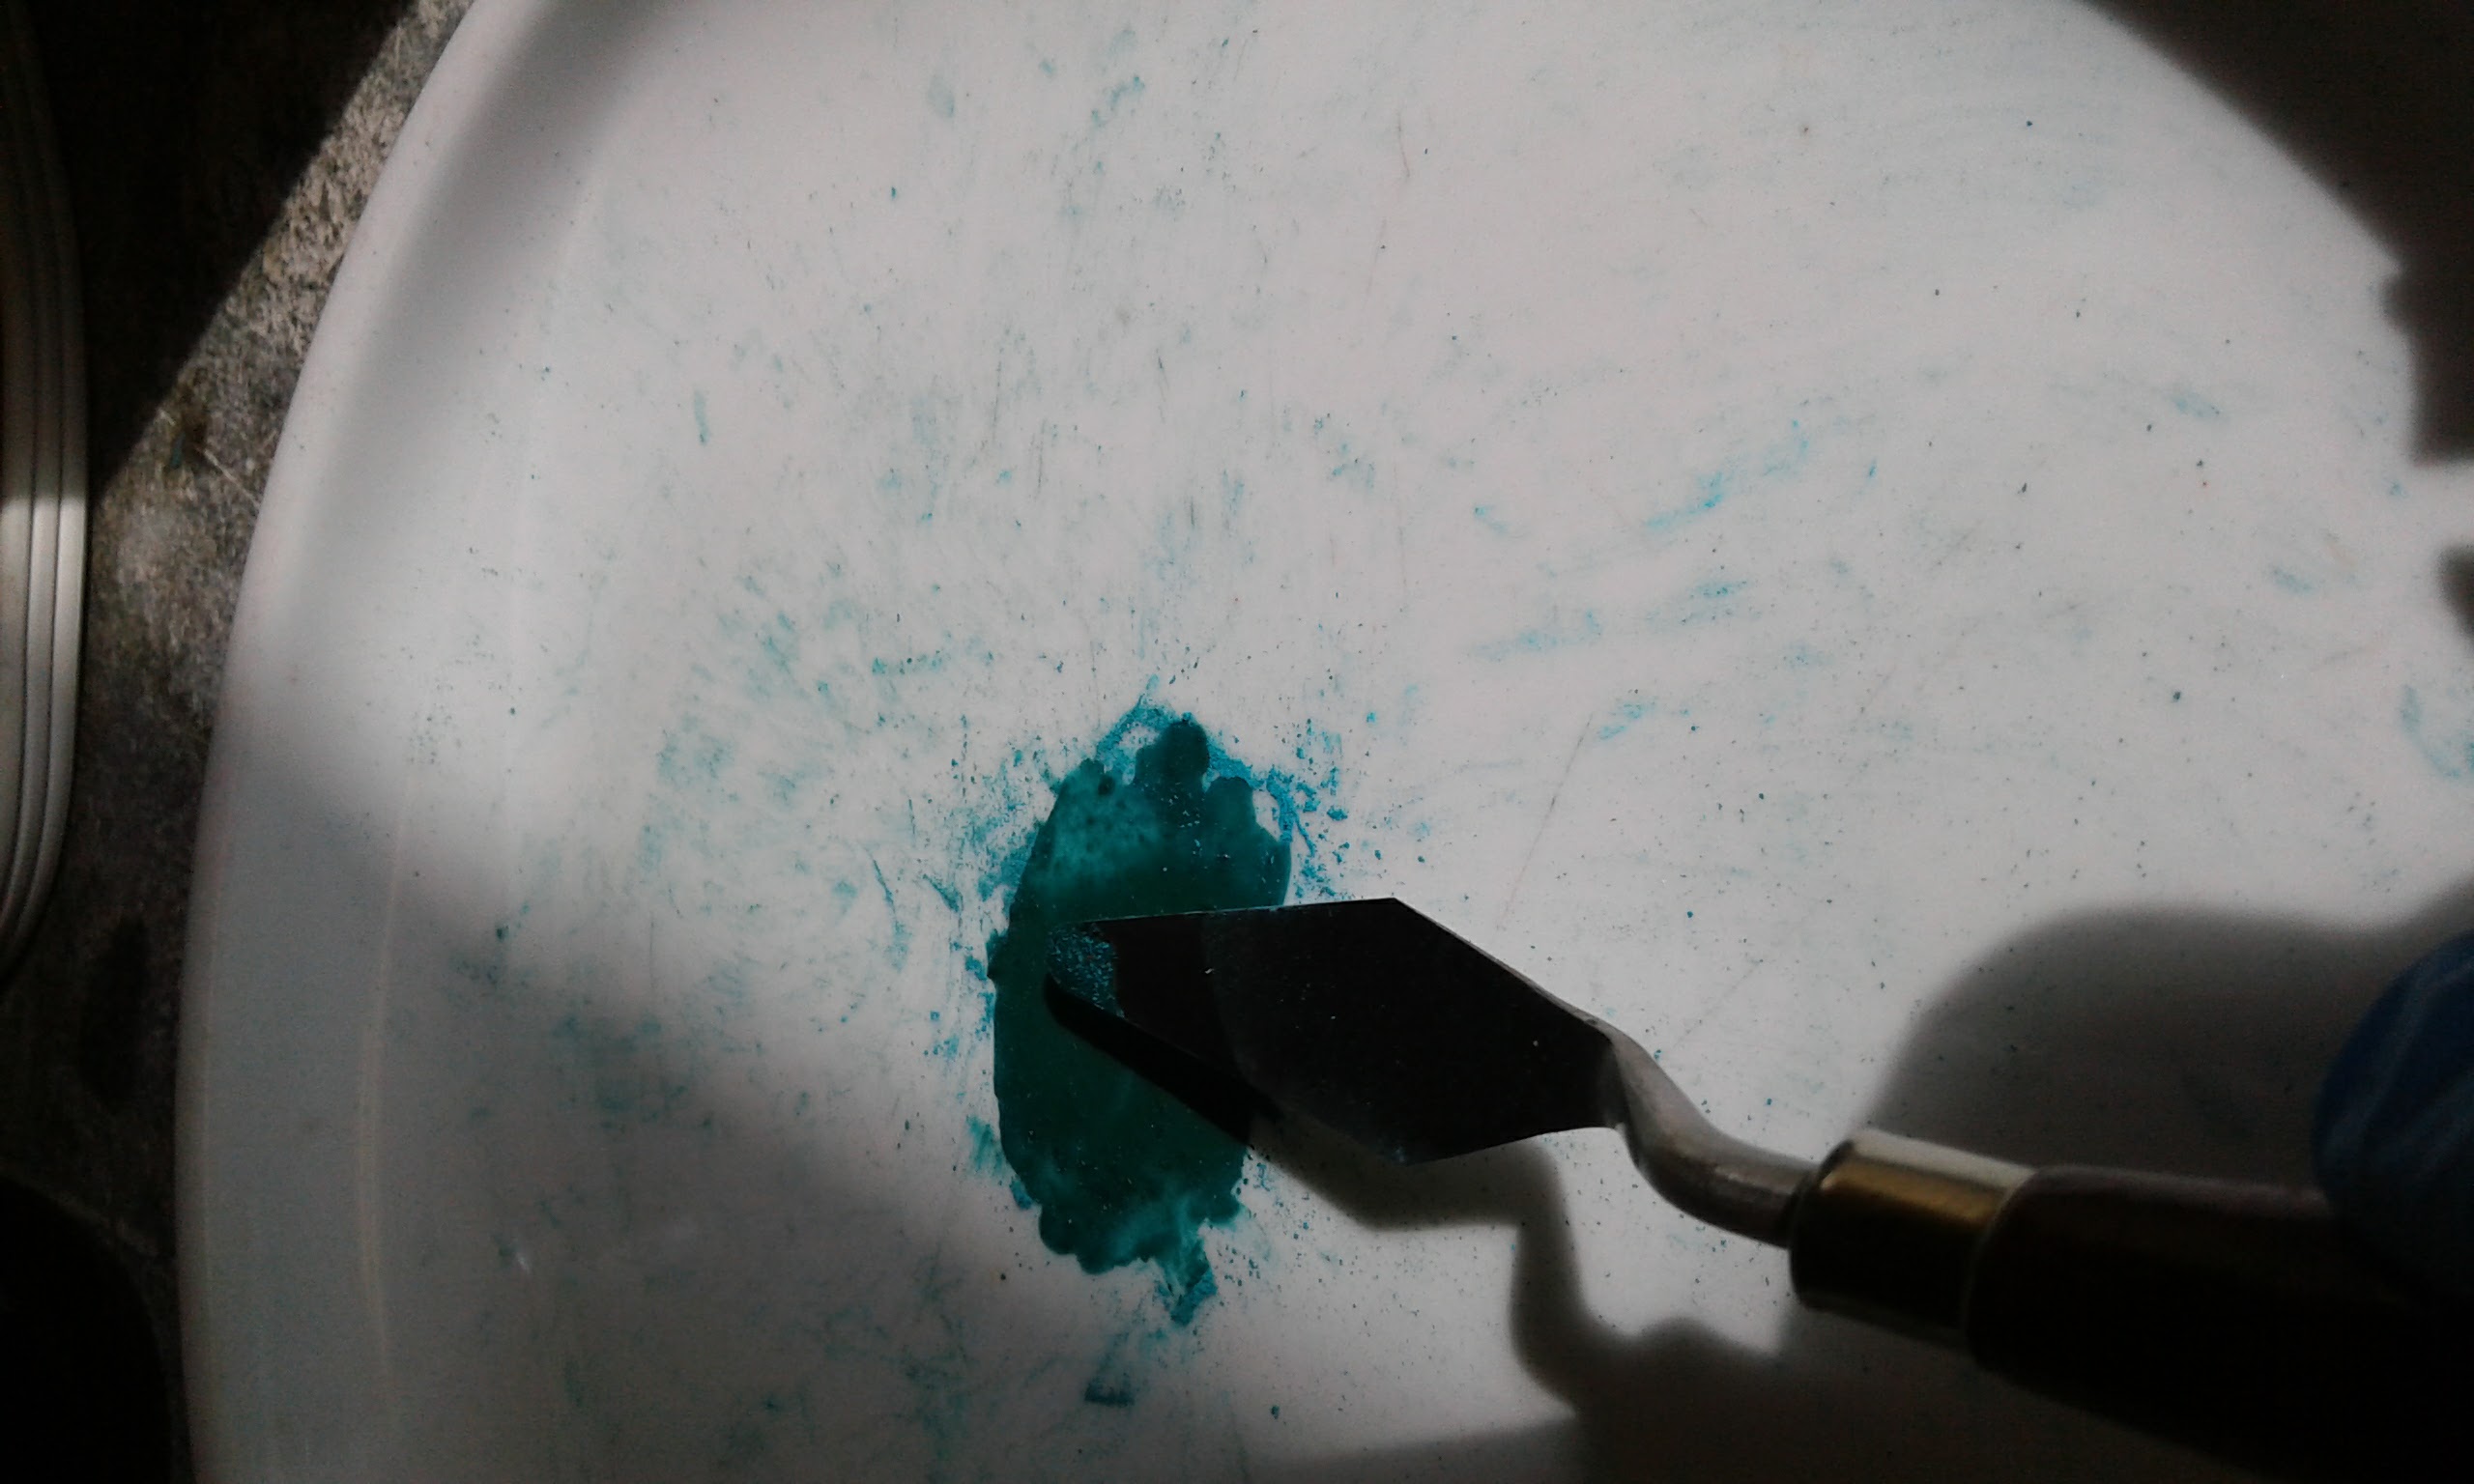
Resulting watery paste. I left it under the hood until dry, about 10 minutes.
3. Mixing with Oil and Mulling
Once the verdigris was dry again, I divided the pile in half and mixed one half with two drops of walnut oil and one half with one drop of linseed oil. I did the walnut oil first, adding one drop from a pipette, attempting to mix it in, and when I found it too dry adding another drop. Then I mixed it for about a minute with the muller, but I found that there was so little verdigris that it kept getting lost on the edges of the muller. I was afraid that i would spread the verdigris too far so I switched to pressing it under the blade of my palette knife (which I had cleaned off on a paper towel). This seemed to work and the verdigris congealed into blob that resembled my experience of oil paint, though perhaps a bit more liquid.
Then I added a single drop of linseed oil to the other pile. I worked this a little bit longer with the muller, and the single drop seemed to mix in without leaving it too dry. After about five minutes I switched to the palette knife technique, mixing until I had a globby paste (scientific term).
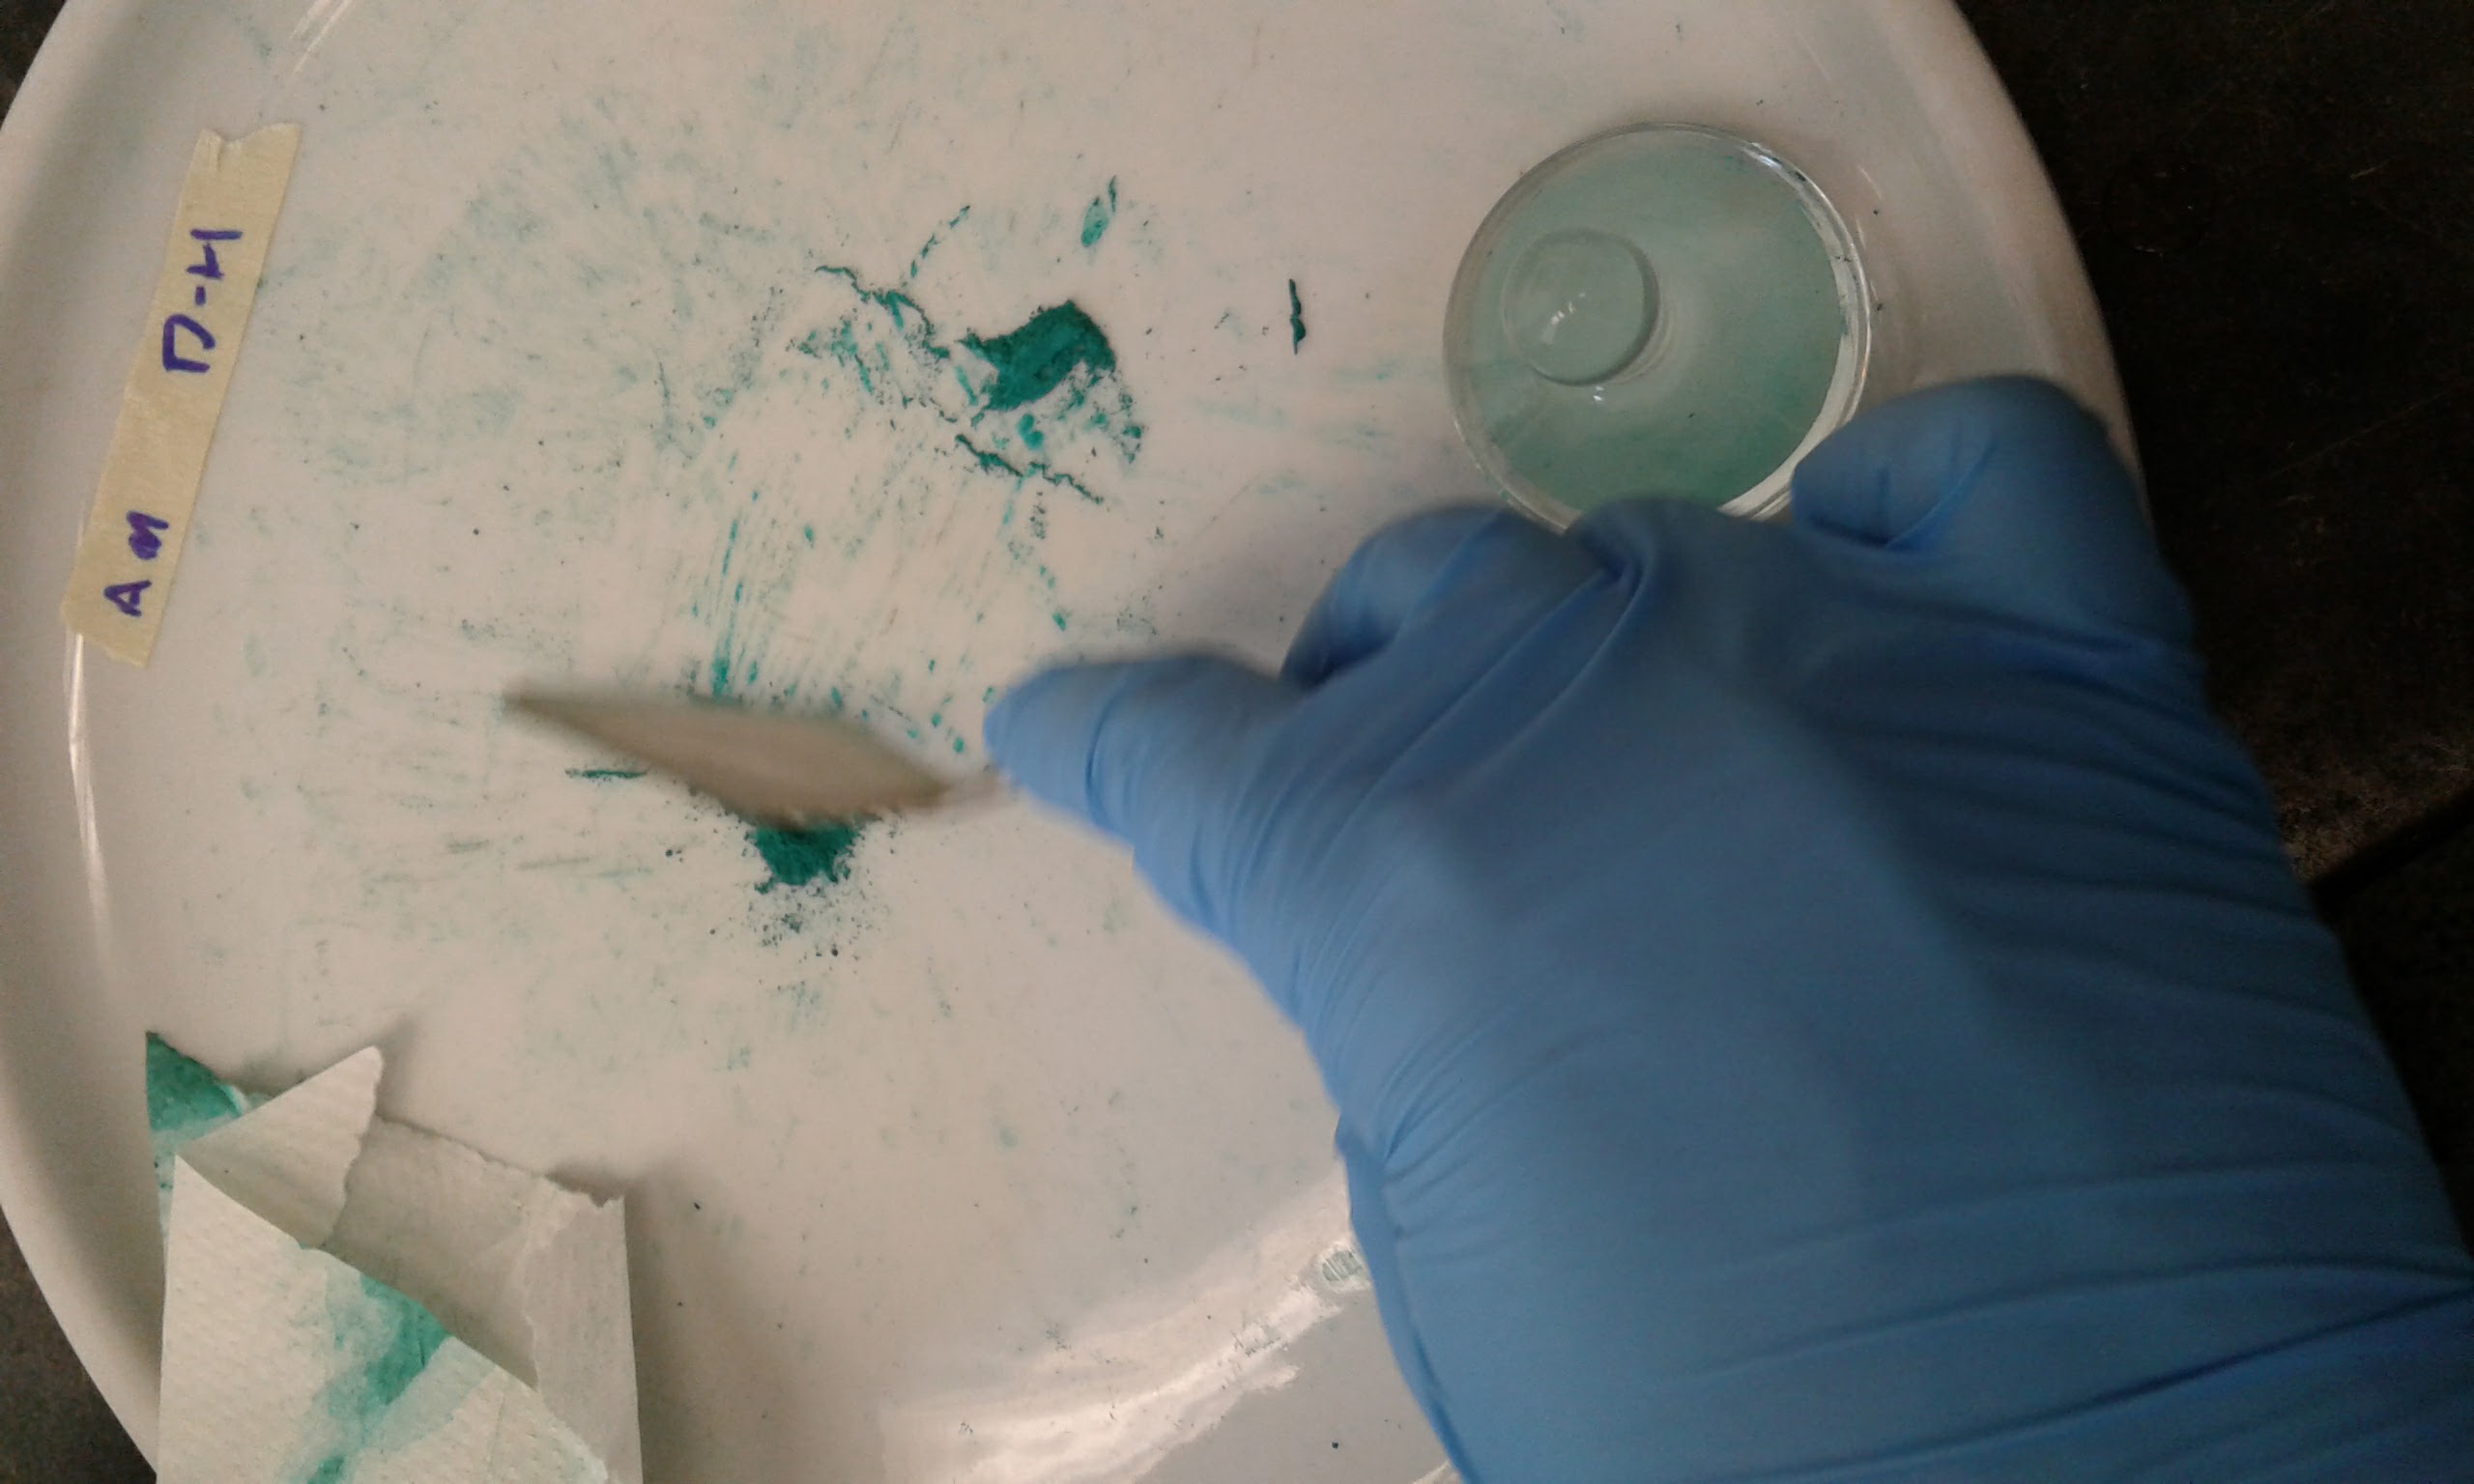
Dividing verdigris into two piles. (photo Donna Bilak)
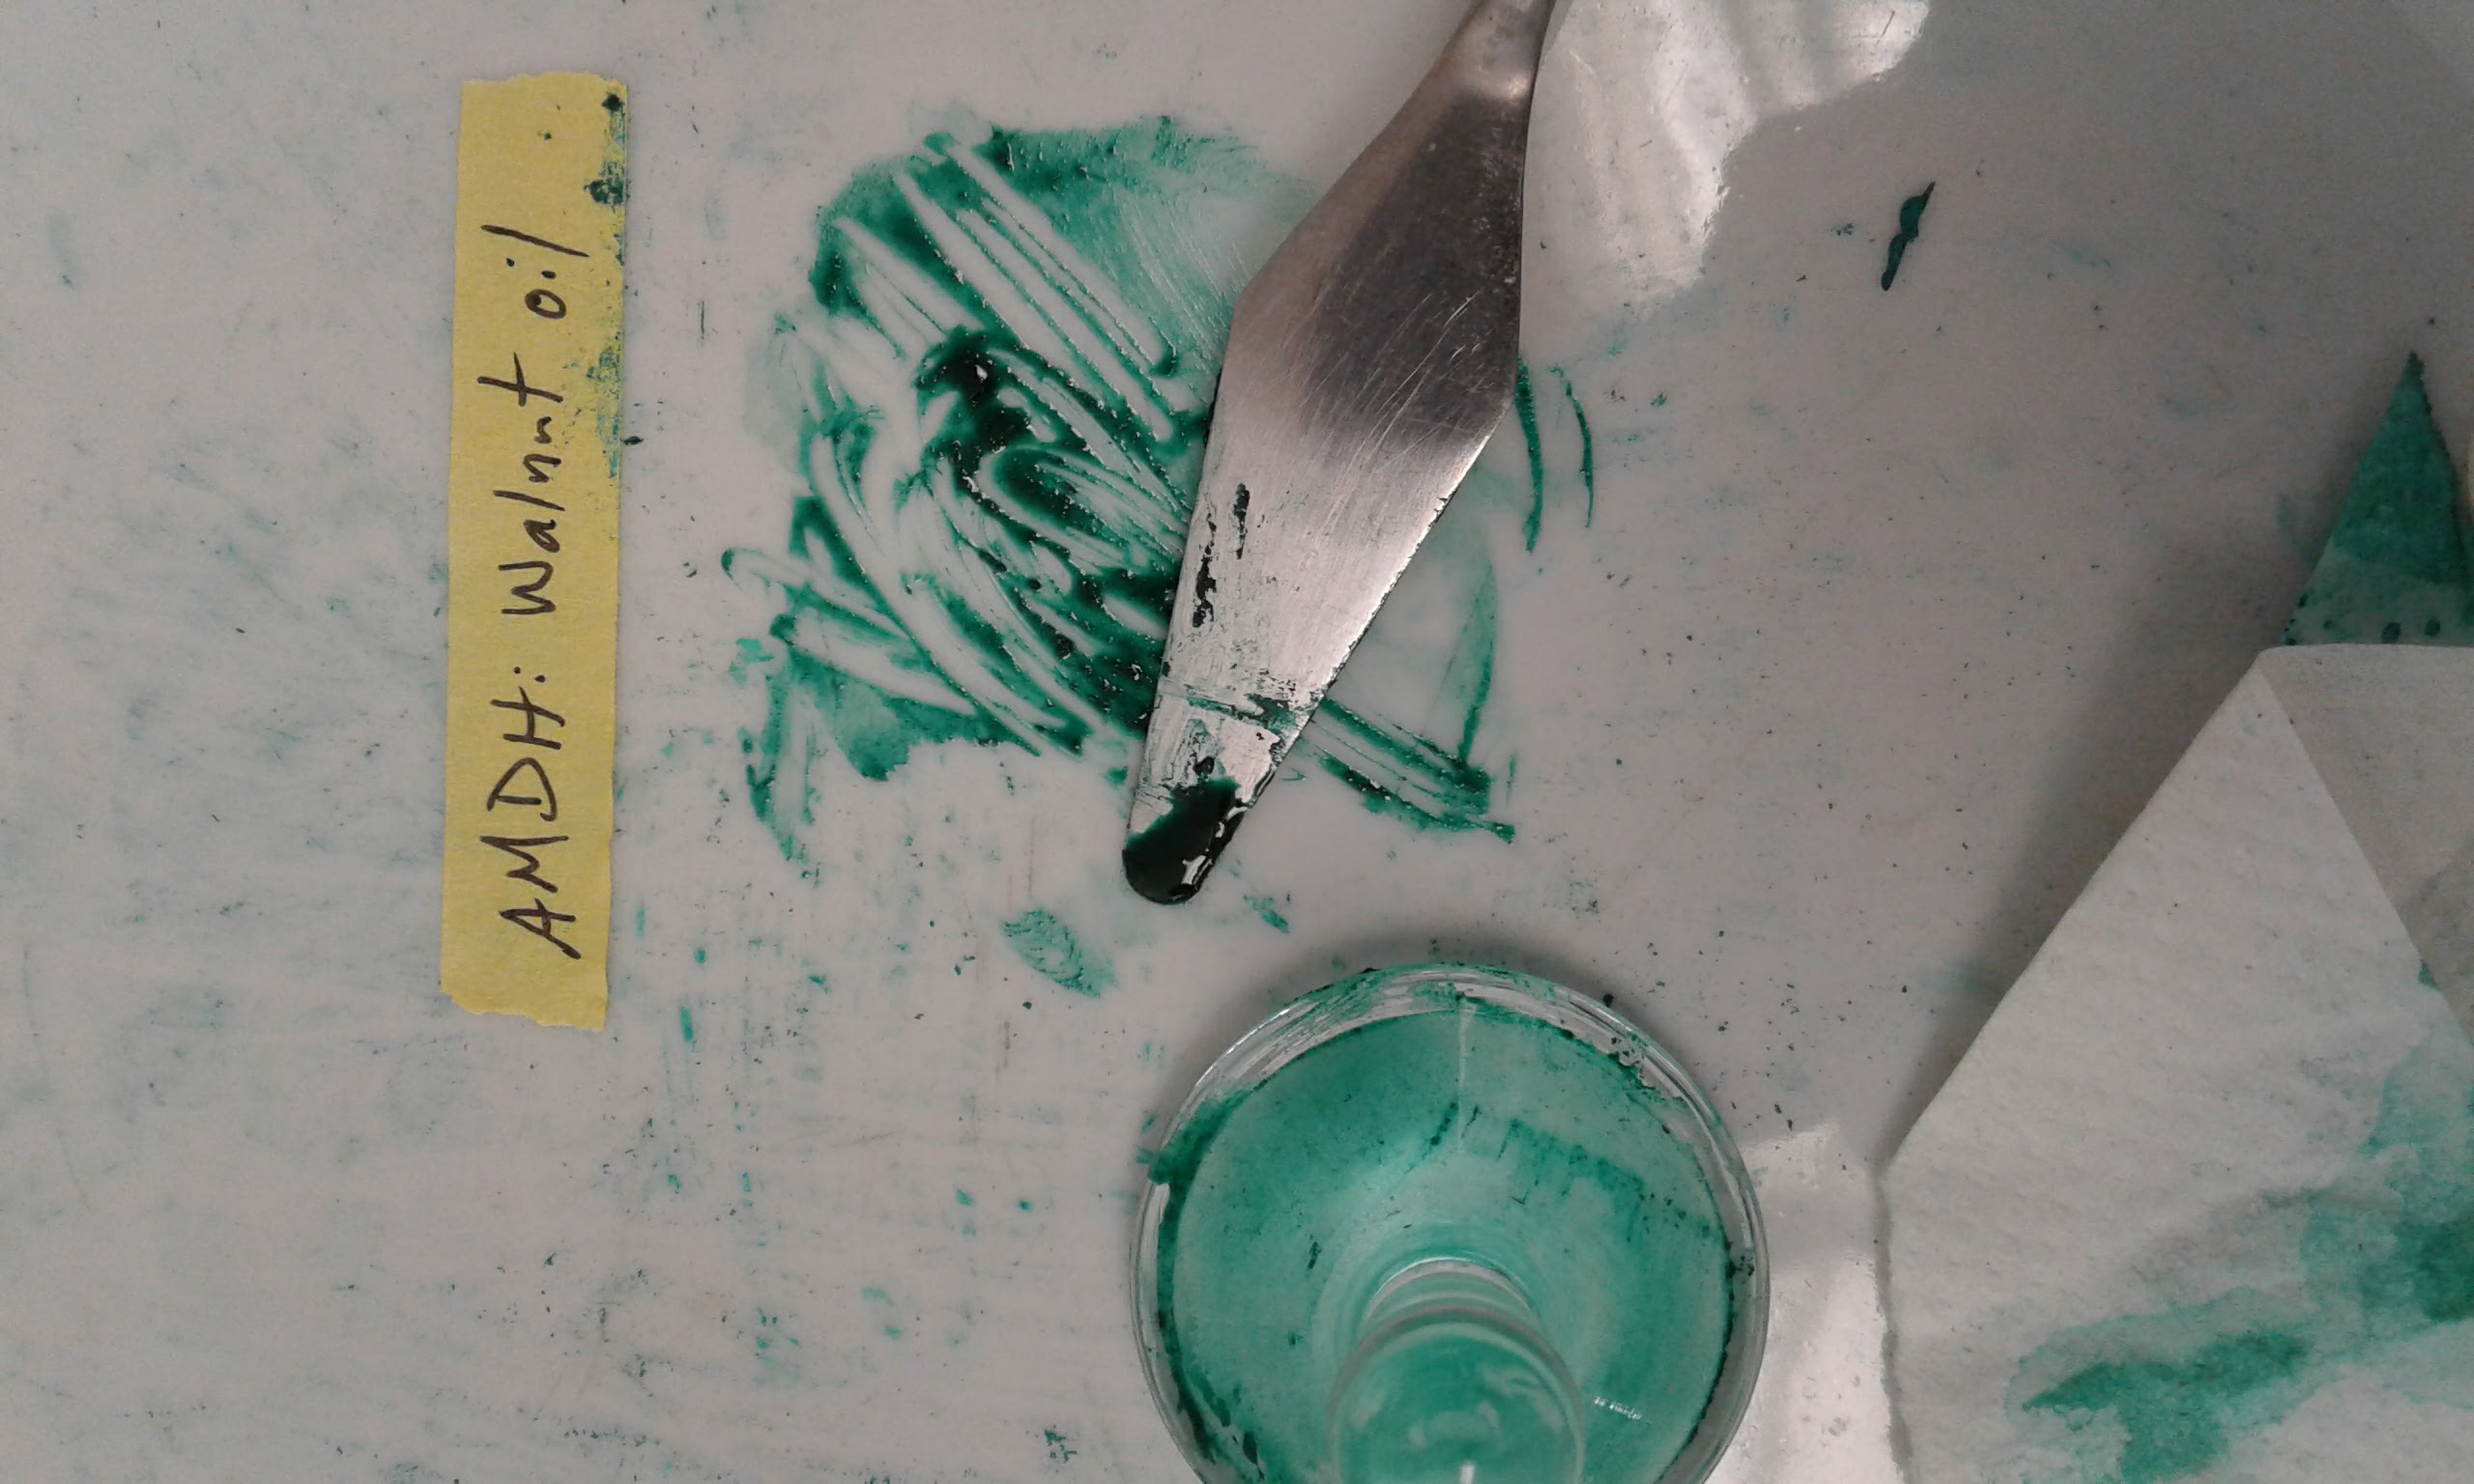
The "liquidy" verdigris and walnut oil mixture being pressed with the palette knife.
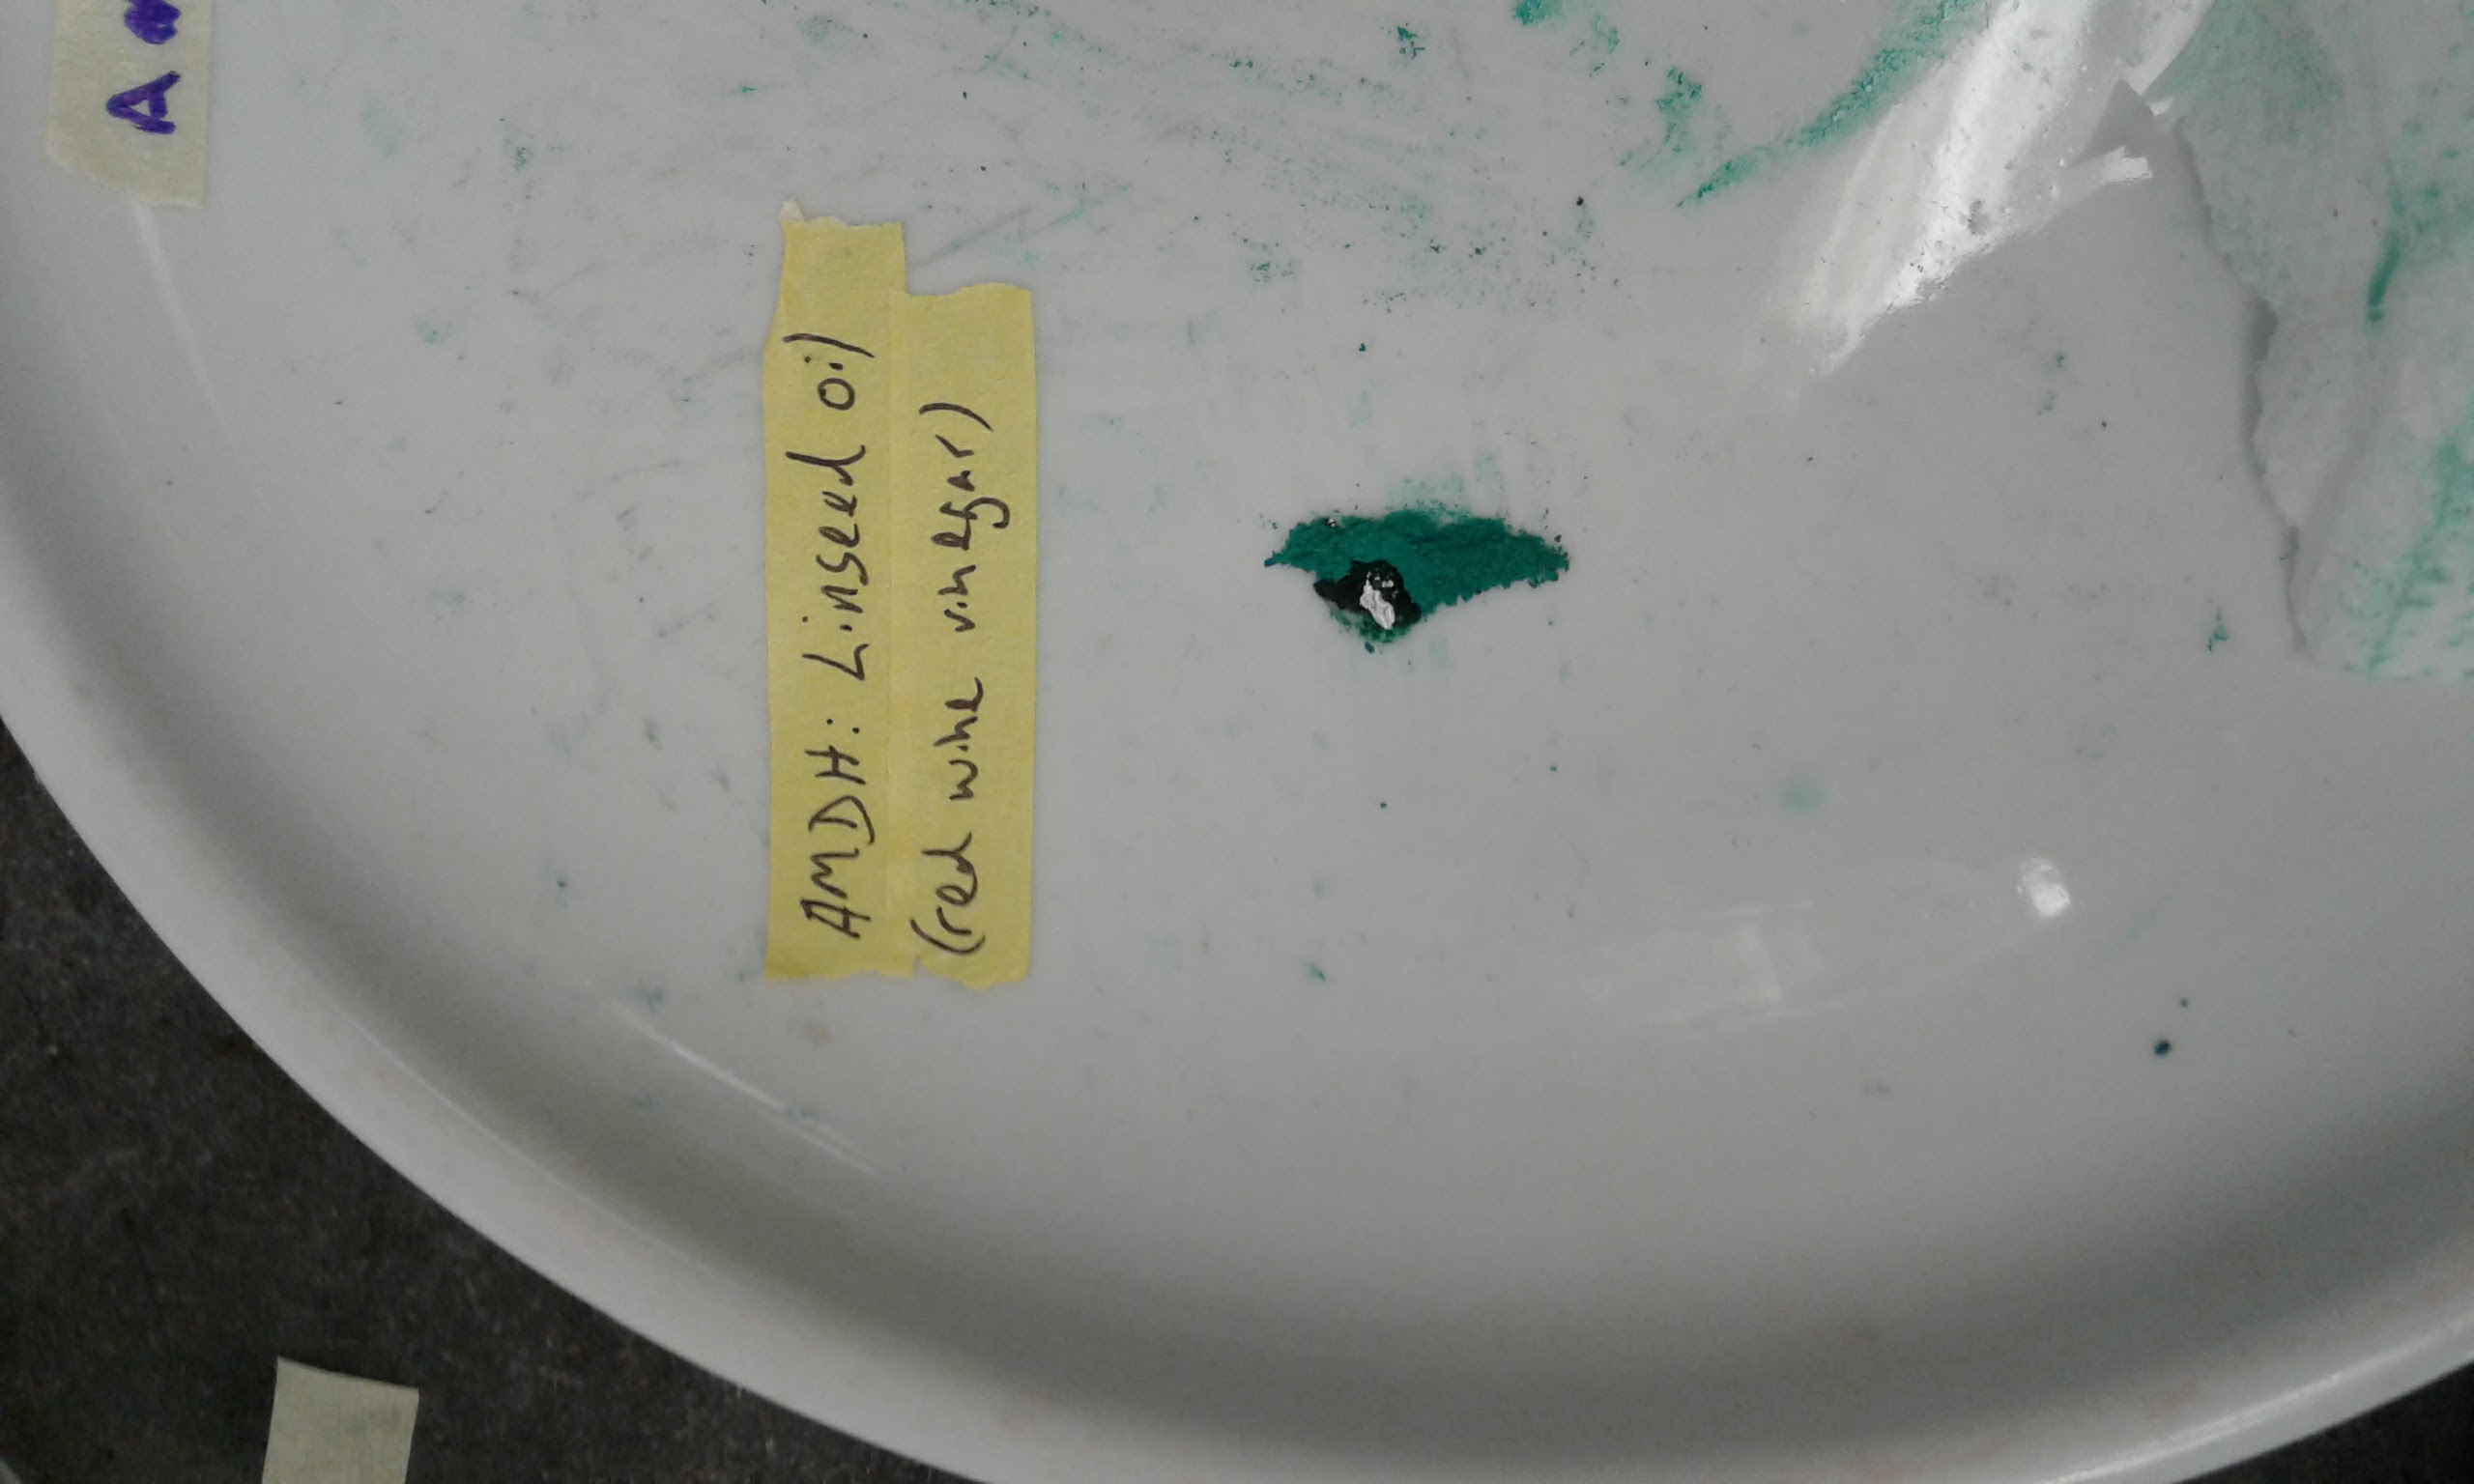
Verdigris with one drop of linseed oil added, before mixing.
4. Painting
Finally, I painted out my two verdigris oils. Neither painted very well at all. I thought at first the linseed oil one would be better because the texture was more oil paint-like than the walnut on my brush, but when I tried to paint my square it was very very gritty. So was the walnut when I tried to paint that one out as well. Both were very very gritty and not smooth at all. I think that I didn't mull either of them enough, so there were still large bits of copper in the mixture. They both technically worked, but the experience of painting with them was unpleasant because they didn't glide smoothly over the paper. They stuck and caused my brush bristles to split instead of gliding smoothly over the paper. This created a splotchy, grainy finish.
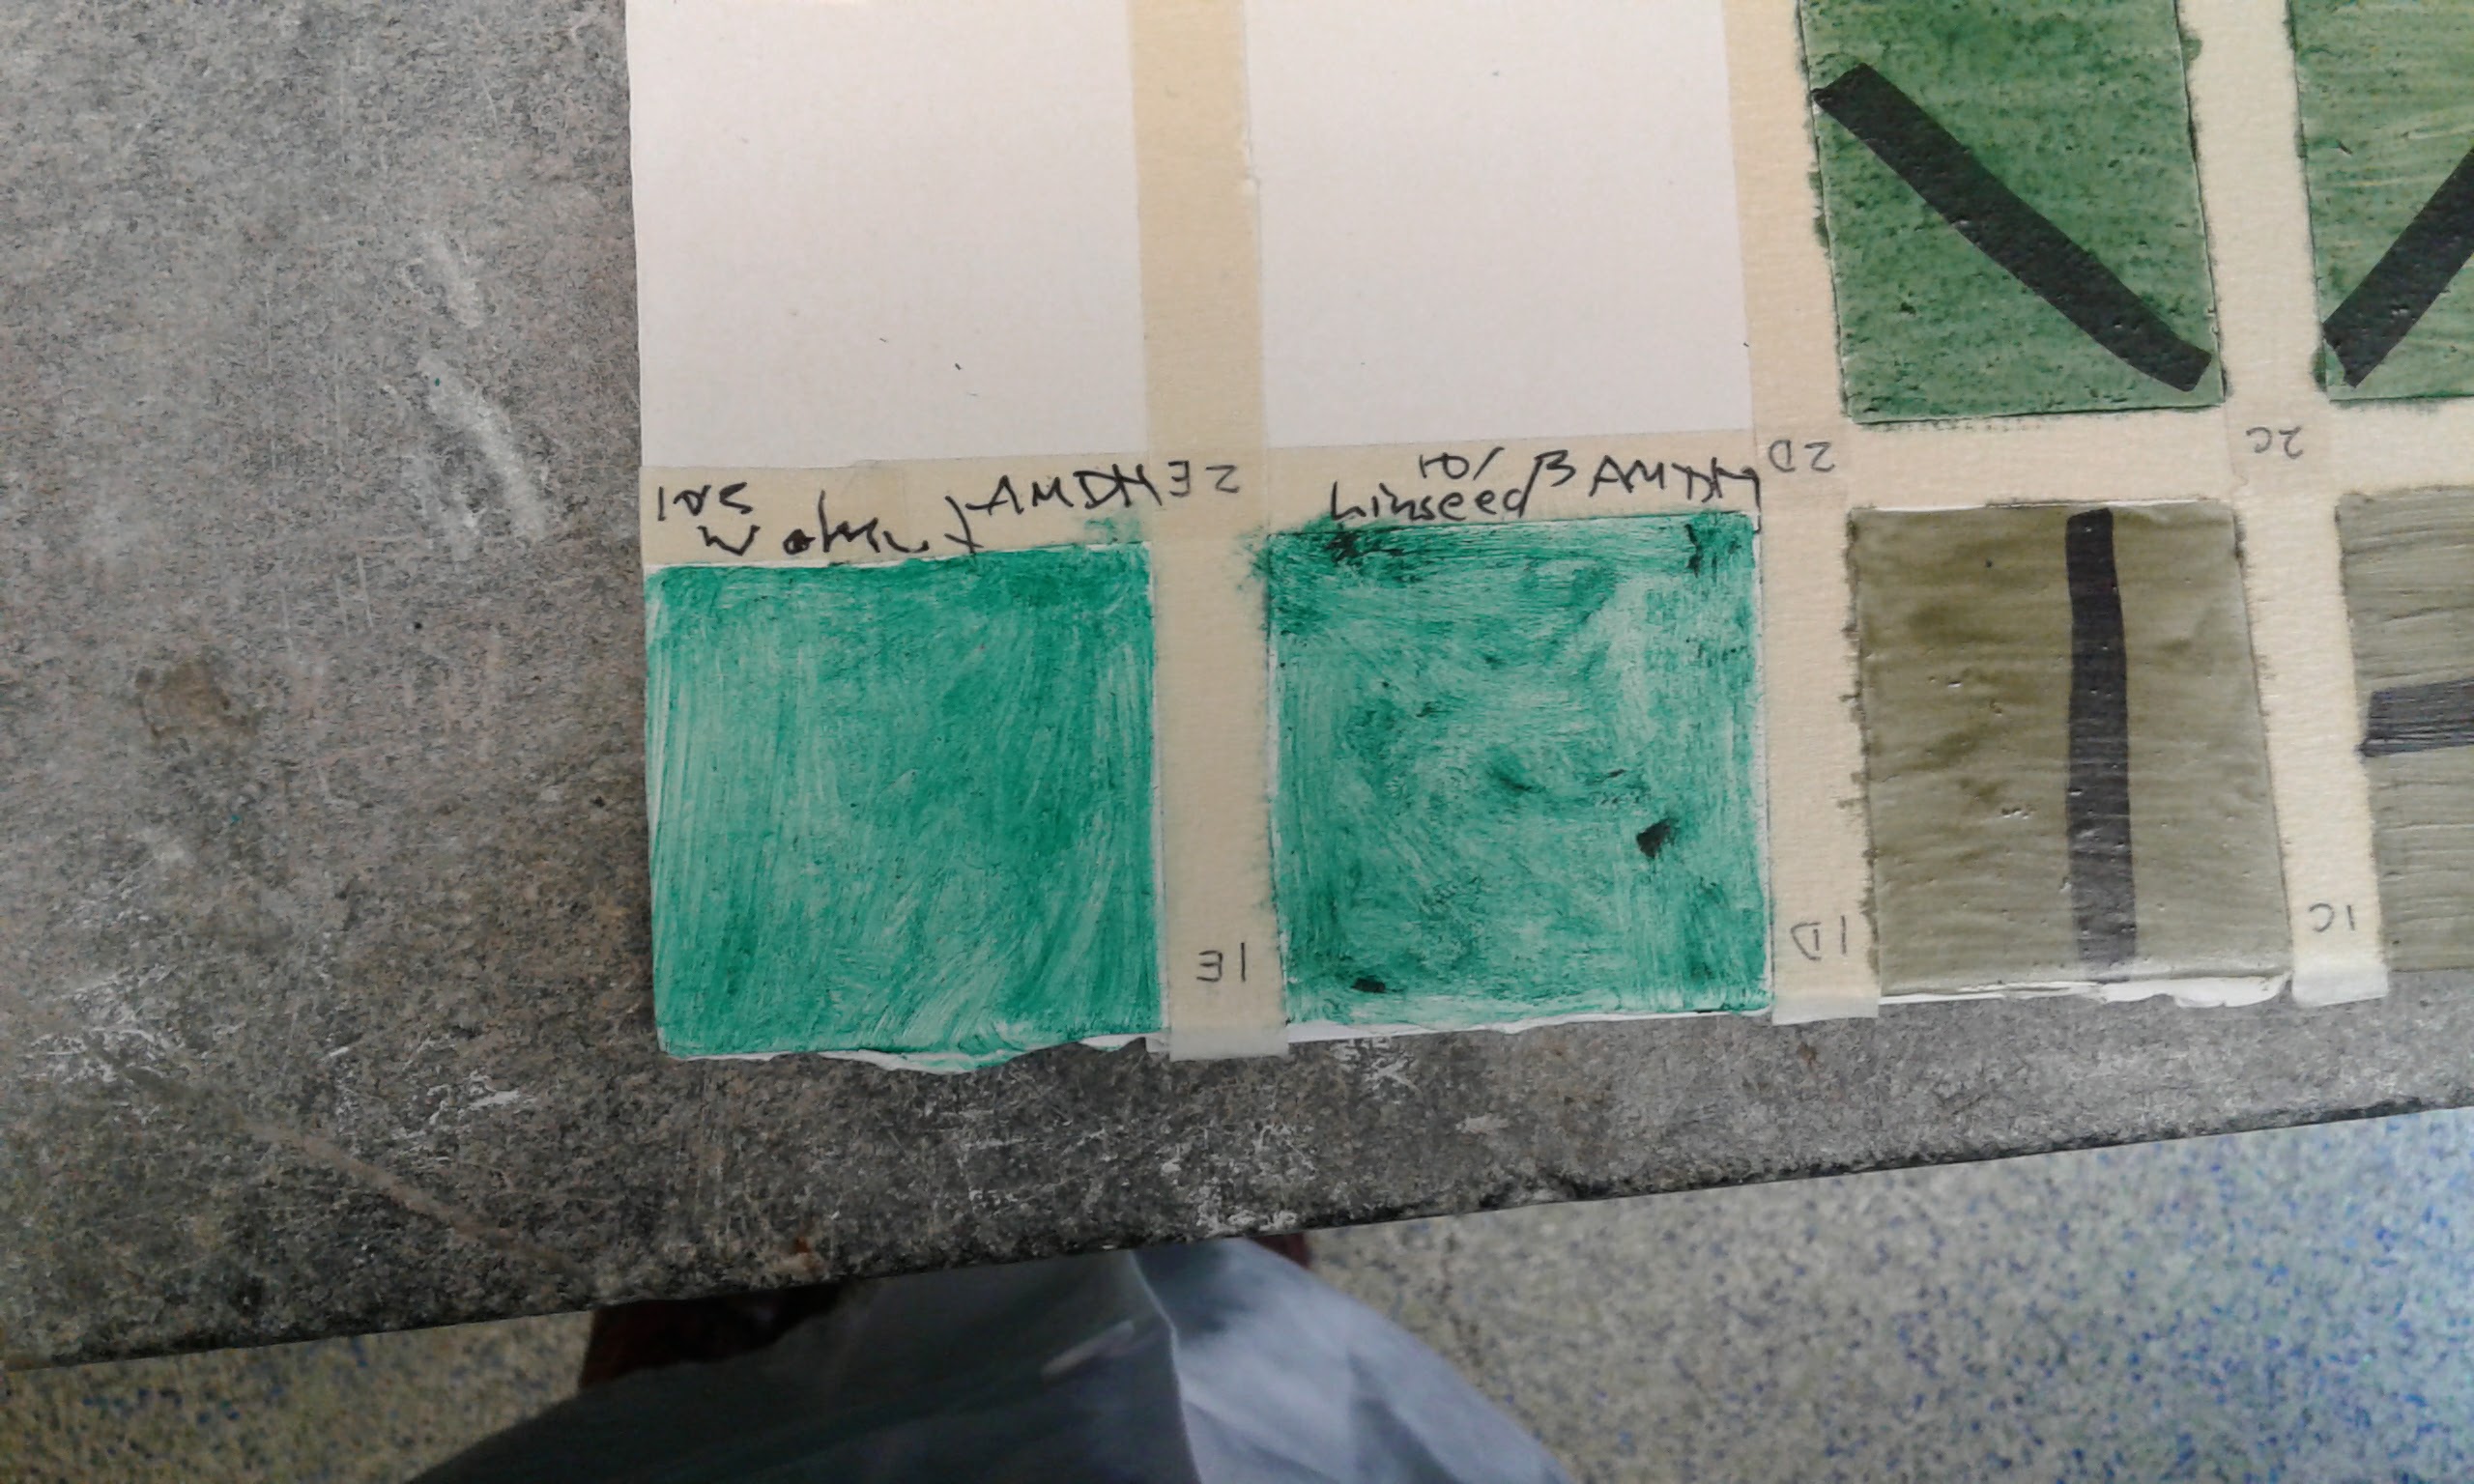
Walnut and linseed oil verdigris paints.
10/10/16
5. Dried Paint Check
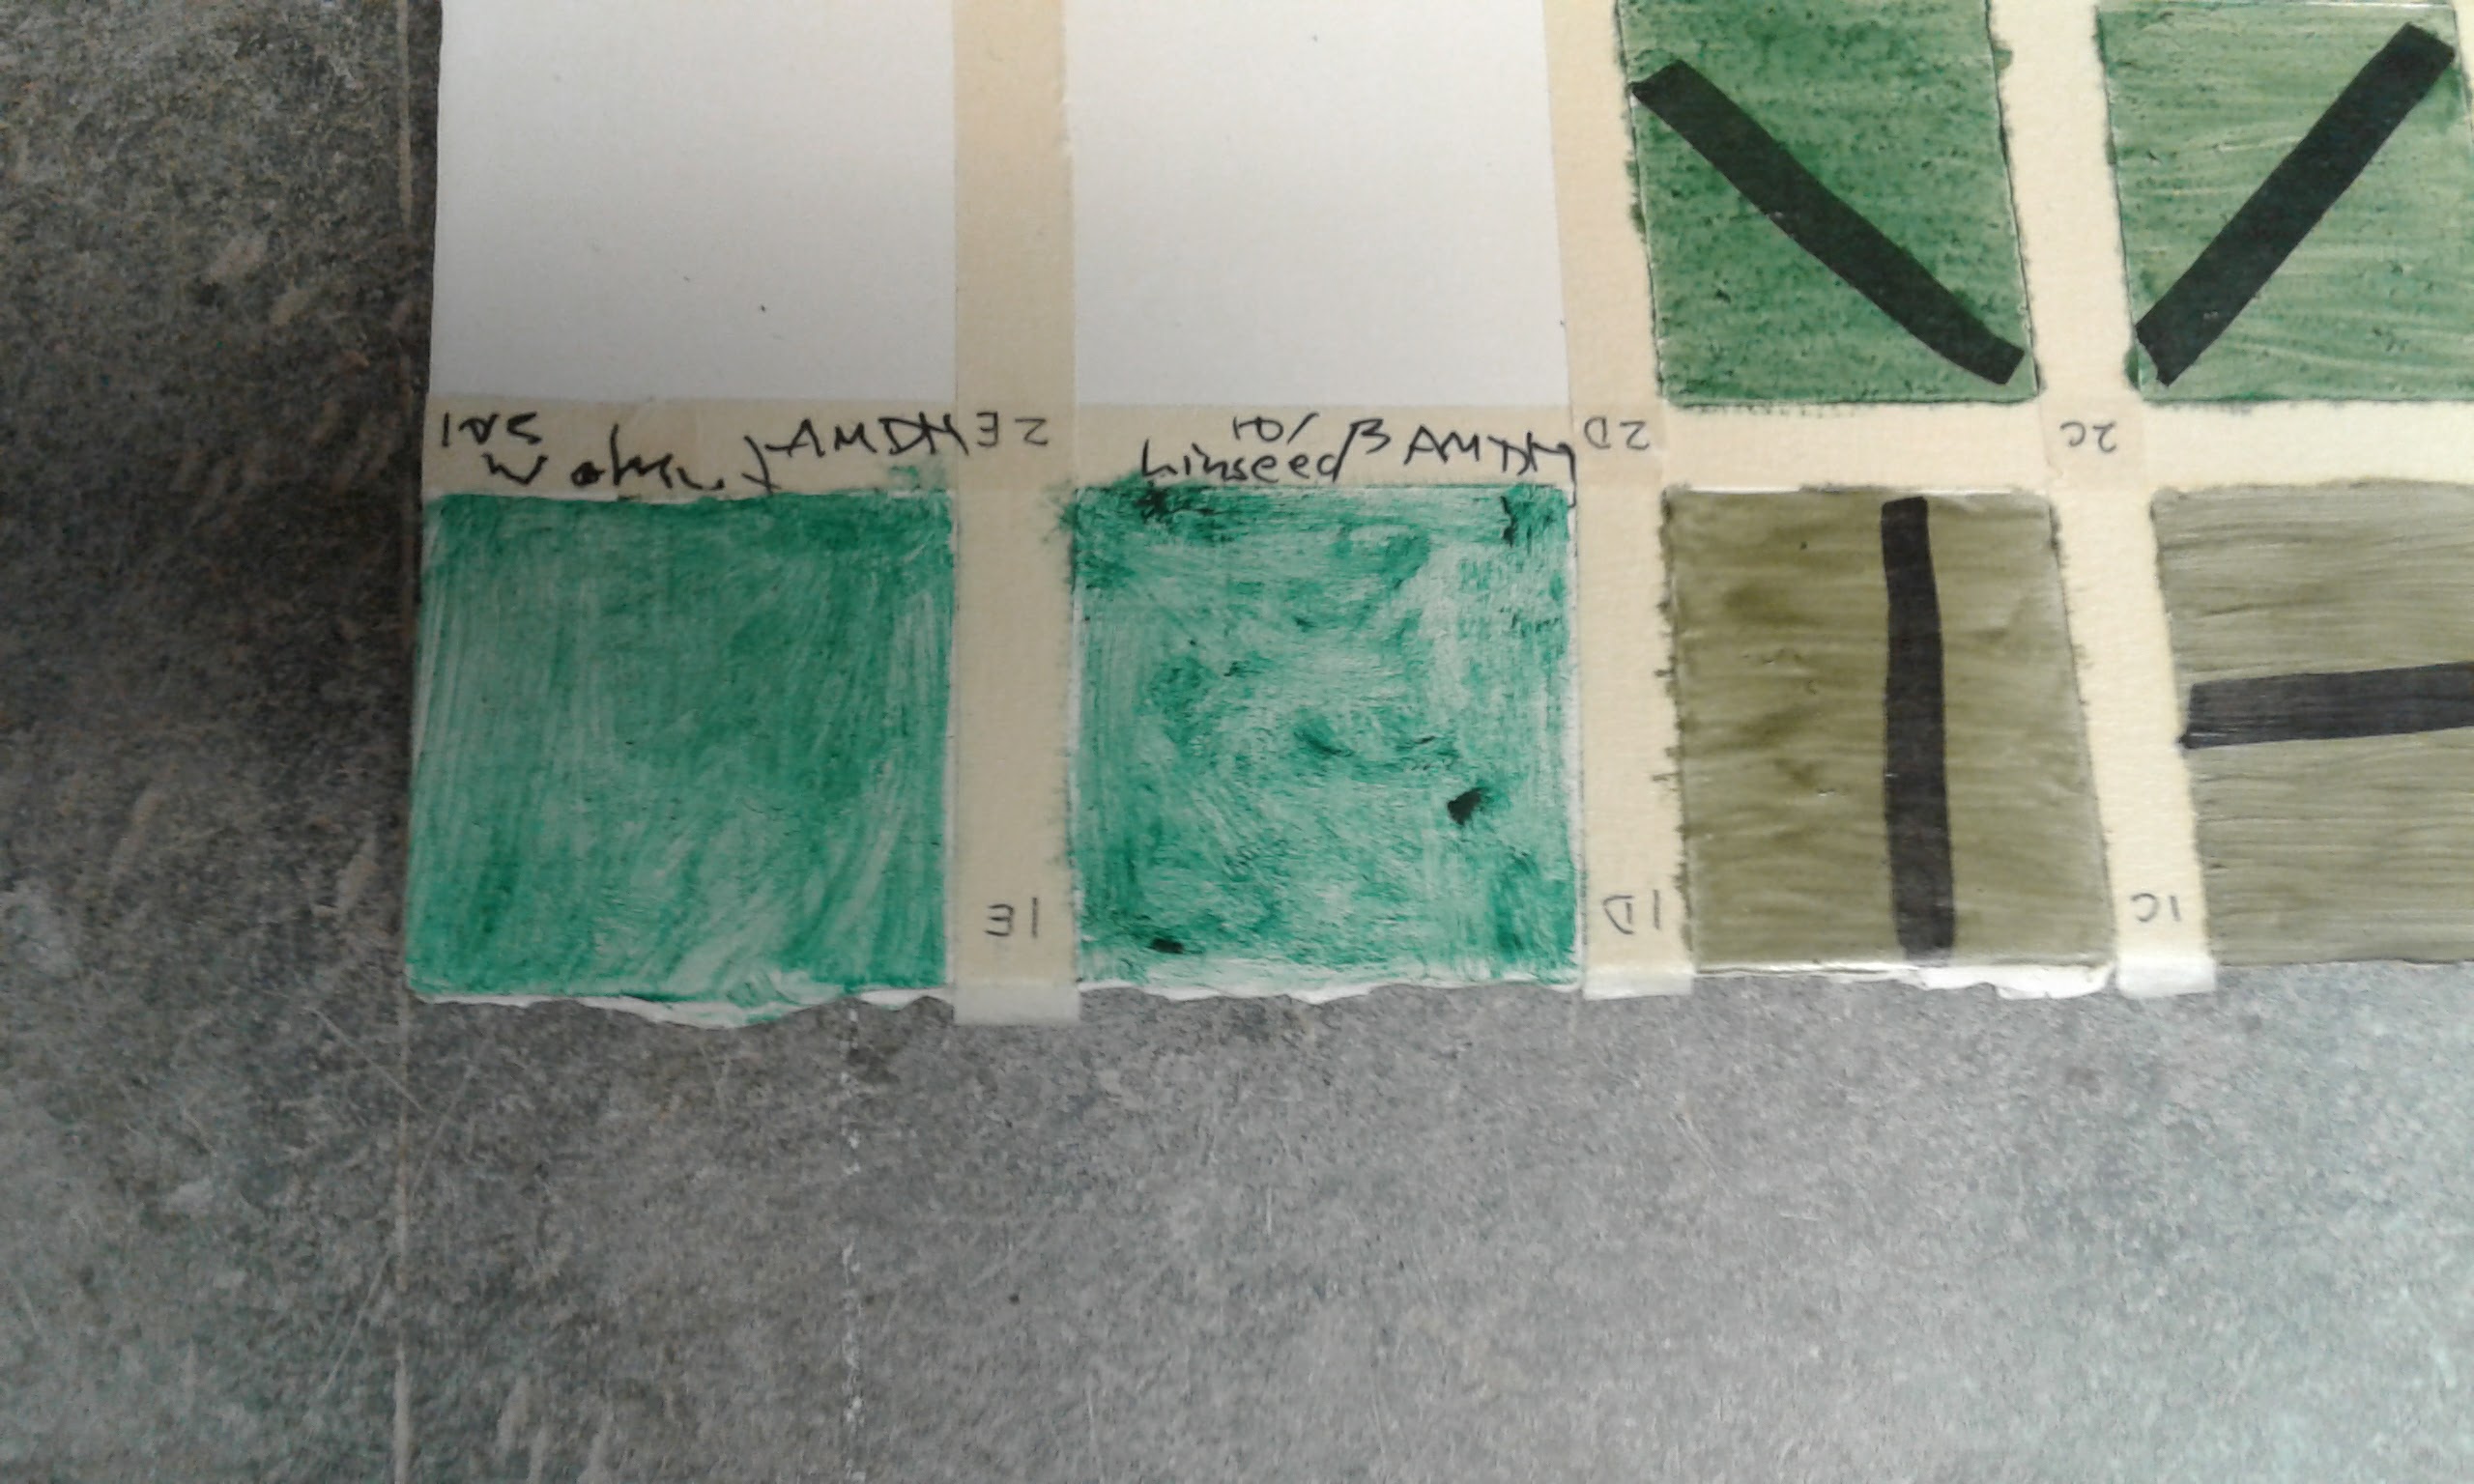
After leaving the paint to dry for a week, I checked today. The color has darkened slightly but there is very little change. It has gotten perhaps a bit greener and less like a teal color. It was a bit grainy to the touch, but definitely dry. The areas where the pigment is darker were more textured than the other areas where it was more thinly spread. None of it crumbled off though, which is what I was a little afraid of it doing.
Additional Research
- Manning, Gideon, ed. Matter and Form in Early Modern Science and Philosophy. Leiden: Koninklijke-Brill, 2012. Has a discussion of early modern vinegar distillation.
- __http://www.sciencephoto.com/media/133271/view__. For methods in 19th C vinegar production.
- Atkins, Peter. “Vinegar and sugar : the early history of factory-made jams, pickles and sauces in Britain.” In The Food Industries of Europe in the nineteenth and twentieth centuries. Edited by Derek J Oddy and Alain Drouard. Burlington: Ashgate, 2013.
- __http://users.datarealm.com/ajoy/vinegar.html__. I don’t know how reputable this is, but it has an interesting recipe for homemade vinegar that asks for toast.
- Recipe for painting out verdigris from BNF 640.
<head><m>Verdigris</m> and another very beautiful, gay green</head>
<ab>One must not crush it with <m>water</m> alone, because that makes it fade. To make it beautiful in distemper, some crush it with <m>vinegar</m>, but that makes it
turn pale and become whitish. To make it beautiful, crush it with <m>urine</m> and leave it to dry. Then, whenever you like, crush it with <m>oil</m>. And after you
have collected it with the palette, before you finish cleaning the <m>marble</m>, crush it <sup>there</sup> with <m>stil de grain yellow</m>. And you will have a very
beautiful - 17th C recipe for vinegar from __https://janeaustensworld.wordpress.com/2012/03/11/the-connection-between-vinegar-and-the-fainting-couch-19th-century-customs/__. : Sir Hugh Plats, Delightes for Ladies, 1602. How to distill wine vinegar or good Aligar that it may be both cleare and sharpe I Know it is an usuall manner among the Novices of our time to put a quart or two of good vinegar into an ordinay leaden stil, and so to distill it as they doe all other waters. But this way I do utterly dislike, both for that heere is no separation made at all, and also because I feare that the Vinegar doth carry an ill touch with it, either fro the leaden botto or the pewter head or both. And therefore I could wish rather that the same were distilledin a large bodie of glasse with a head or receiver, the same beeing placed in sand or ashes. Note that the best part of the vinegar is the middle part that ariseth, for the first is fainte and phlegmatick, and the last will taste of adustion, because it groweth heavie toward the latter end, and must be urged up with a great fire, and therefore you must now and then taste of that which commeth both in the beginning & towardes the latter end, that you may receive the best by it selfe. NOTE: this recipe is for aromatic vinegar and it is not at all clear that the kind of vinegar used for making verdigris is the same kind one would eat or smell.
| C0070262-Vinegar_production%2C_19th_century-SPL.jpg |
”Trickle” vinegar production.